YoYotta will send a signup link, for security this first link will only work with the matching email.
Contact YoYotta Support if you need to change the email.
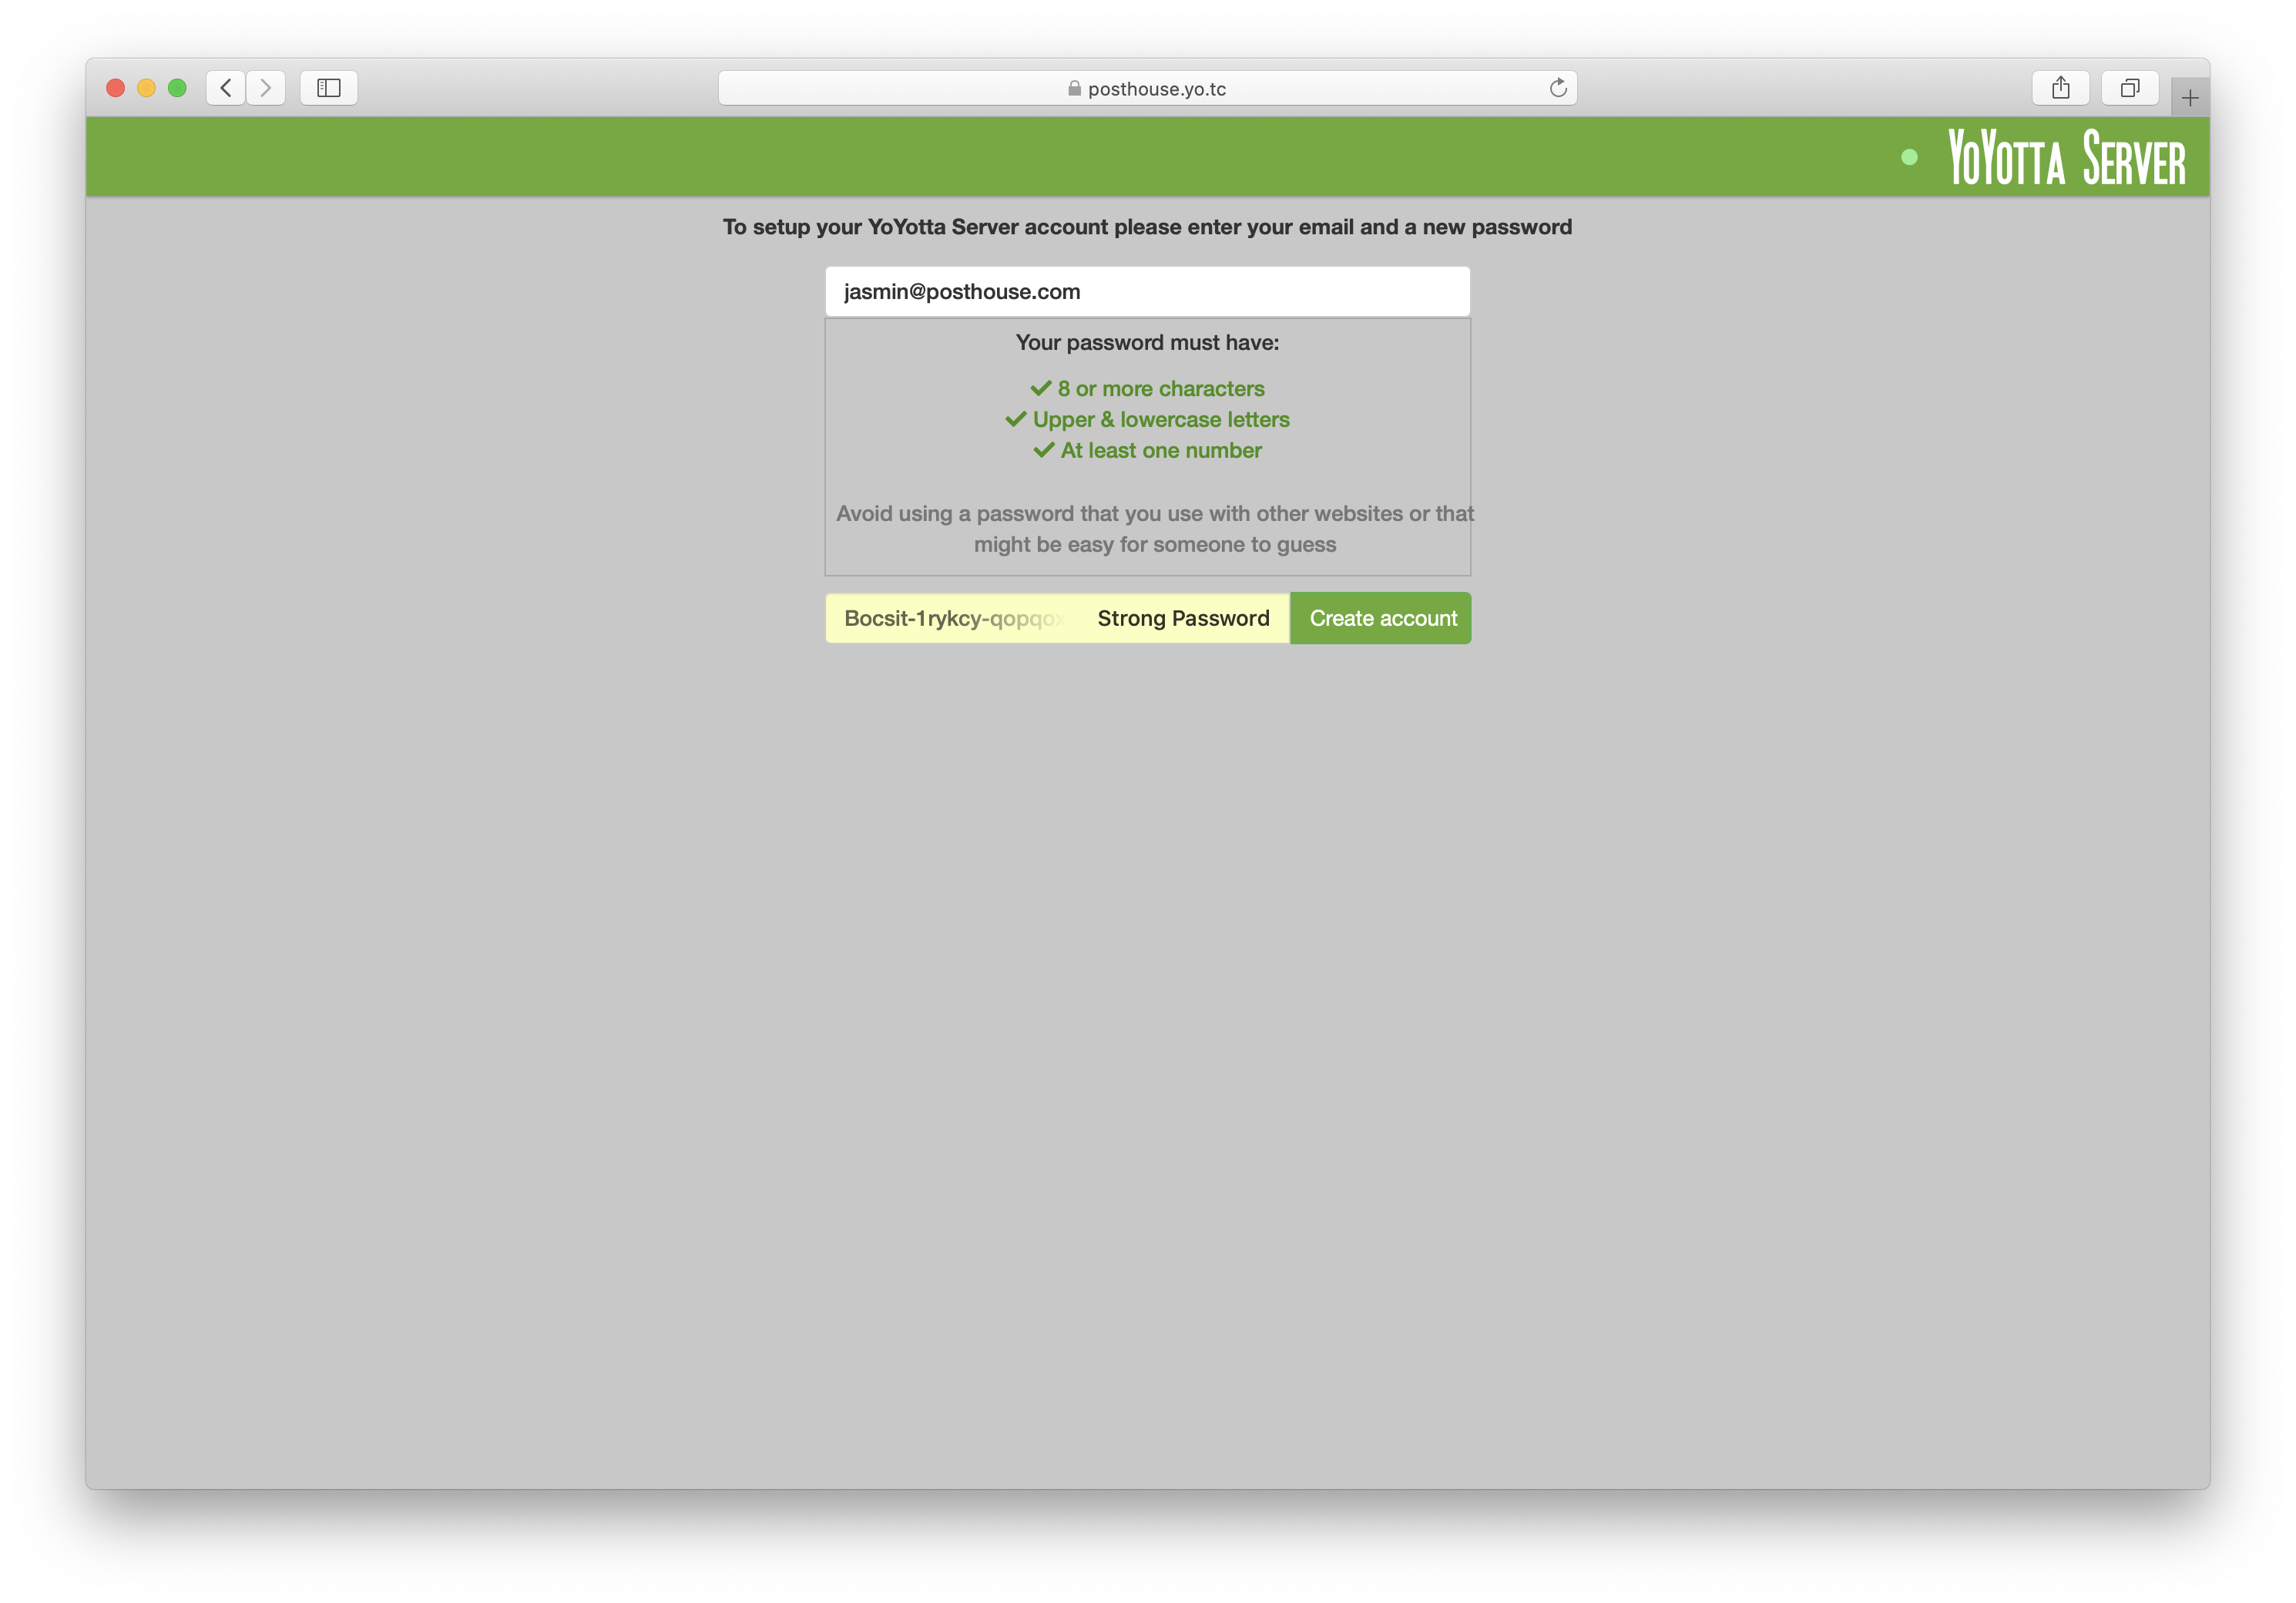
Enter the signup email and a new password.
After login you can create additional Admin + Staff users using other email addresses.

Admin users can access all projects, so it's best to create a staff account. Staff accounts have controlled access to collections of projects.
Setup staff logins for each staff member. Then they can login to the Server from the YoYotta Mac app to sync project metadata.
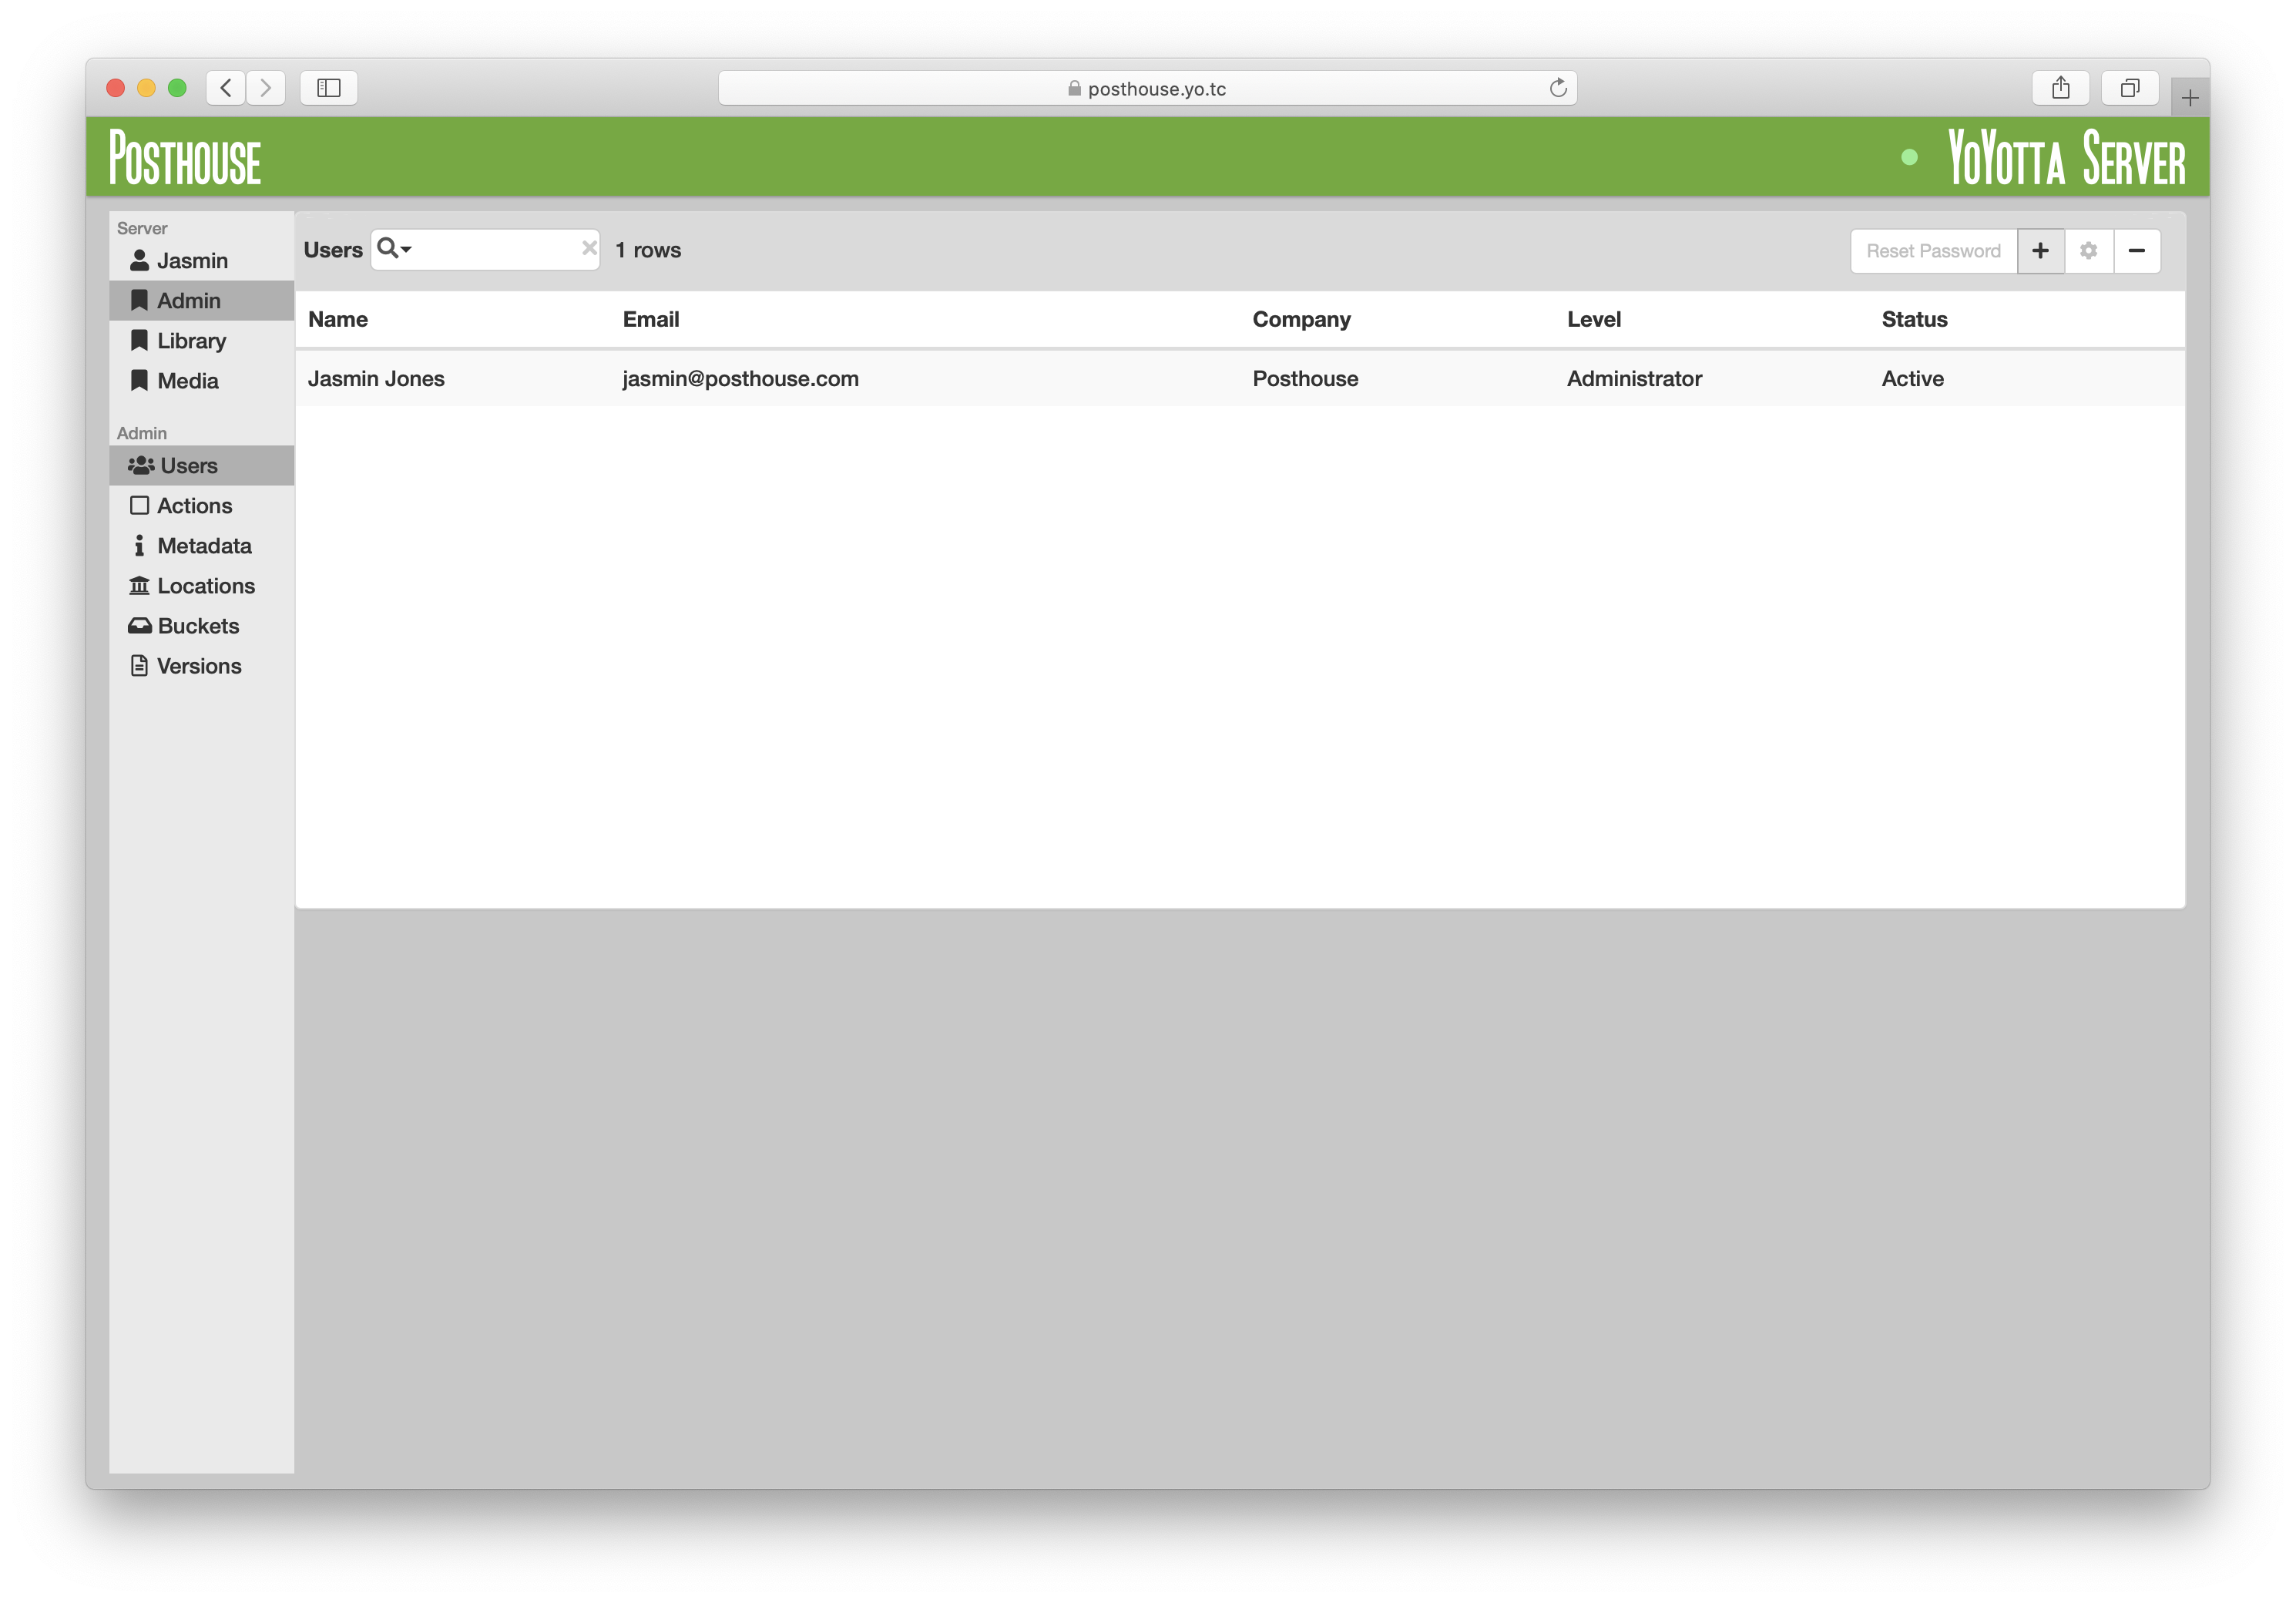
Select Admin in the sidebar, go to Users and click the + button.
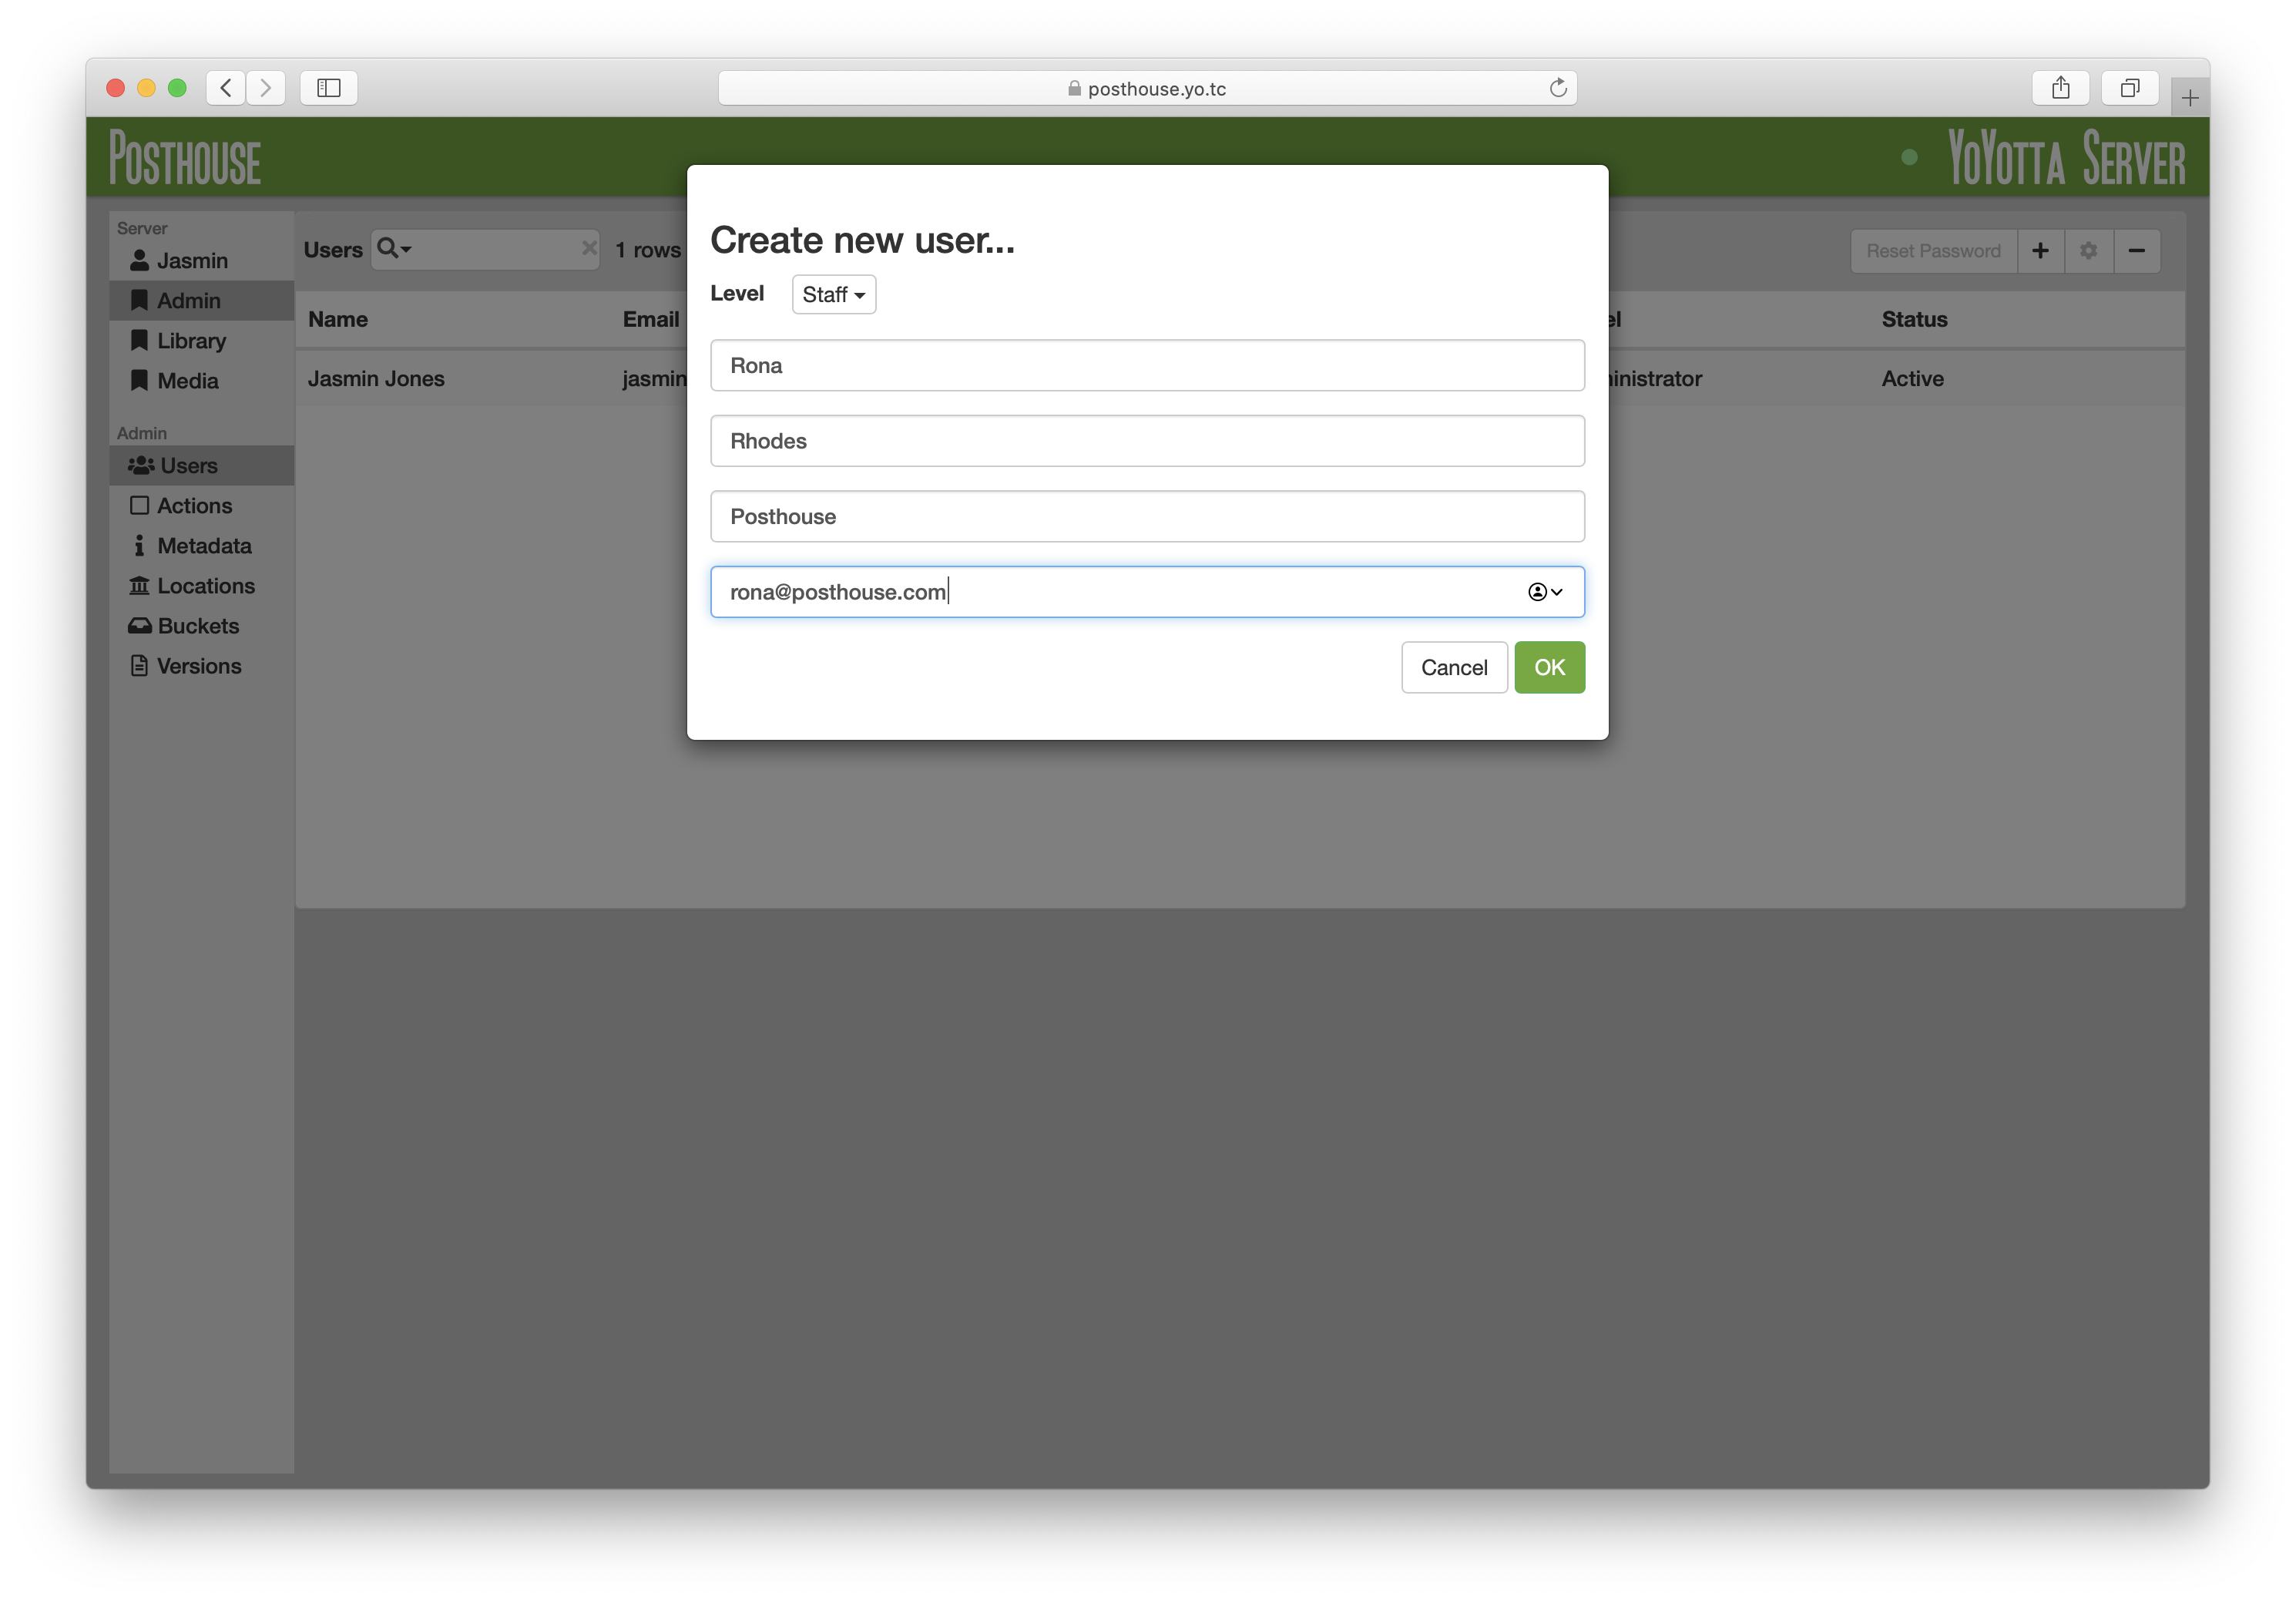
Staff Read + write access to selected Collections of projects
Admin Admin users can create new Collections and access all projects.
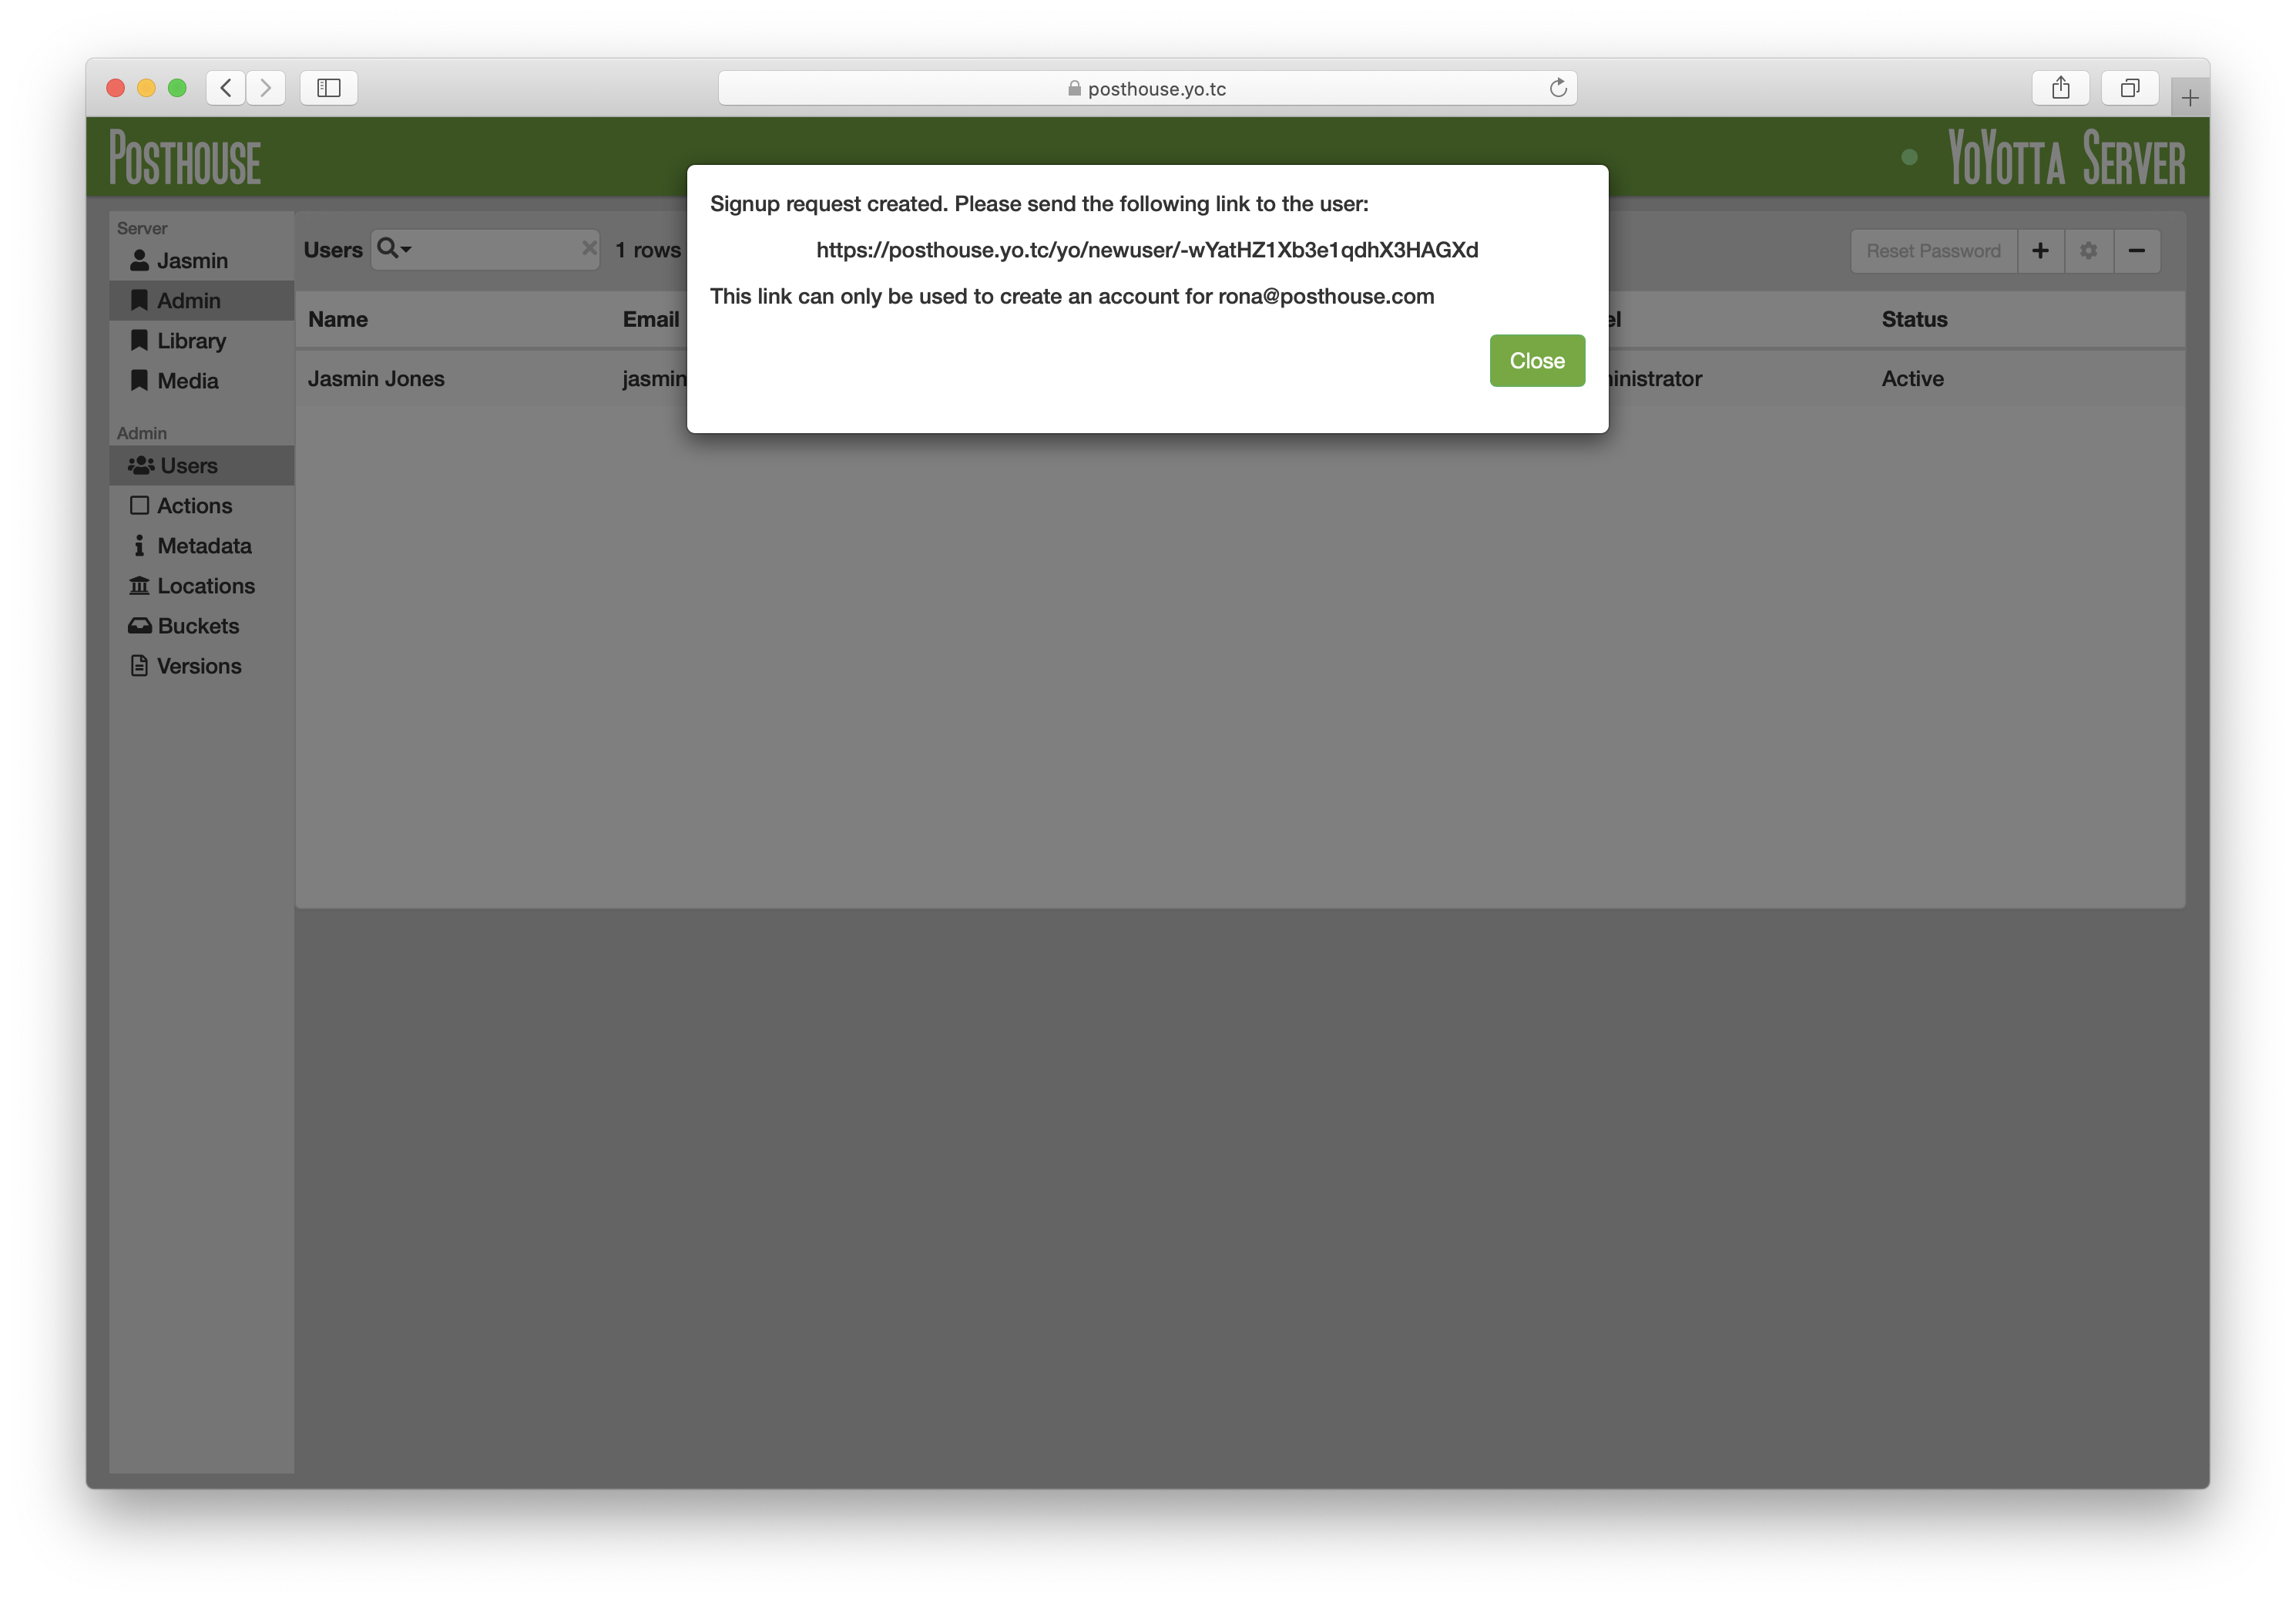
Copy the invite link and send it to the member of staff
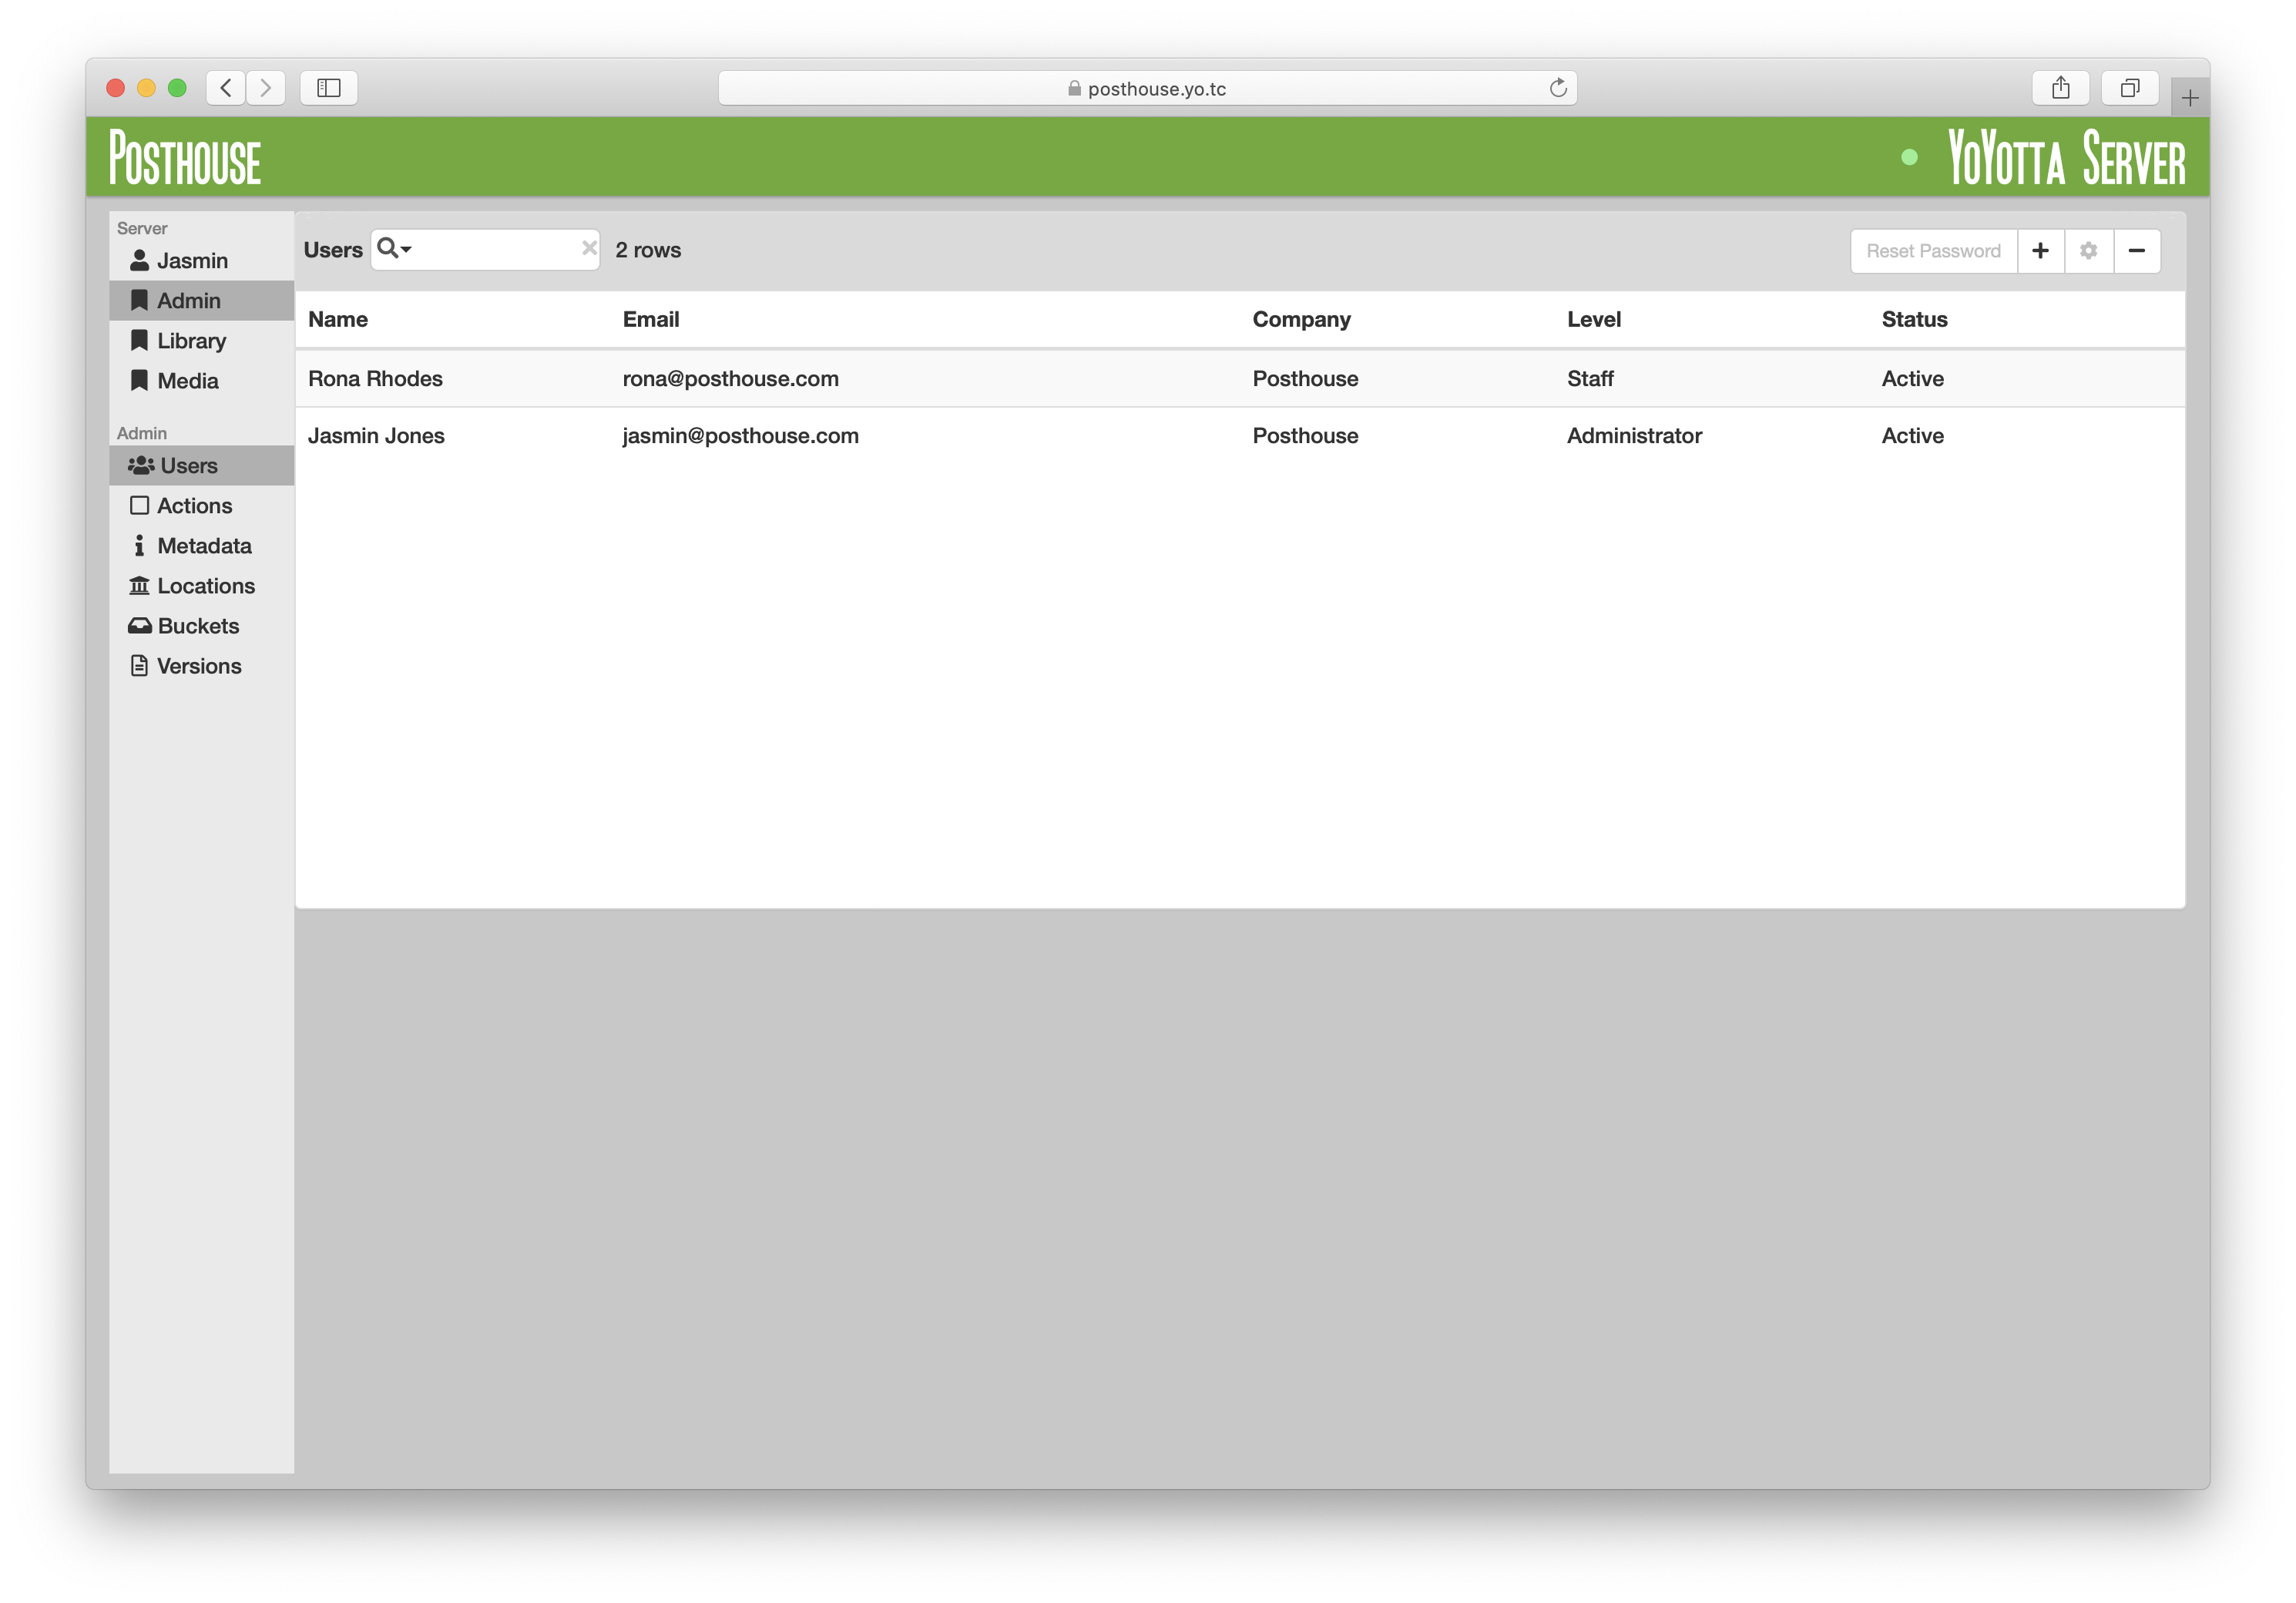
When they use the invite they will become an Active user.
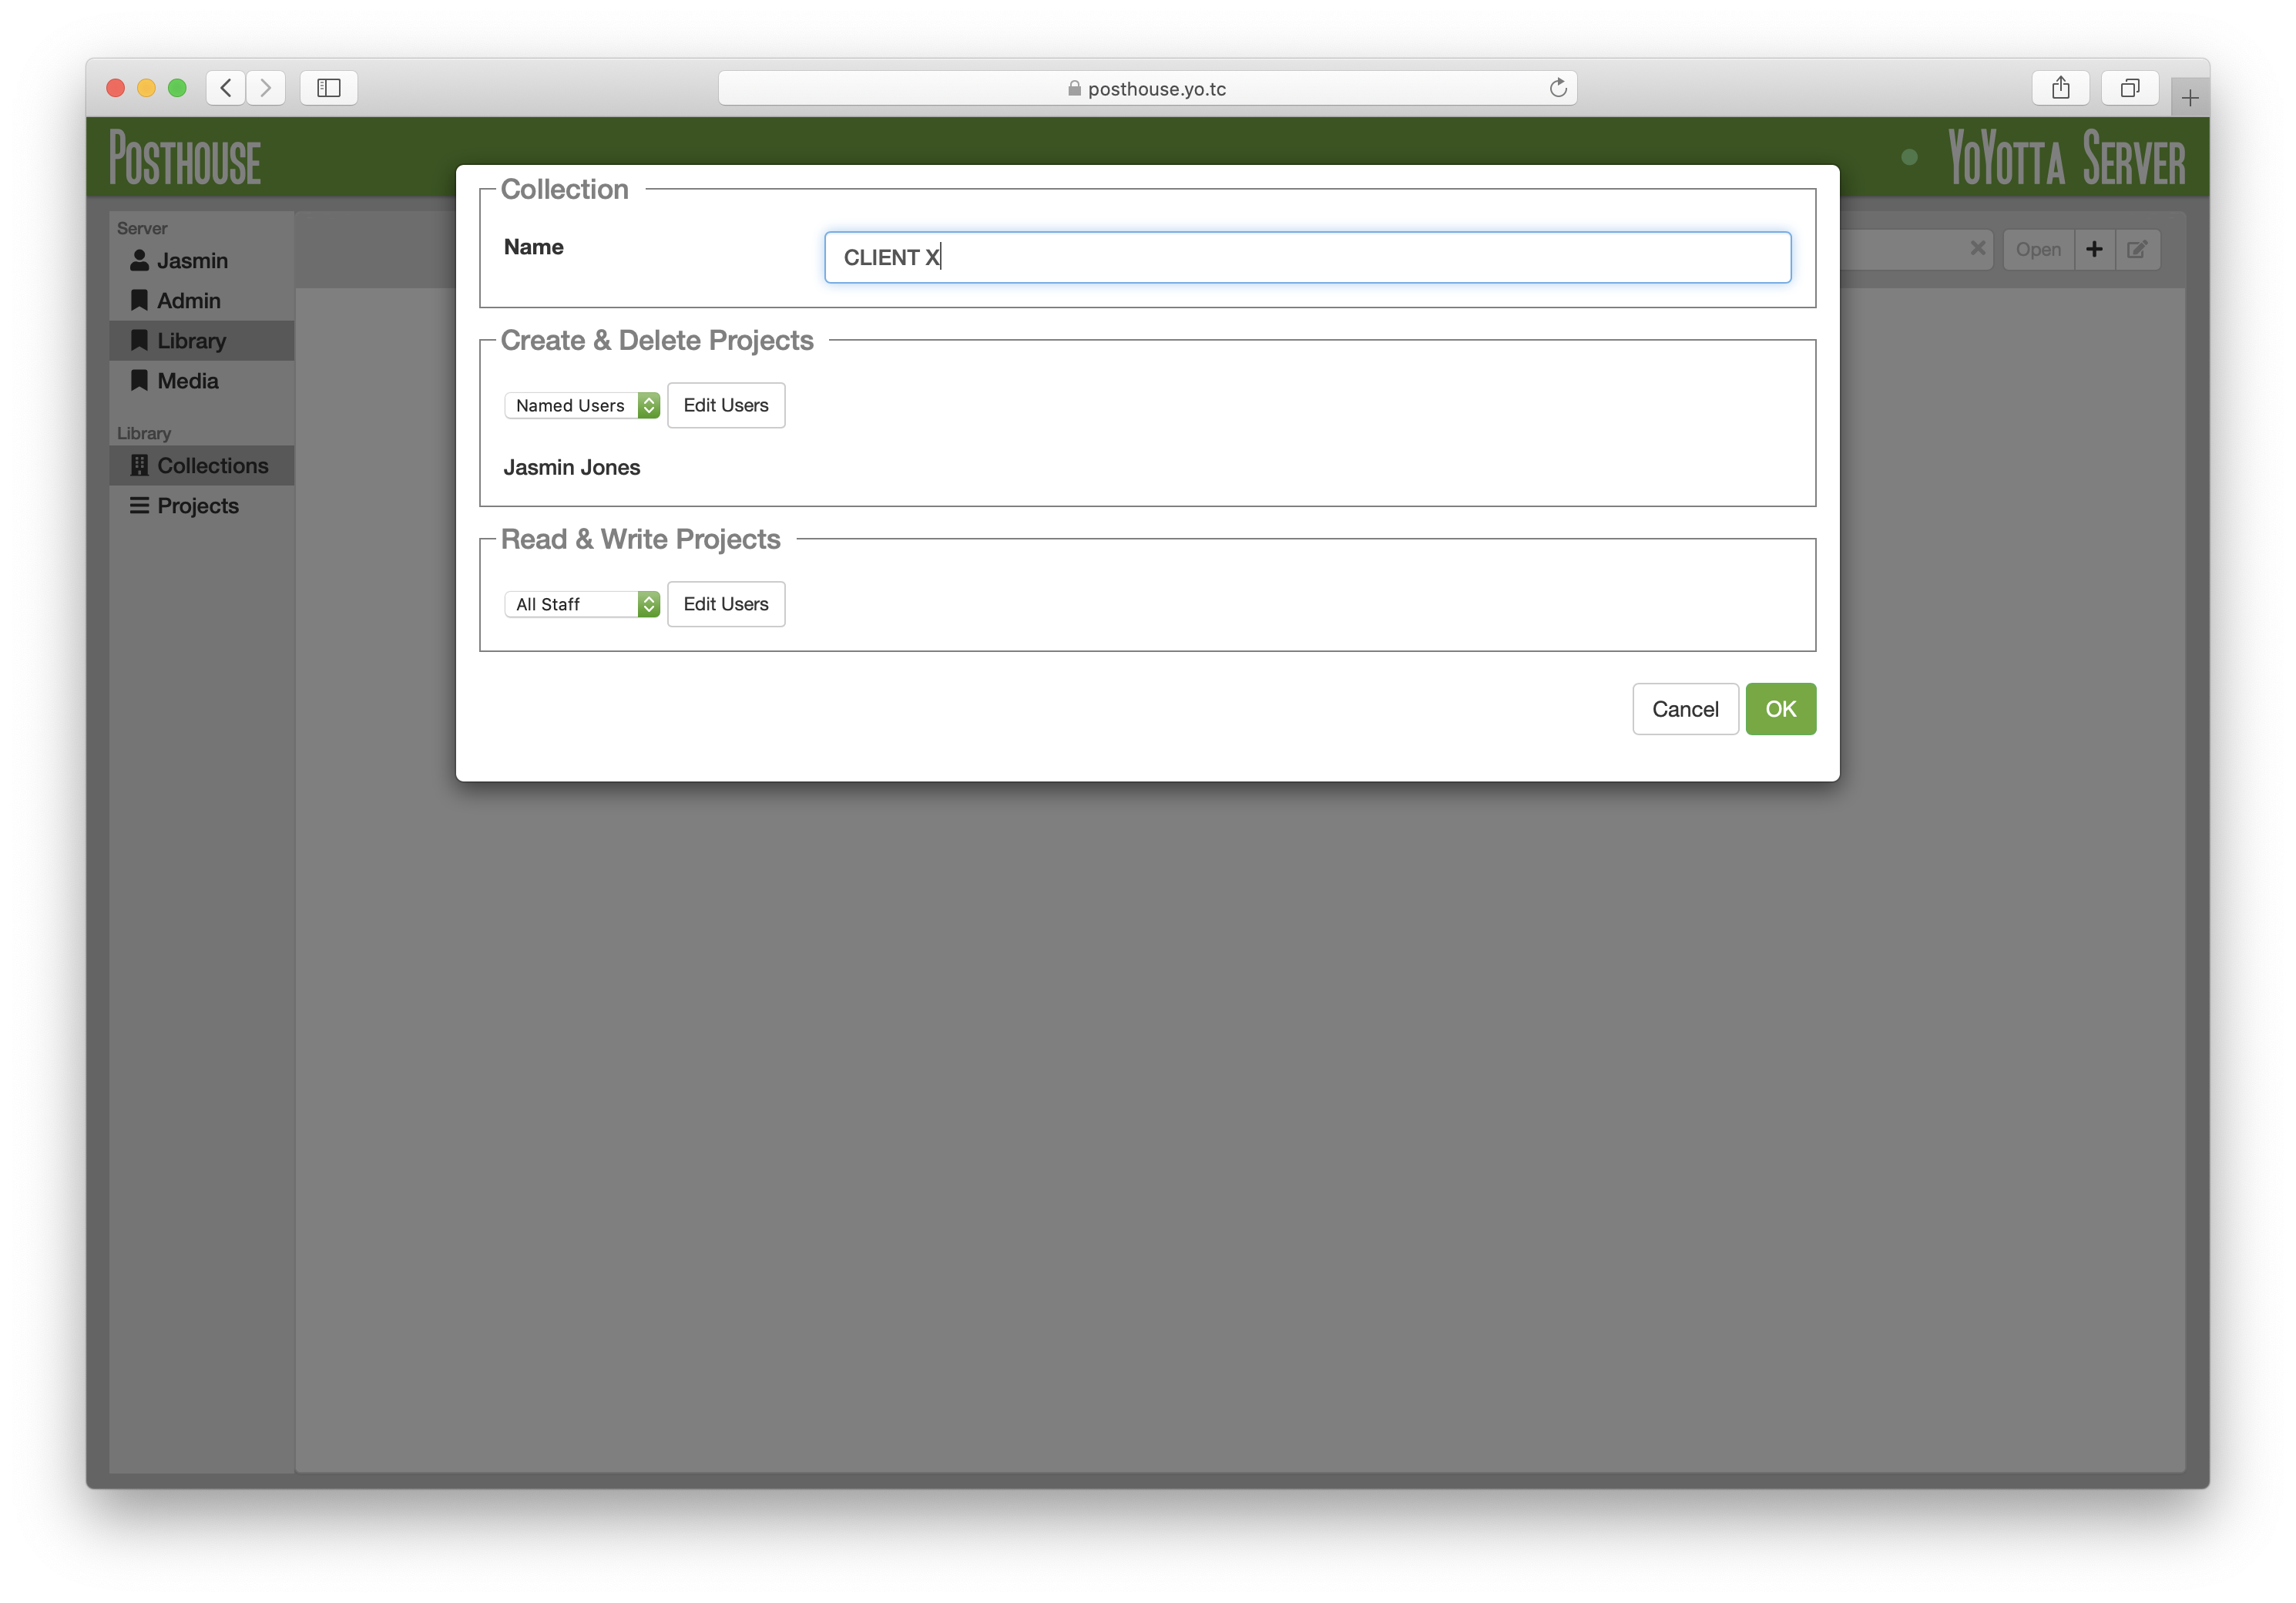
Projects are grouped together in collections. Collections might be named after clients or types of work. There must be at least one Collection.
Go to Library in the sidebar and select Collections.
Then add a New Collection using the dropdown menu on the right of the table header. Admin users can create and delete projects in this collection, this can be set to All Staff or Named Users.
By default All Staff can read and write projects this can also be limited to named staff.
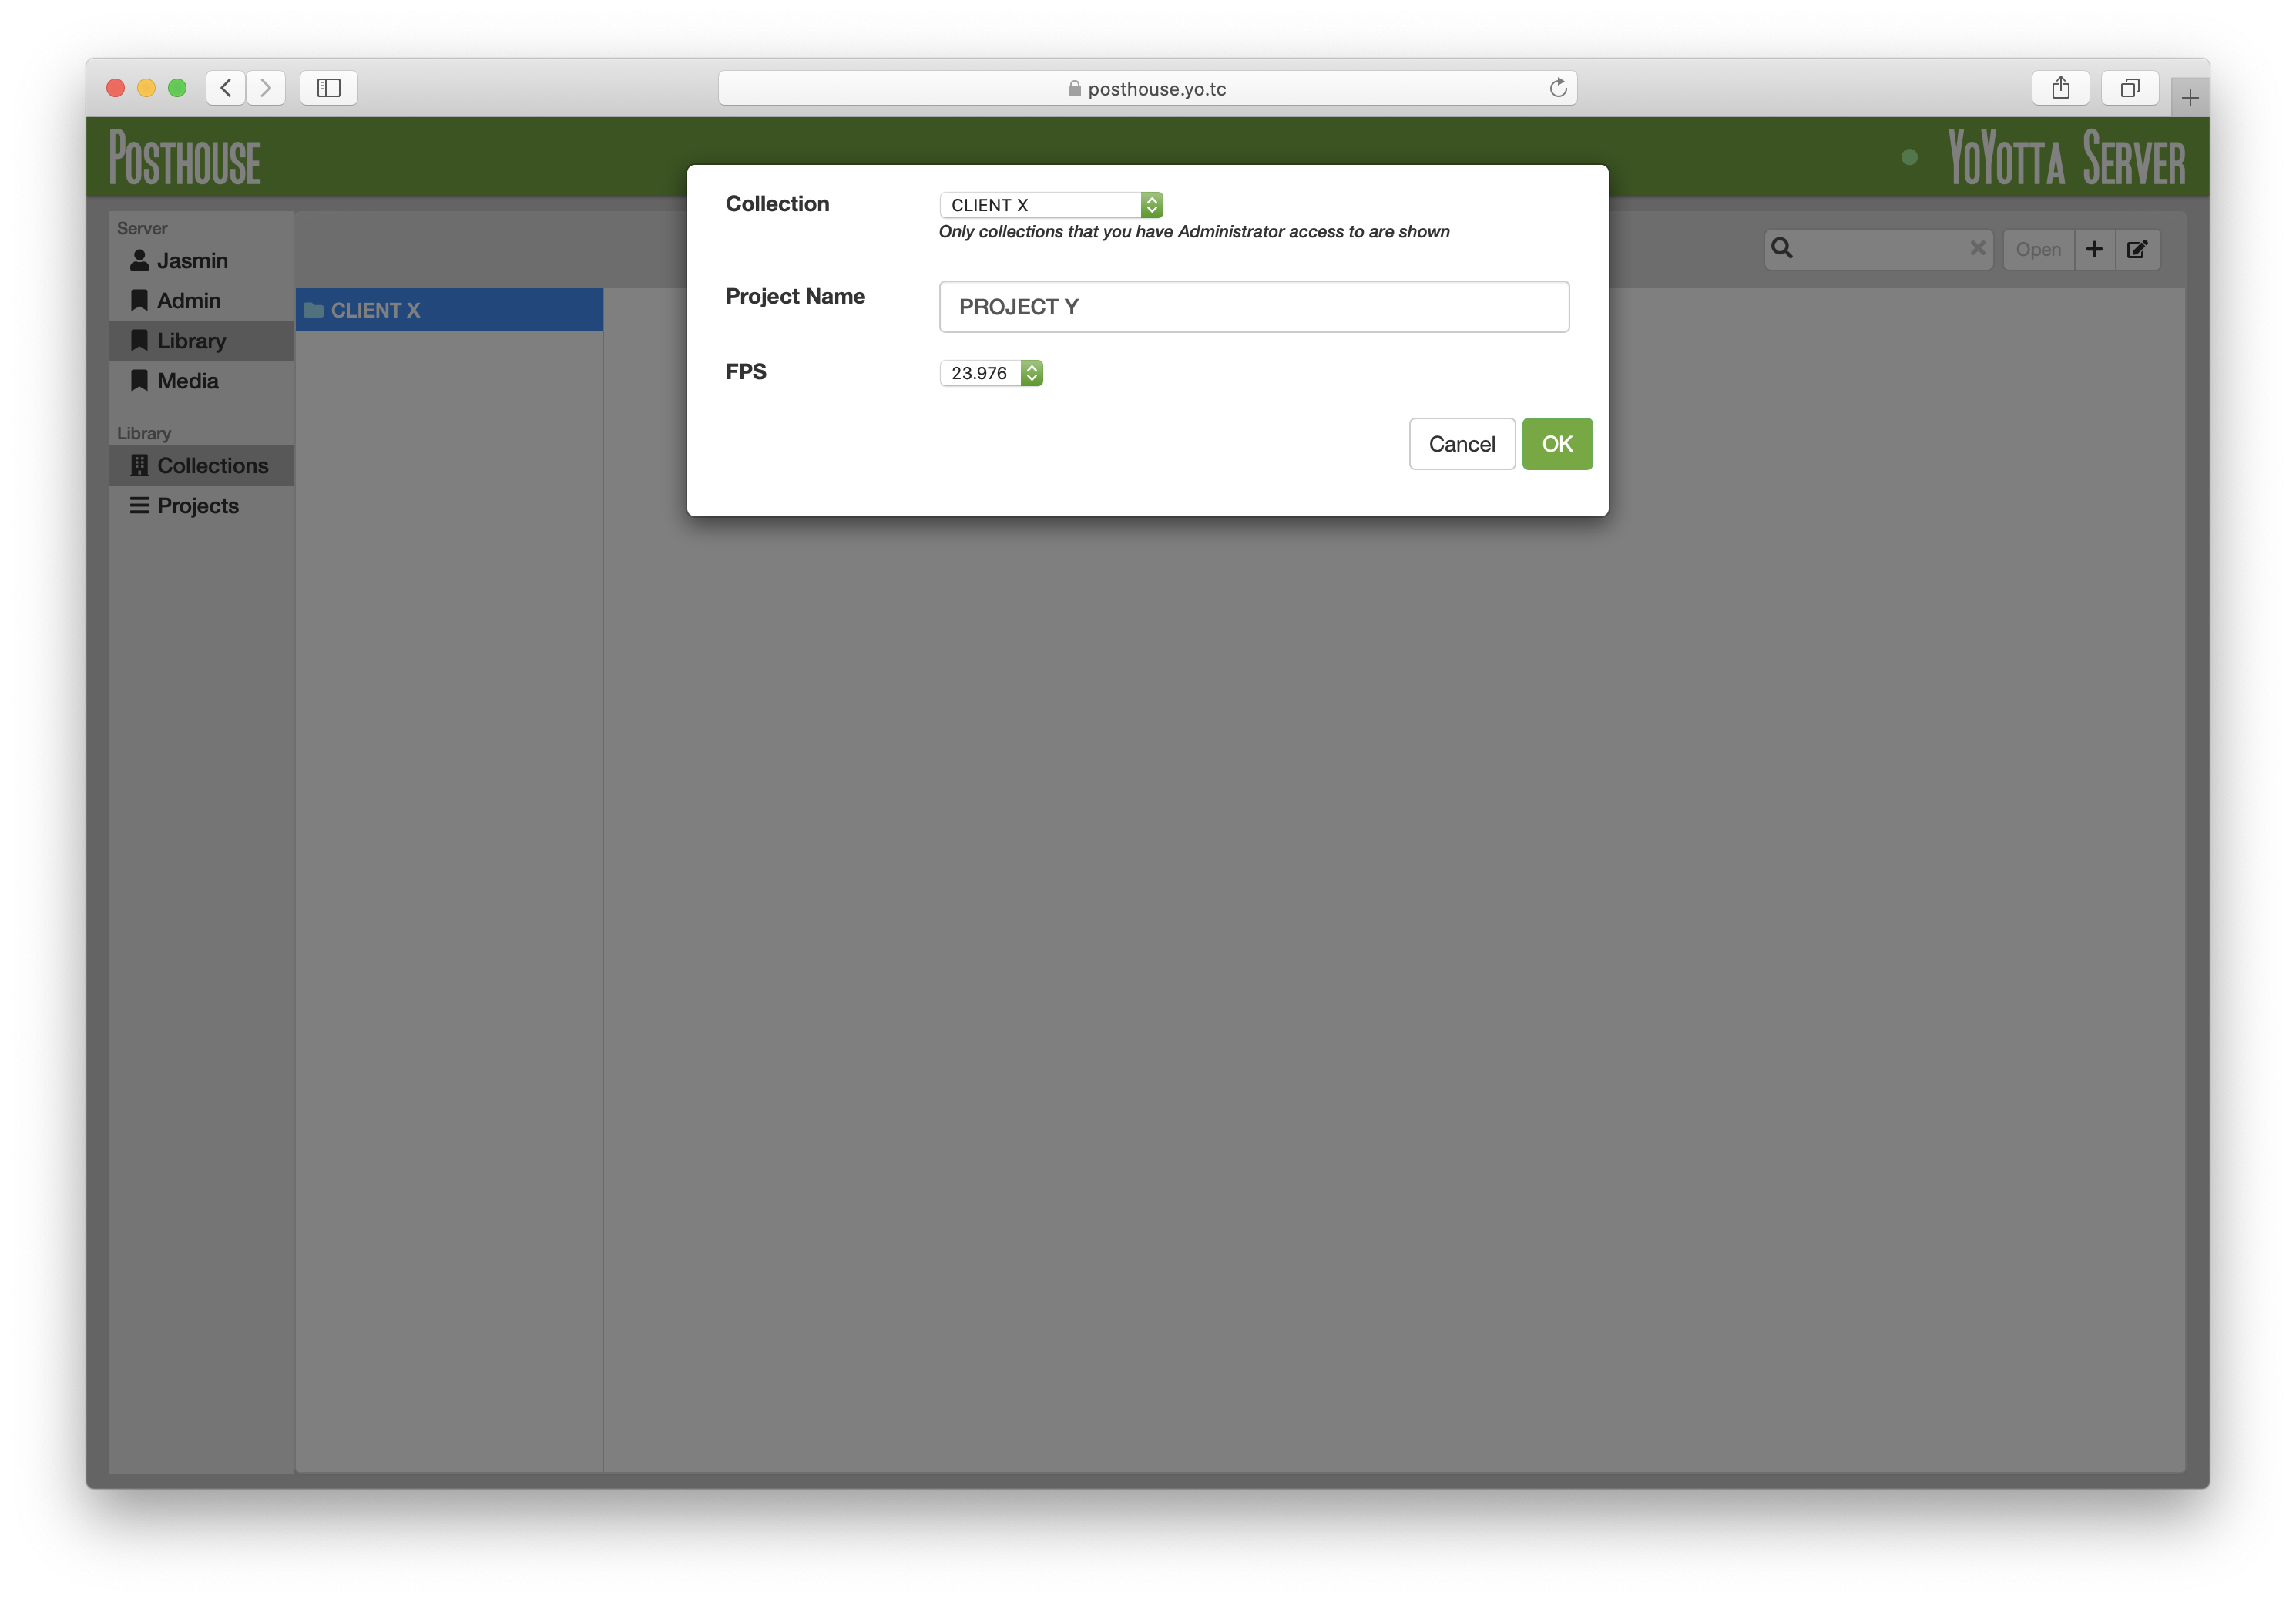
Select a collection and click the + button. Enter a project name.
Also set the project frame rate. This allows YoYotta to flag clips that are off-speed, this can be changed later
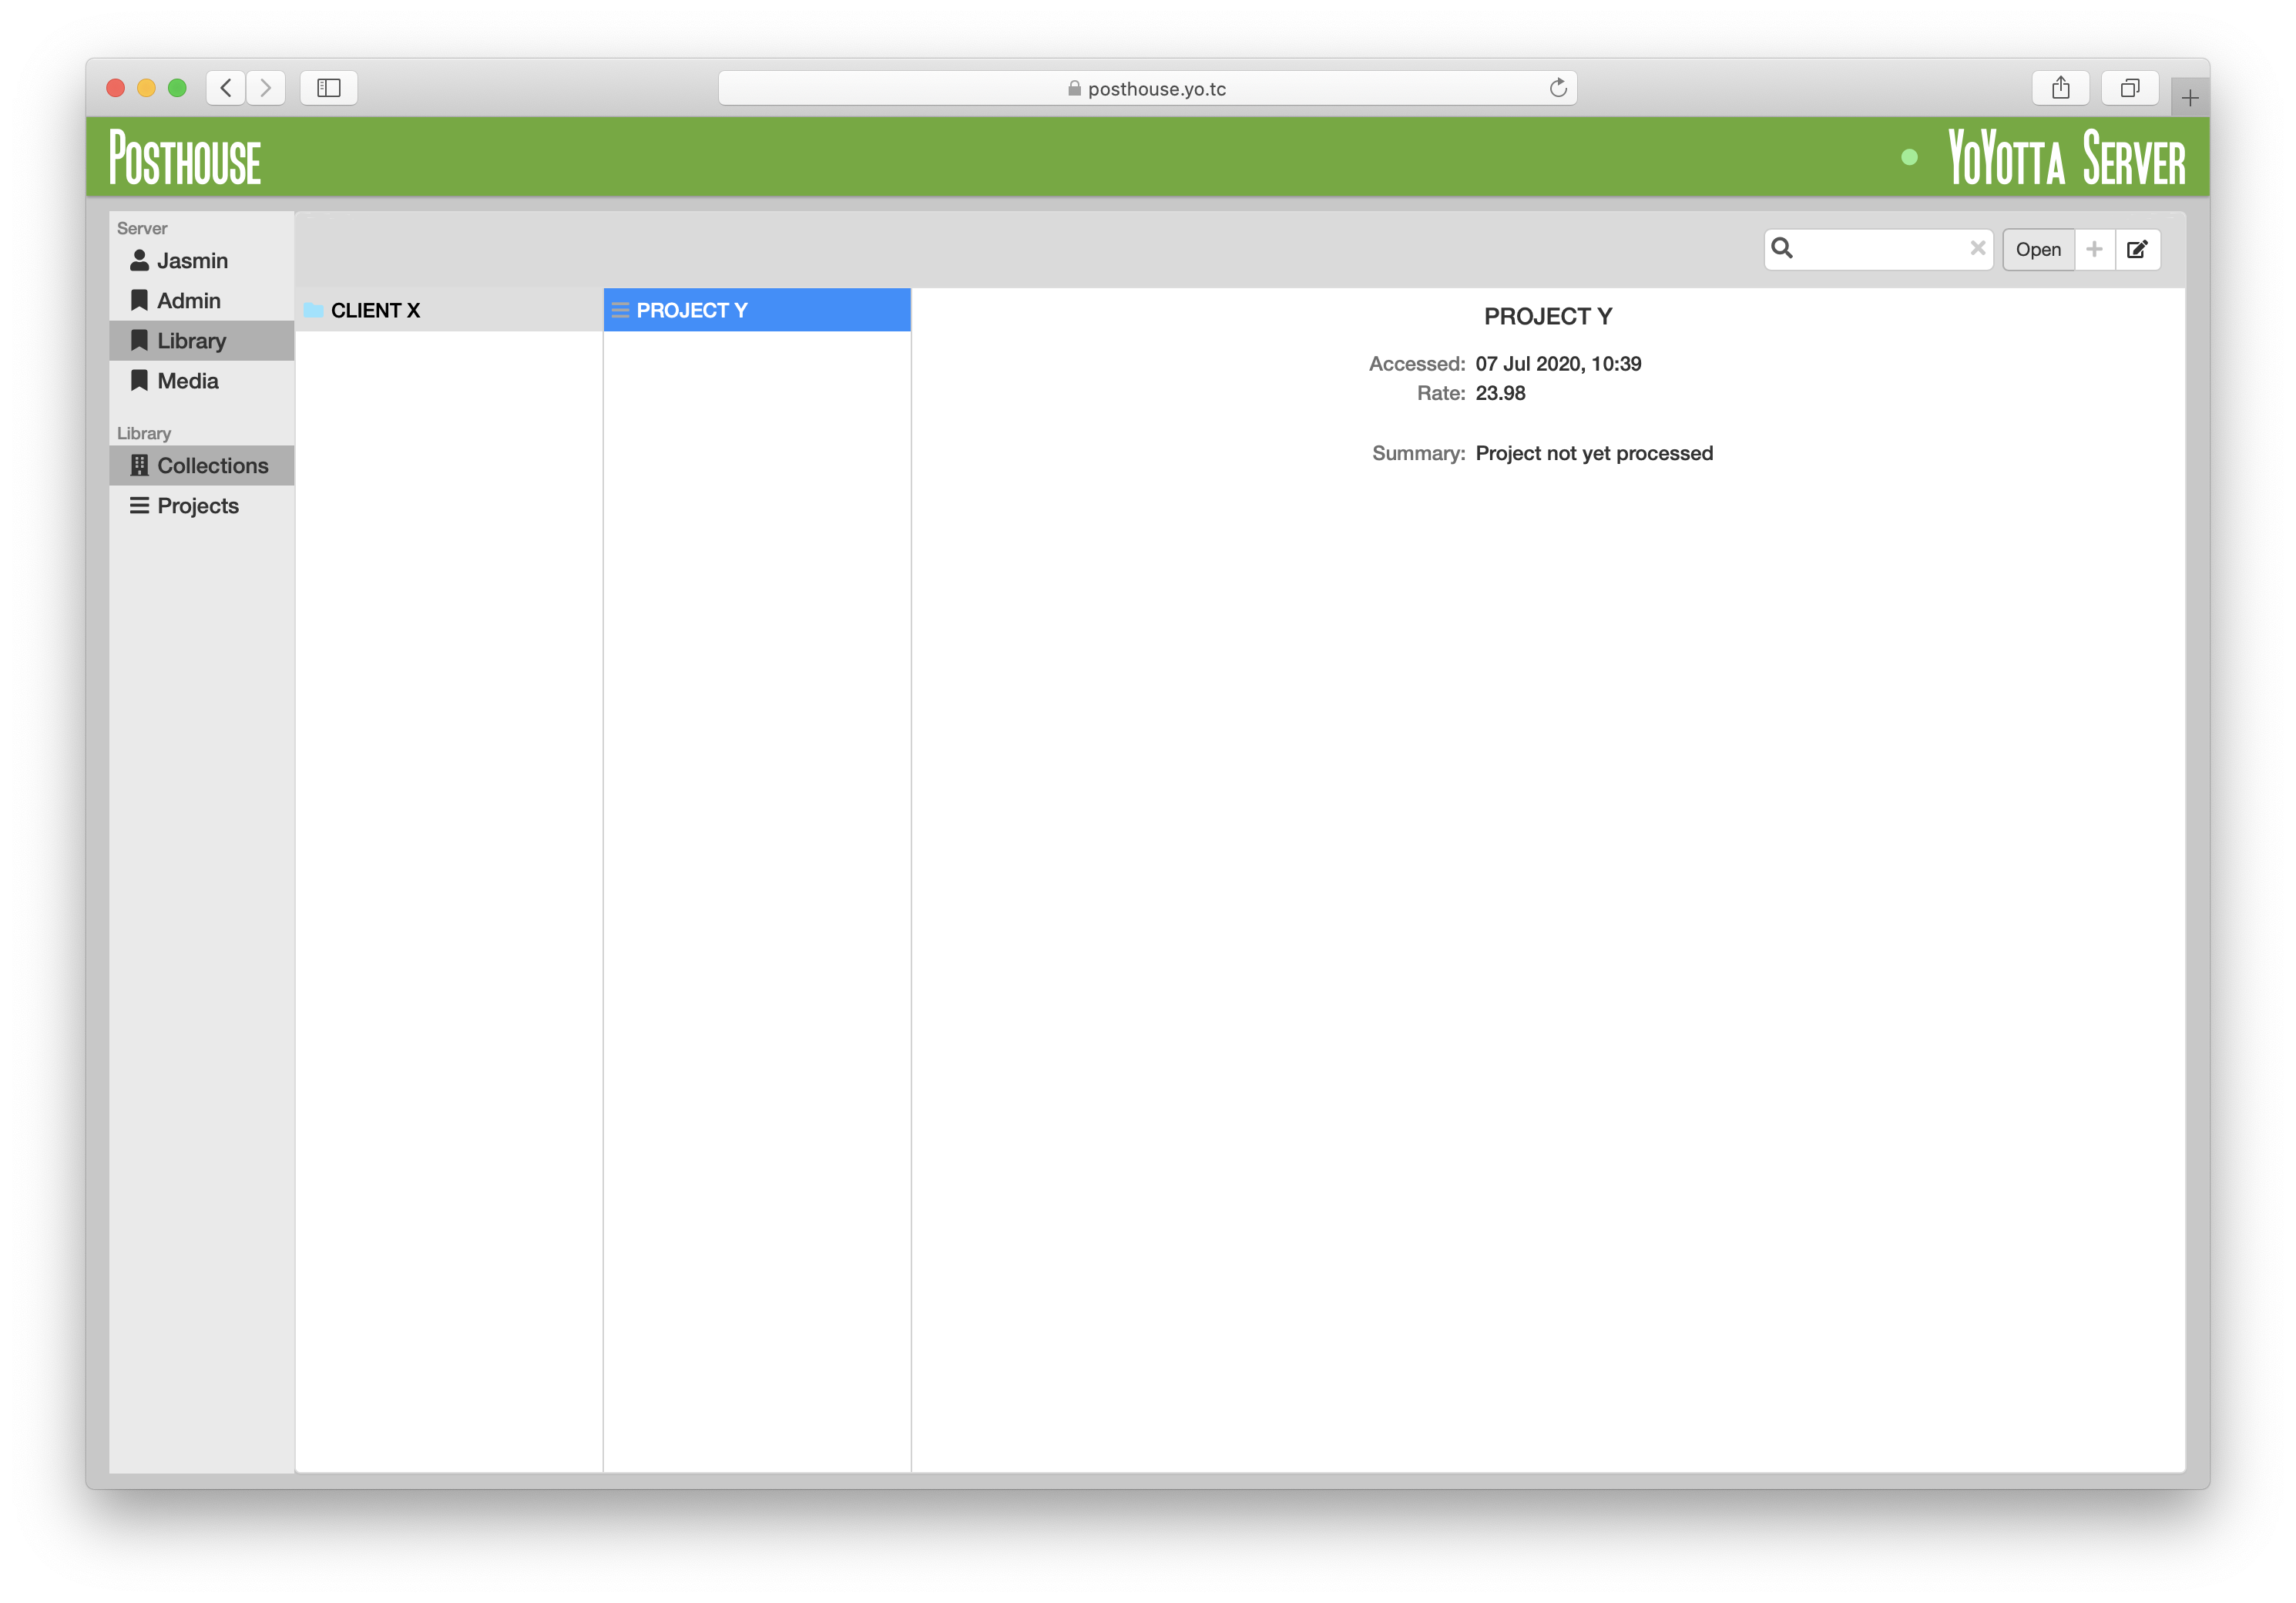
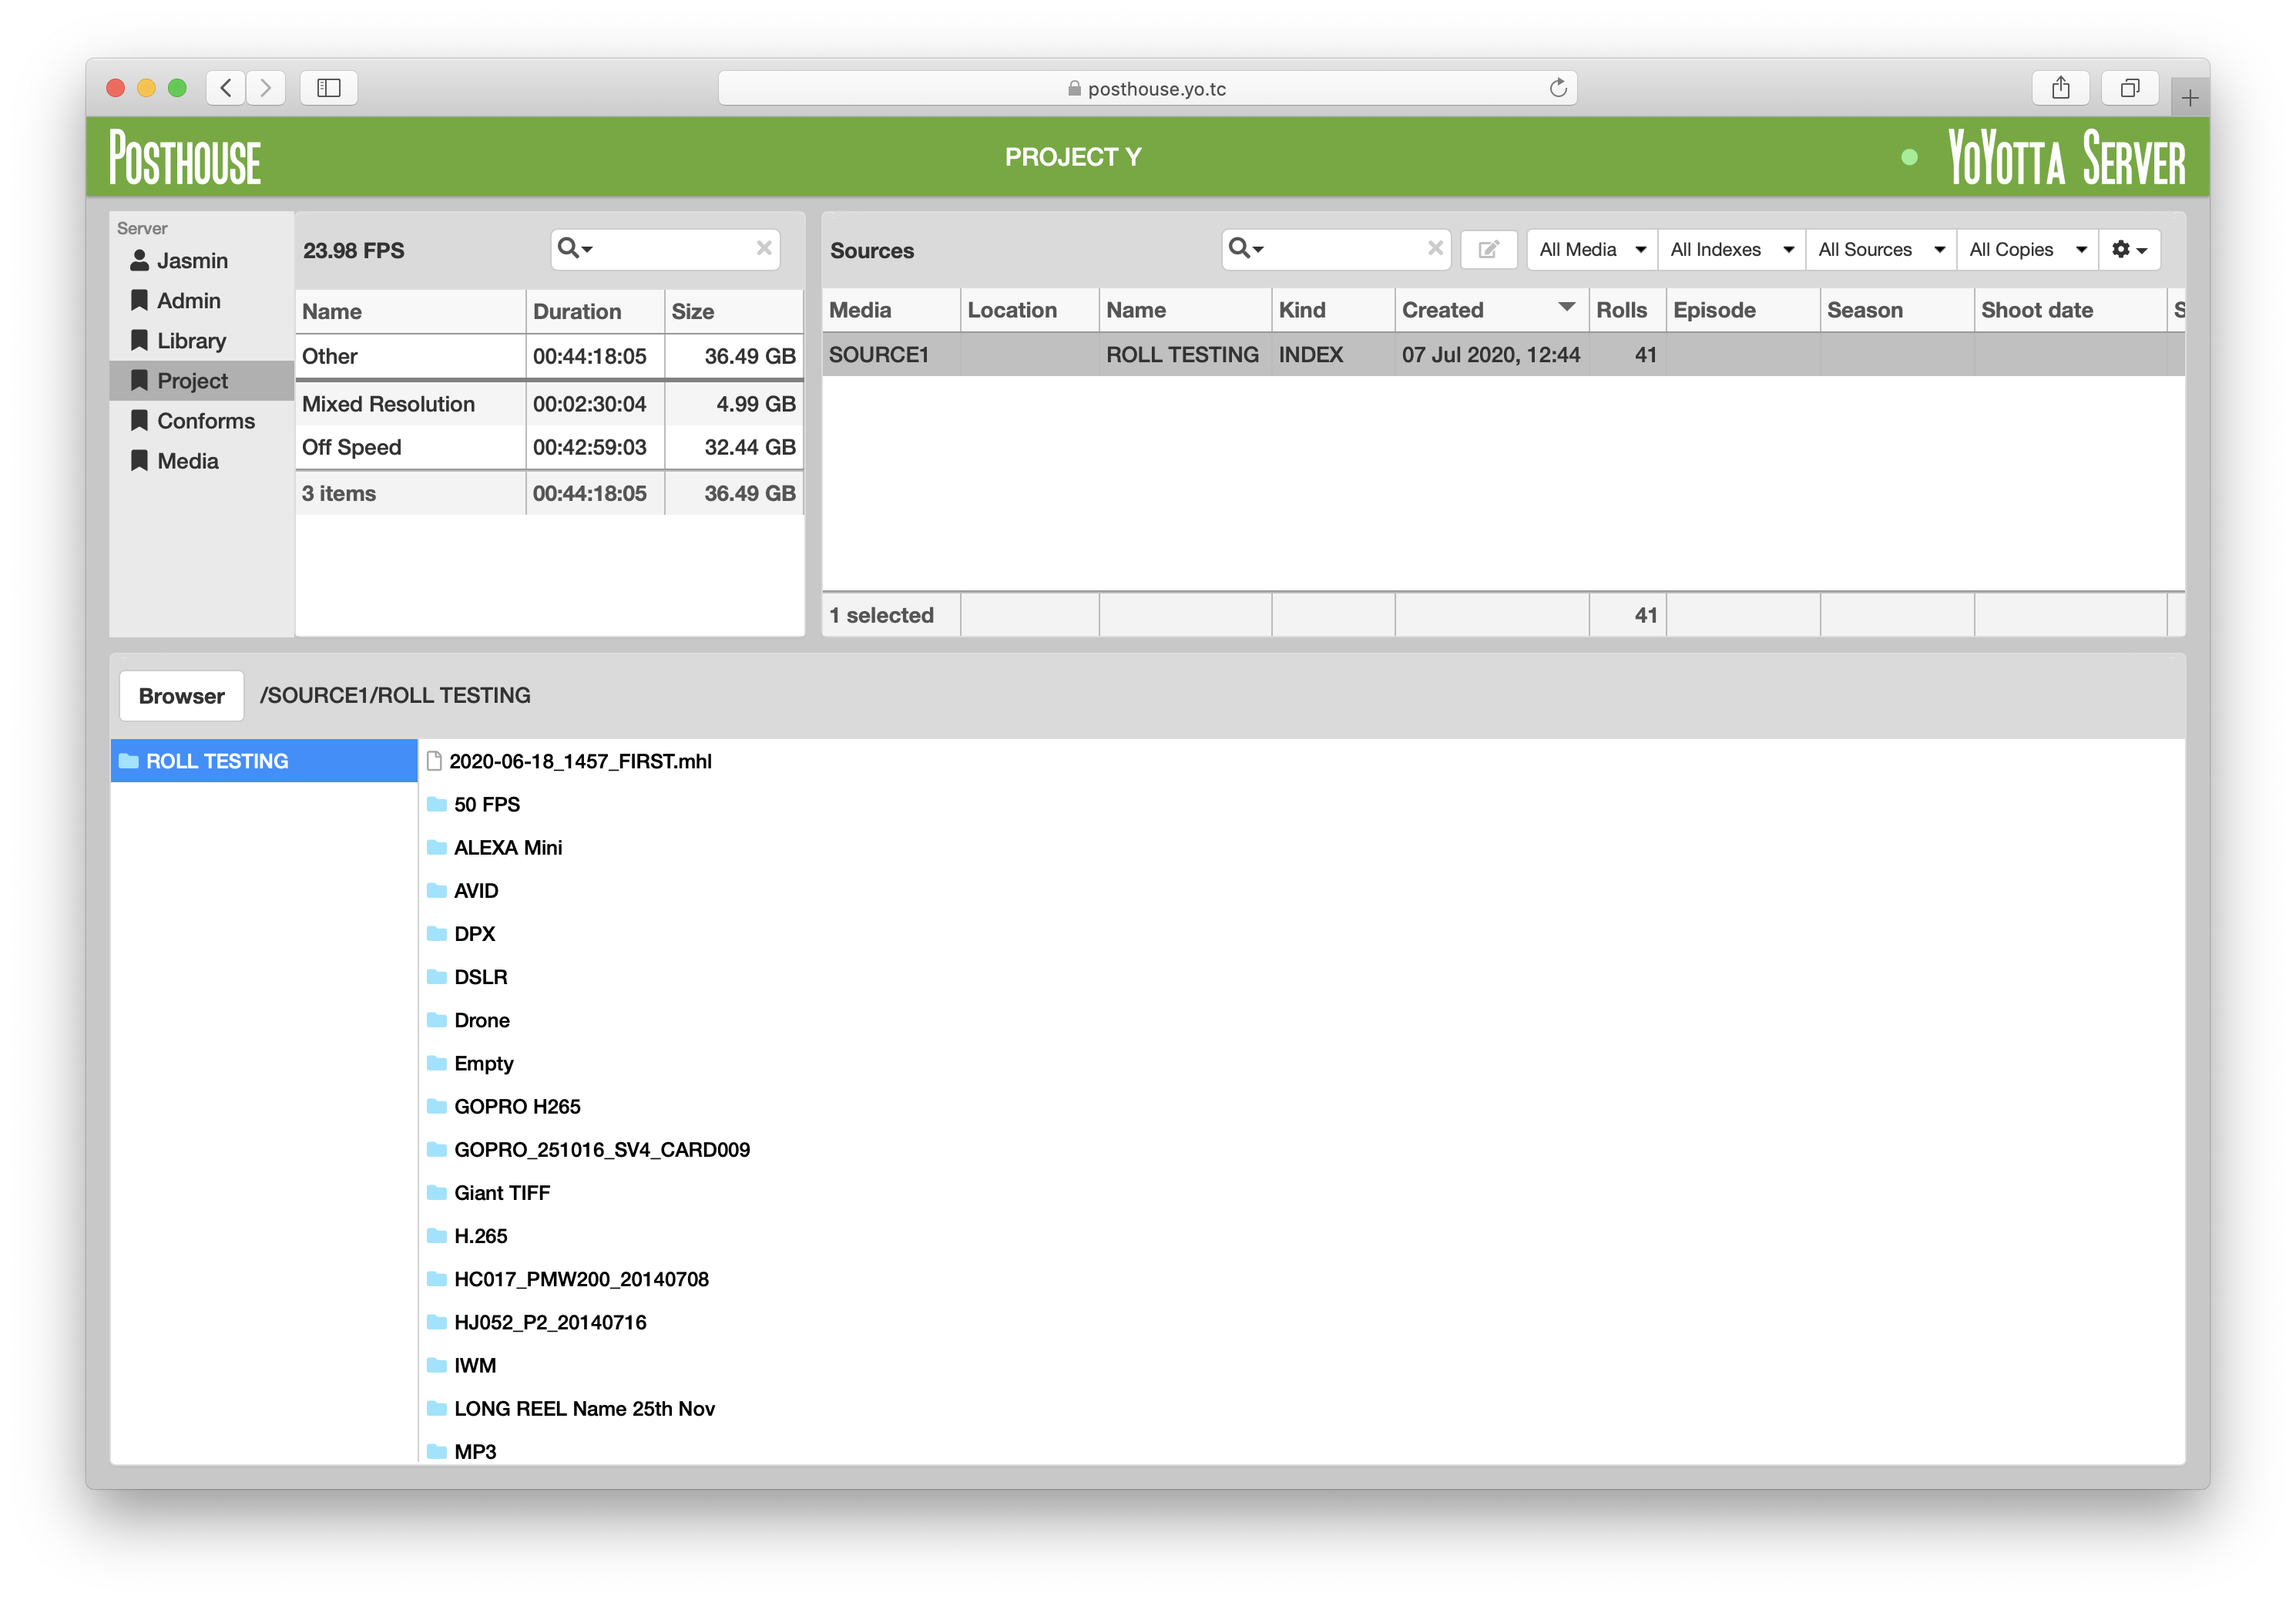
Select the project and click Open
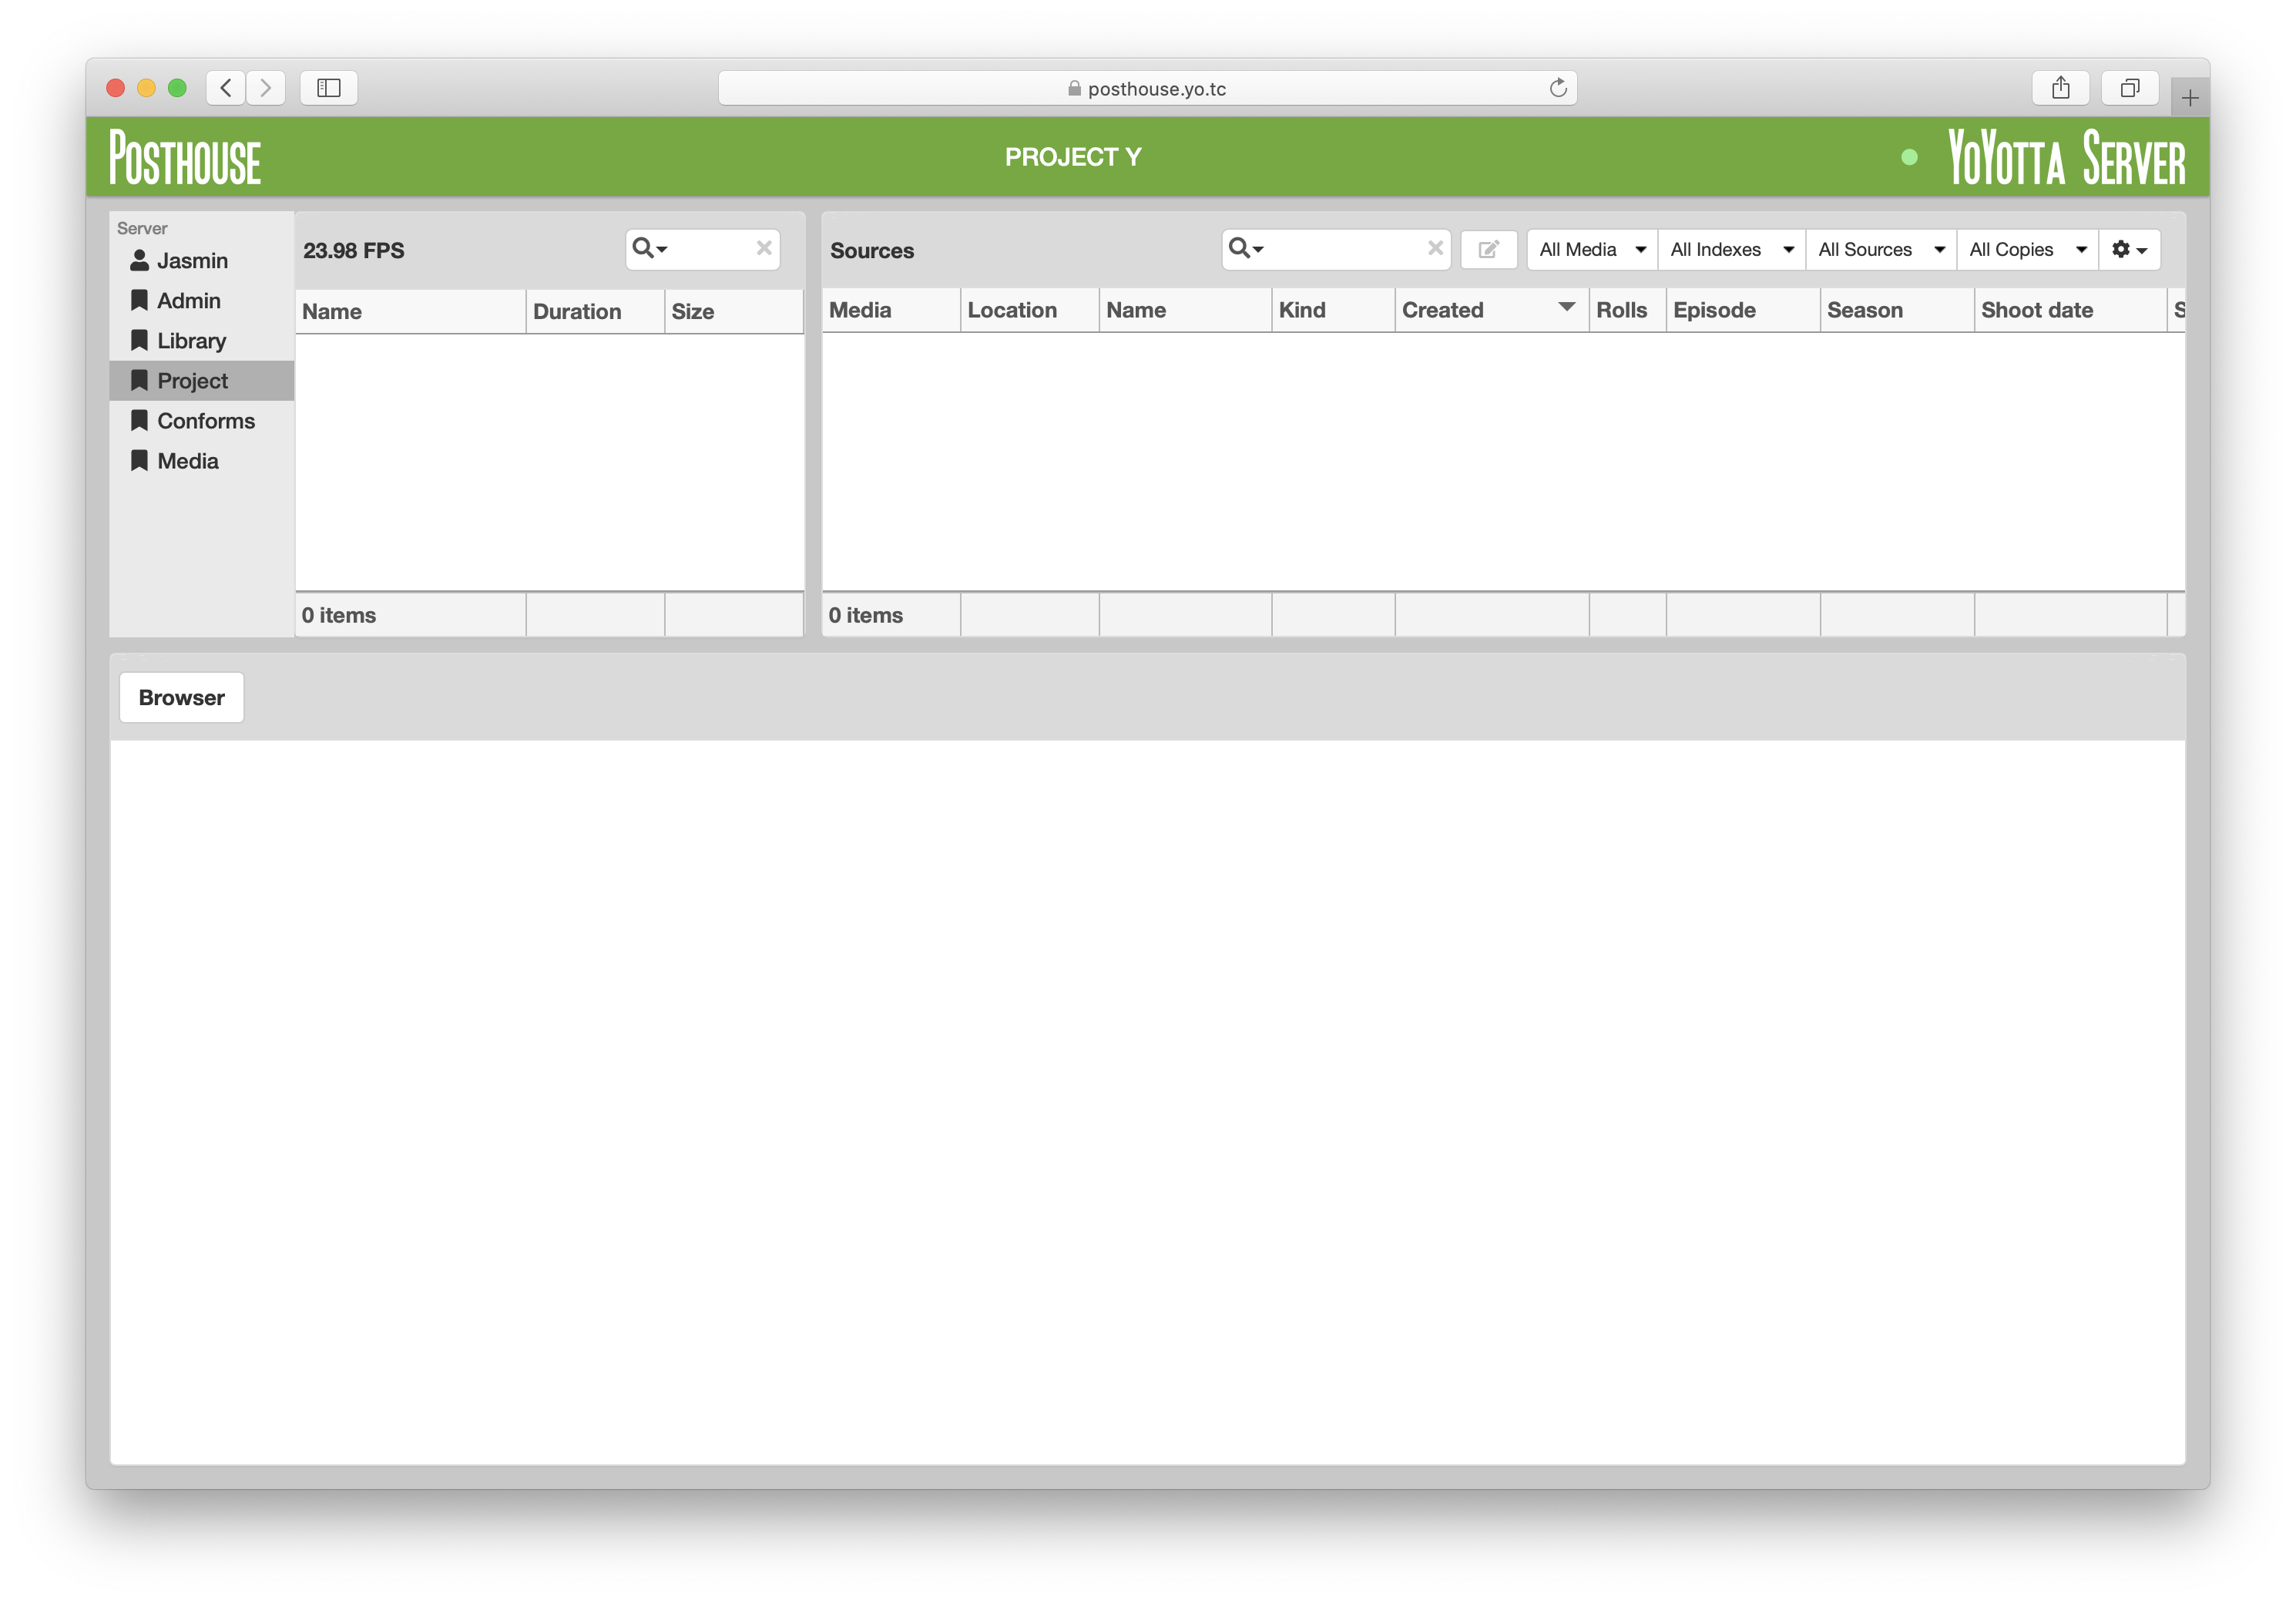
PROJECT Y is now open showing no sources

The Mac must be running YoYotta v4 or v3 (141)
Log in to the Server using the staff account email and password.
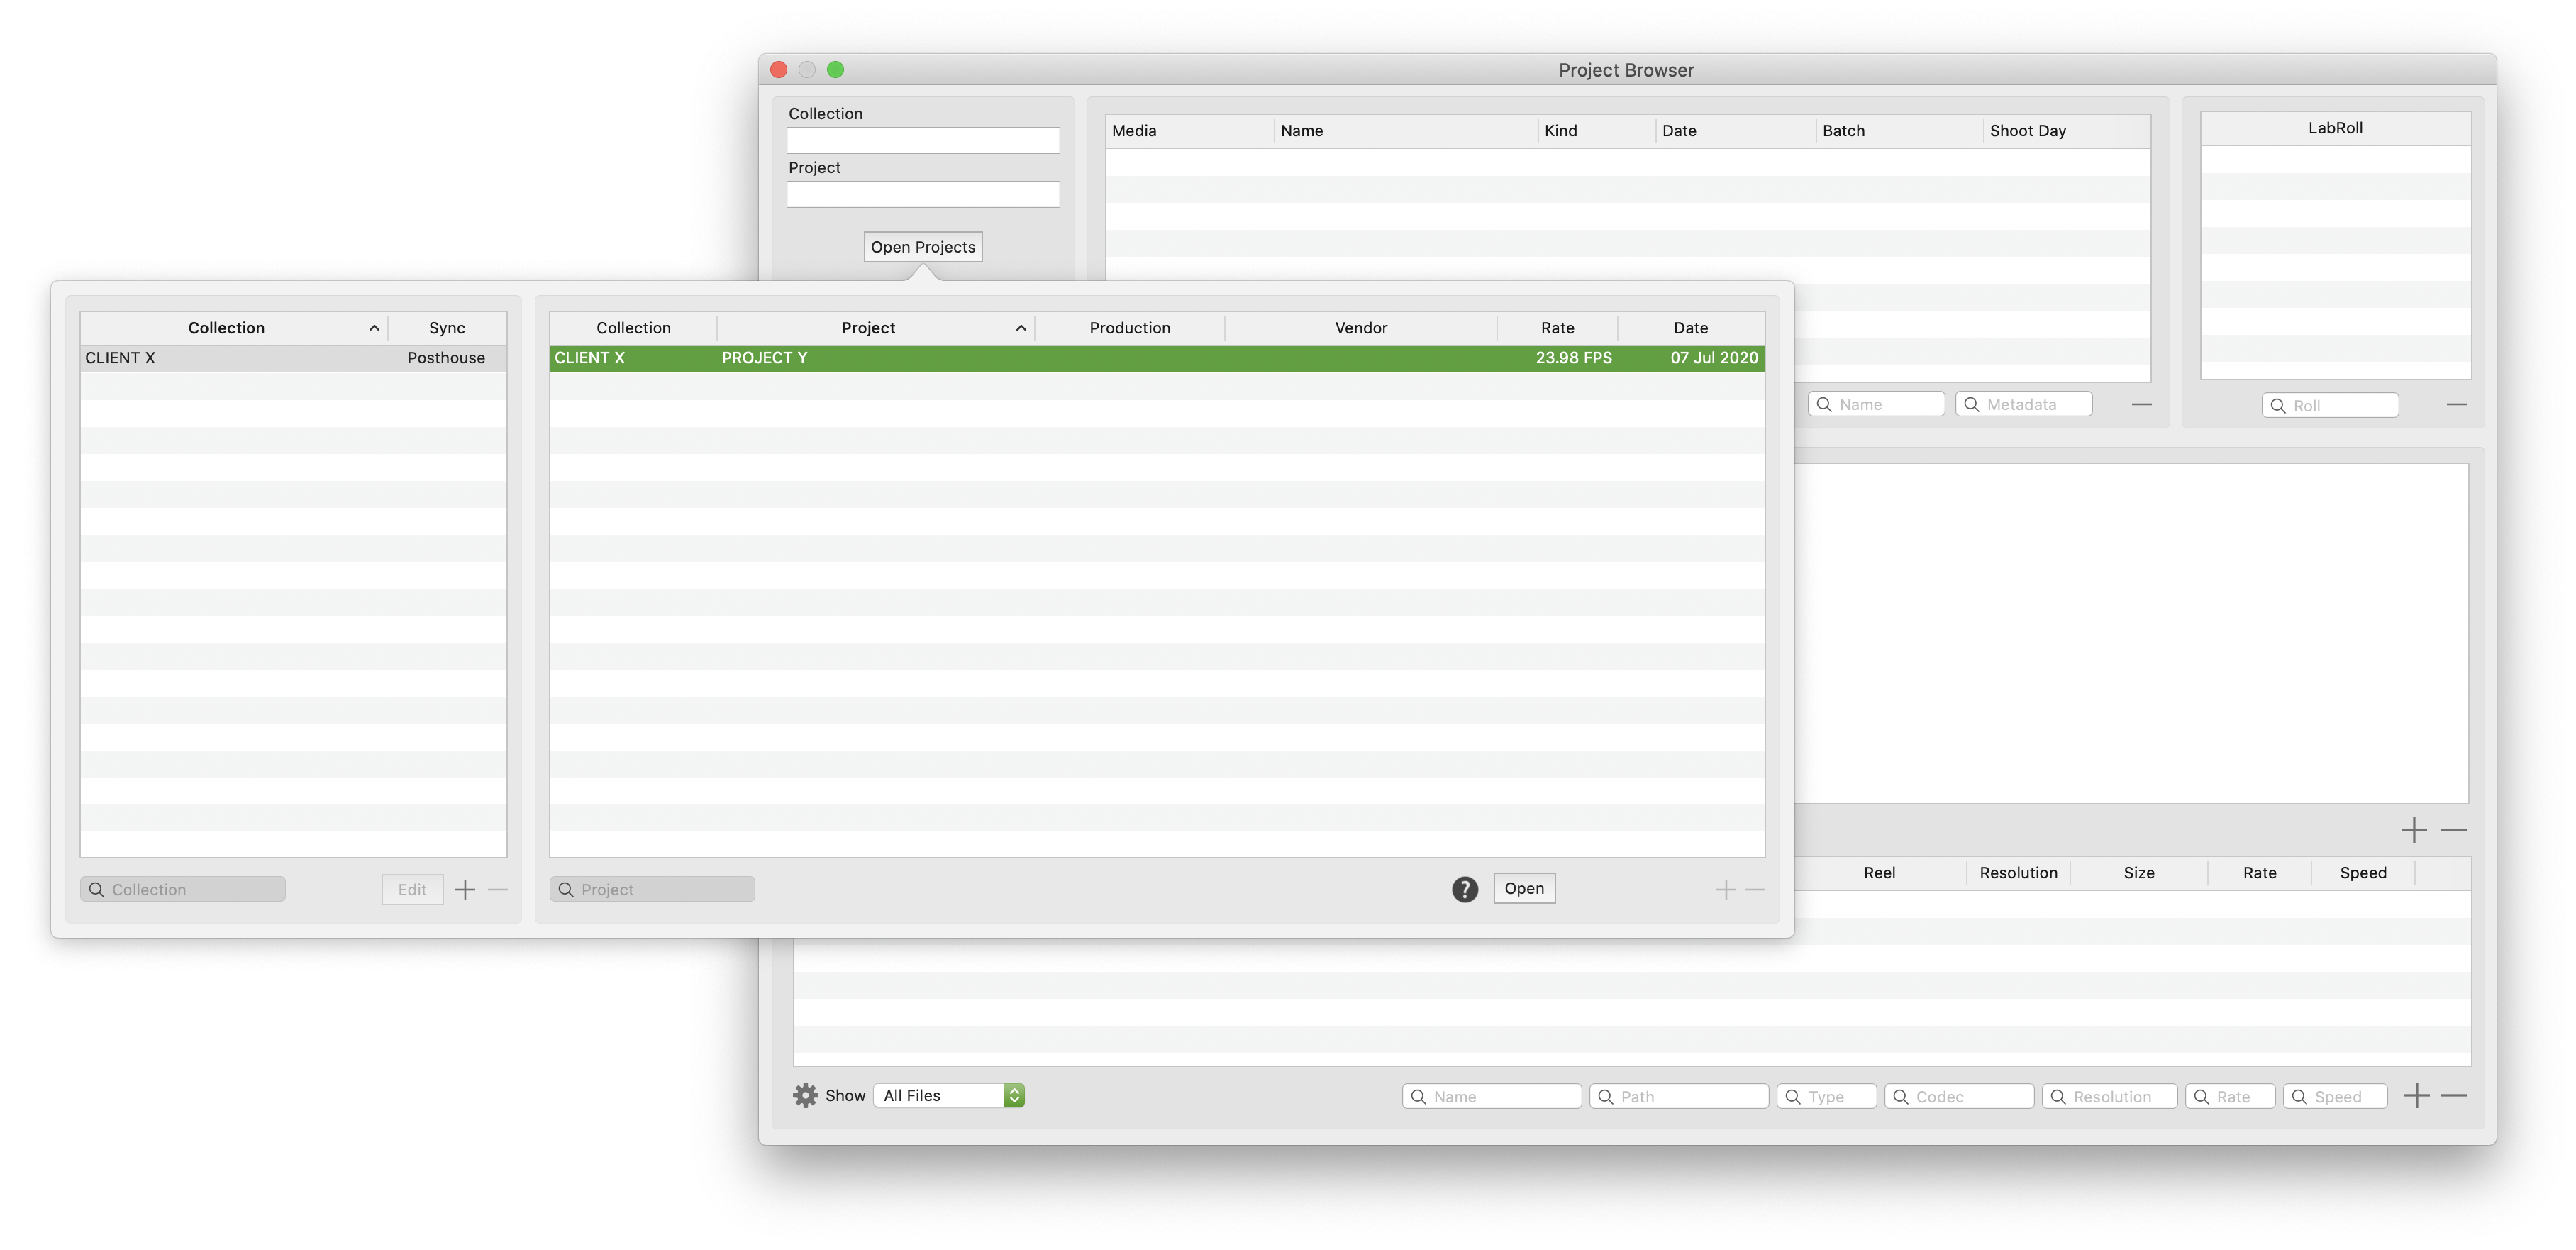
Open the Project Browser, open projects and select the Collection and then select and open the Project.
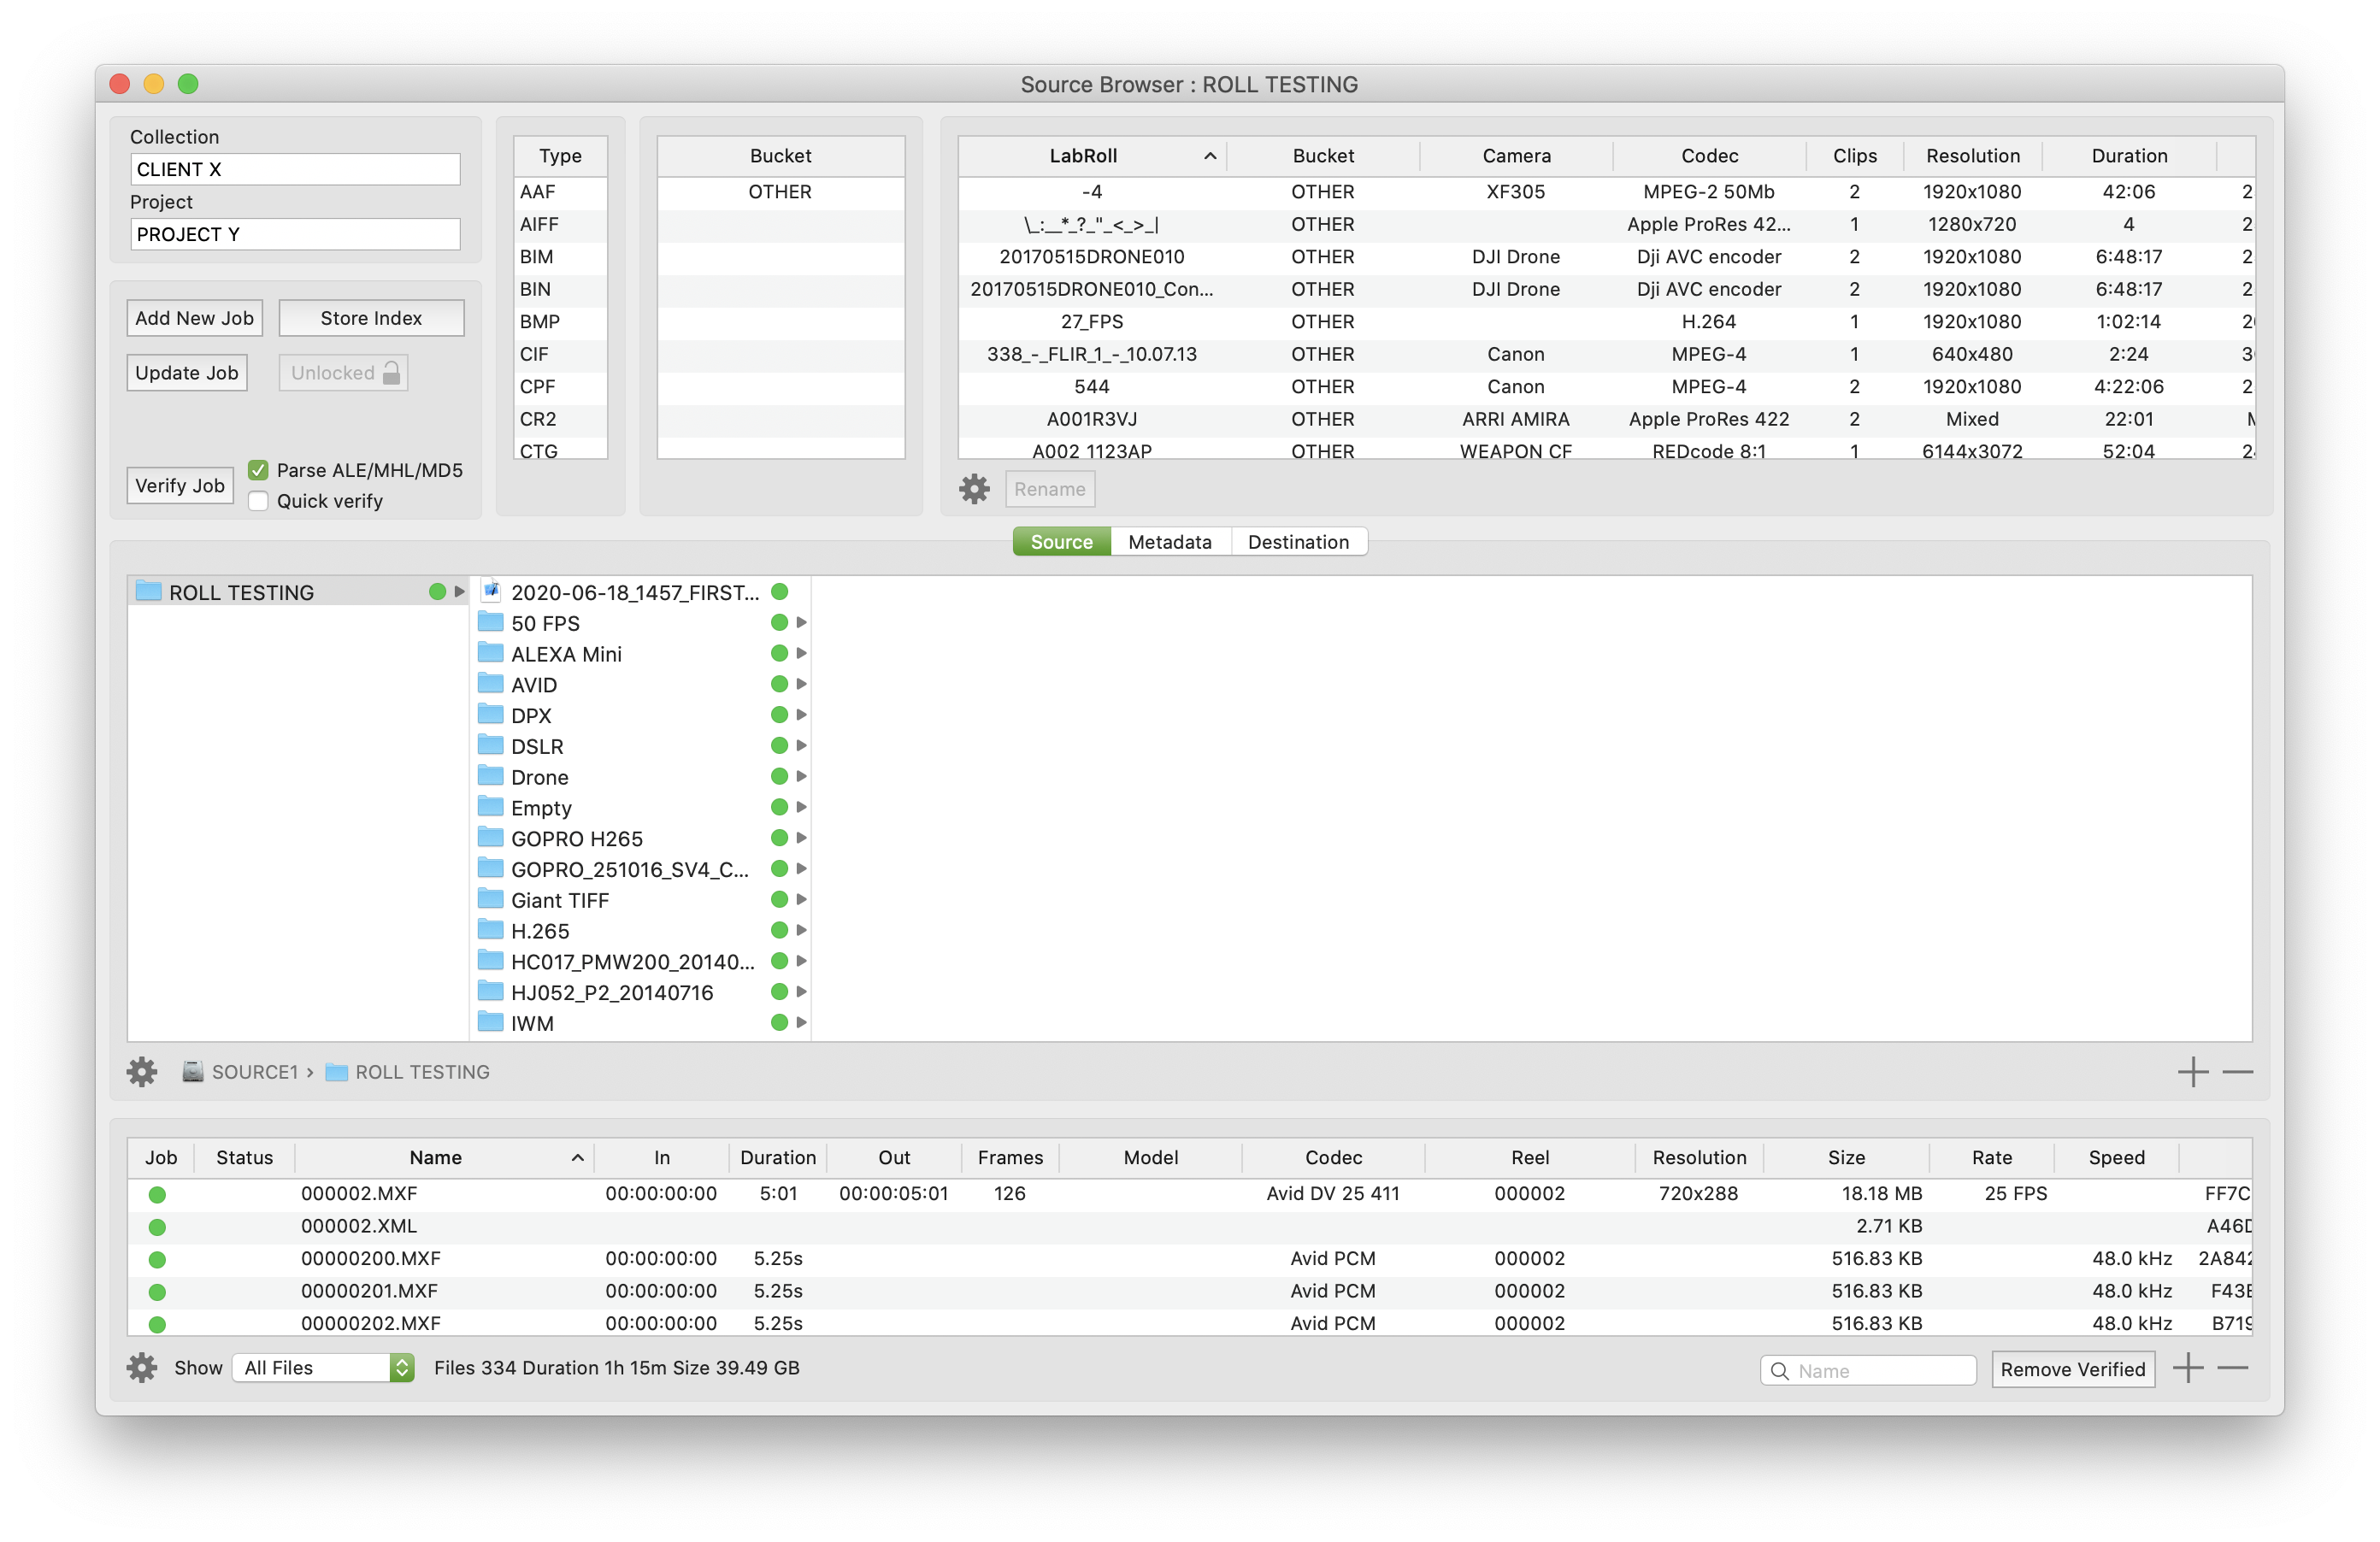
Drop in a new job and open the Source Browser. Click Store Index. The project will be synced to the YoYotta Server. Open the same project on another YoYotta Mac and see the new index.
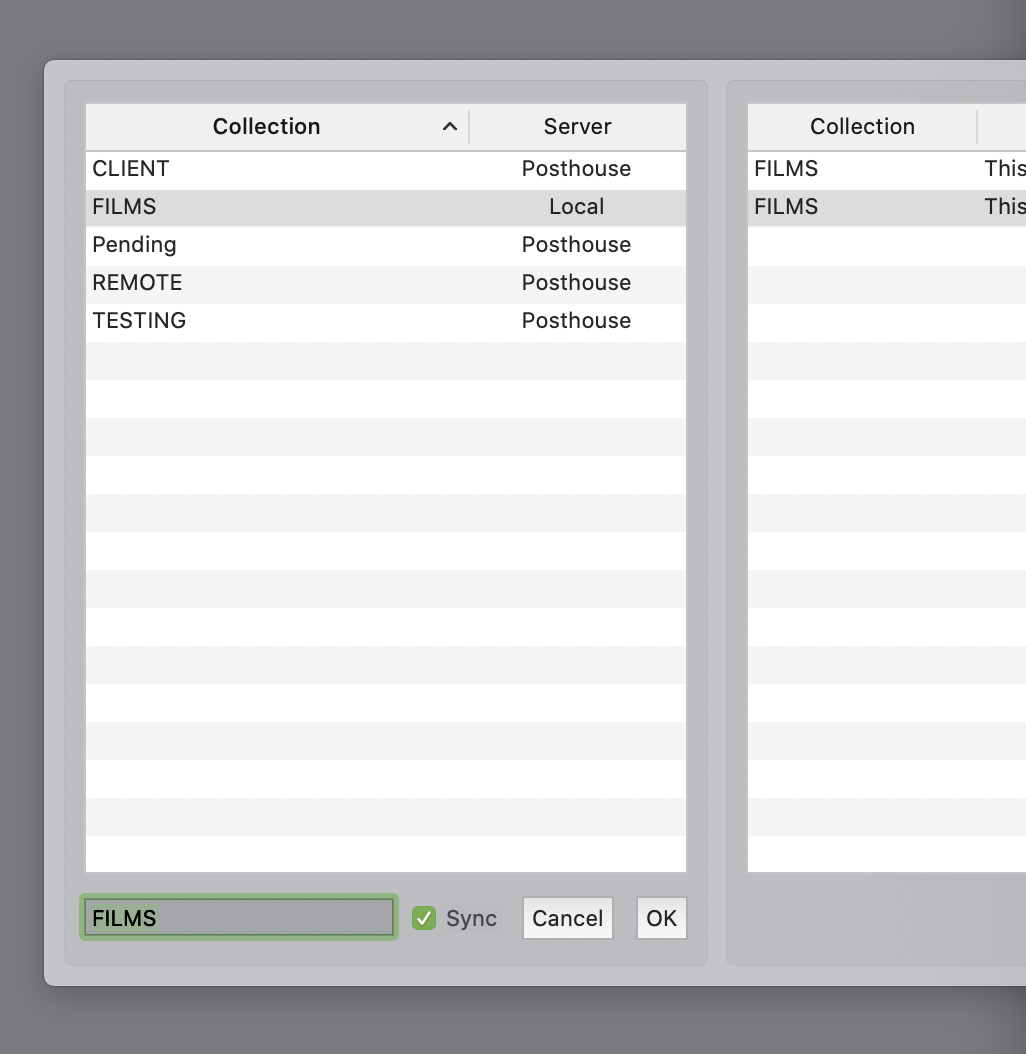
Select the local collection in the Projects panel in the YoYotta app.
Click Edit and turn on Sync
Click OK
Now open each project in that collection to sync it to the server.
Check that all the snapshots are online in the Server, then repeat this for each project.
The YoYotta app must be logged into the server using an Admin user to change the sync status of projects.
A quick way to open a project is by double clicking the name
© 2026 YoYotta Back to Top