Sources and Source Browser
Different ways of adding source material for archive
Setting up a selective copy using Source Browser

Add a source
When a new camera card or hard drive is connected for the first time a panel will popup allowing mounting as an unlocked or locked source.
With camera cards keeping then locked will set write-protect and prevent anything being written to the card.
With a hard drive normally add them unlocked as this will allow YoYotta to write the index metadata back to the directory making it quicker to index another time.
If this is a destination drive or it is not related to the project then click Ignore or just ignore the popup.
This preference will be remembered and the drive will be ignored the next time it is connected.
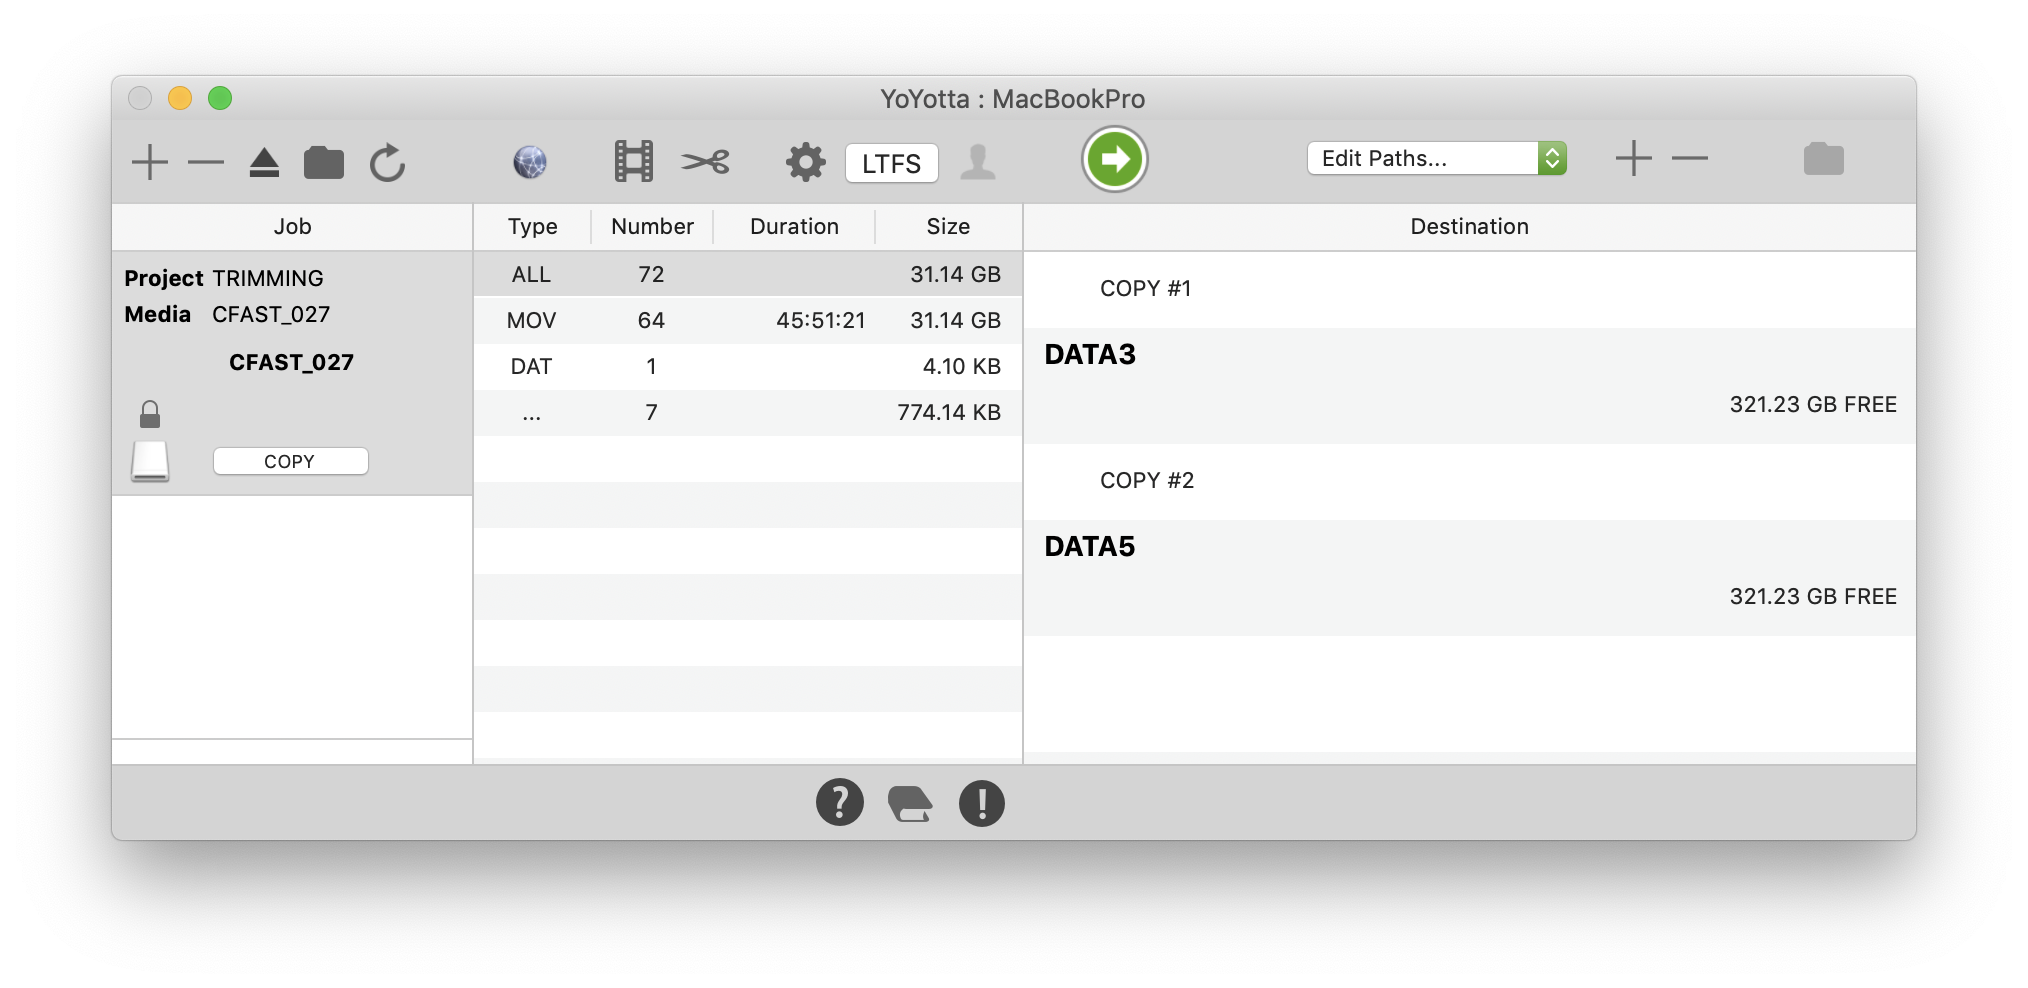
Drive mounted
Here the drive was mounted read-only to ensure that it cannot be modified. When finished click the eject button to unmount or the - button to leave the drive mounted.
Once a device is in the job table, click the padlock icon to toggle the read-only write protect to read-write.
The Finder eject will not work whilst the drive is in the YoYotta job table.
Either click the eject button above the job table or click the - button and then the Finder eject will work.
Drives that are ejected and then reconnected again will automatically be added back to the job table.
Click the - button and then the drive will be ignored next time it is connected.
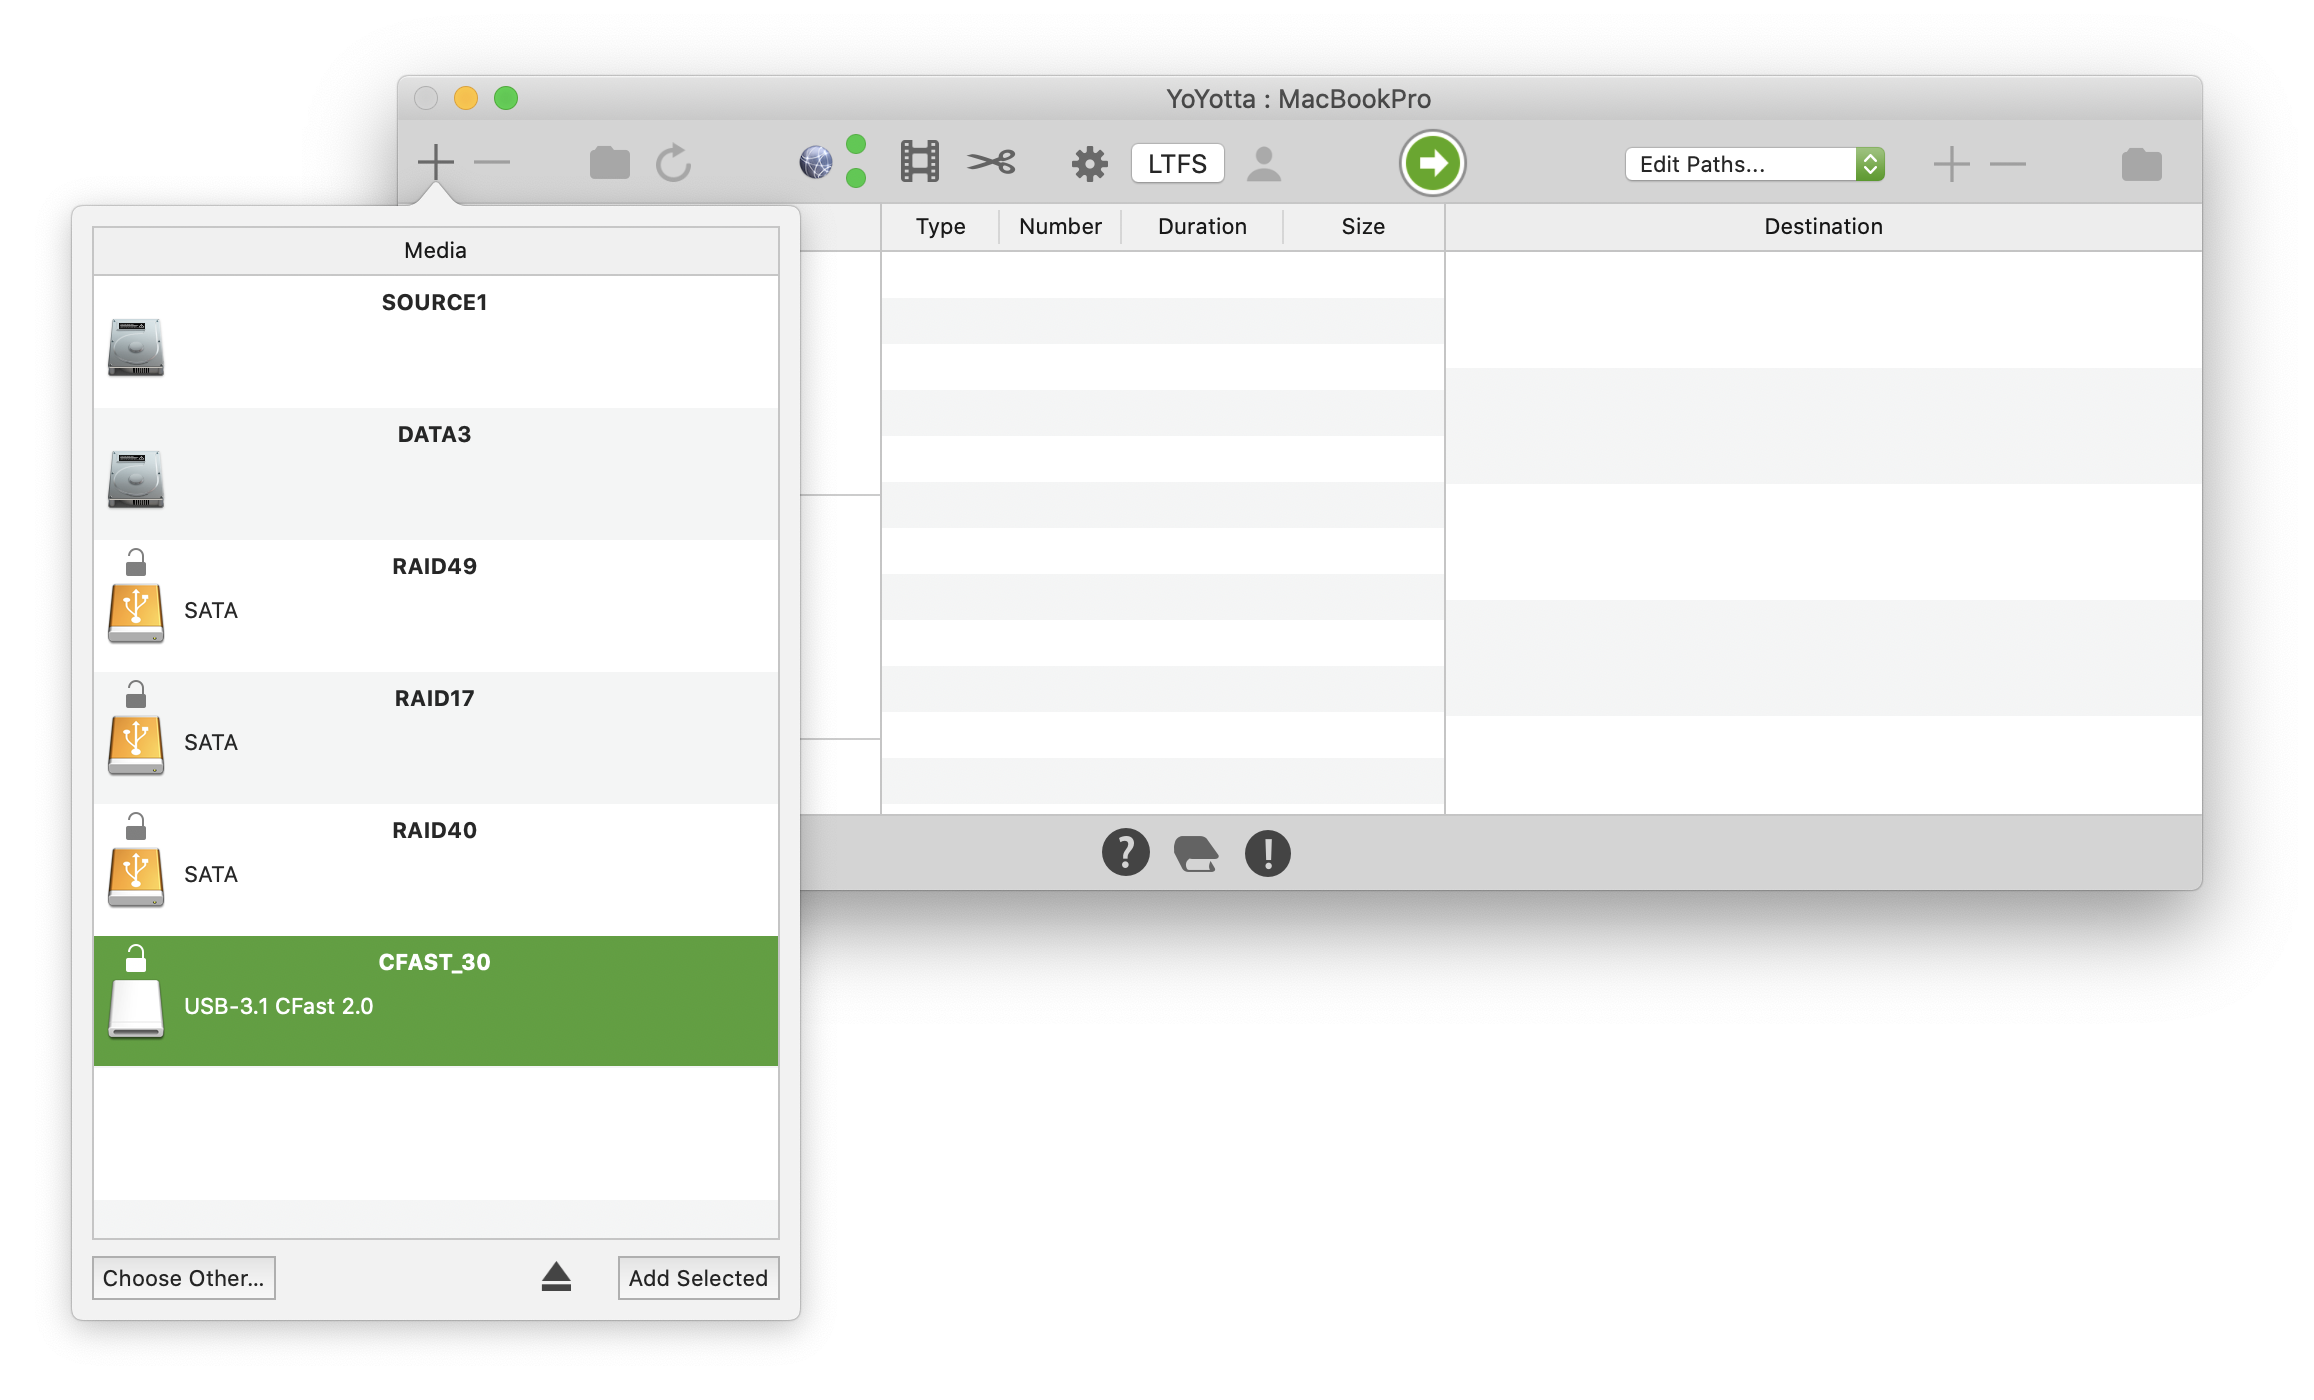
Using the + button
A popup list of connected media including cards, drives and tapes is shown, select one and click Add Selected or Choose Other... to open a dialog. If the media shows as locked click the padlock to unlock and use as a destination.
The media hardware interface is shown in the popup panel, which is useful to check that the drive type has been detected correctly. Occasionally macOS detects USB-3 drives as USB-2 and this means they will load very slowly.. Here it's a USB 3.1 interface.
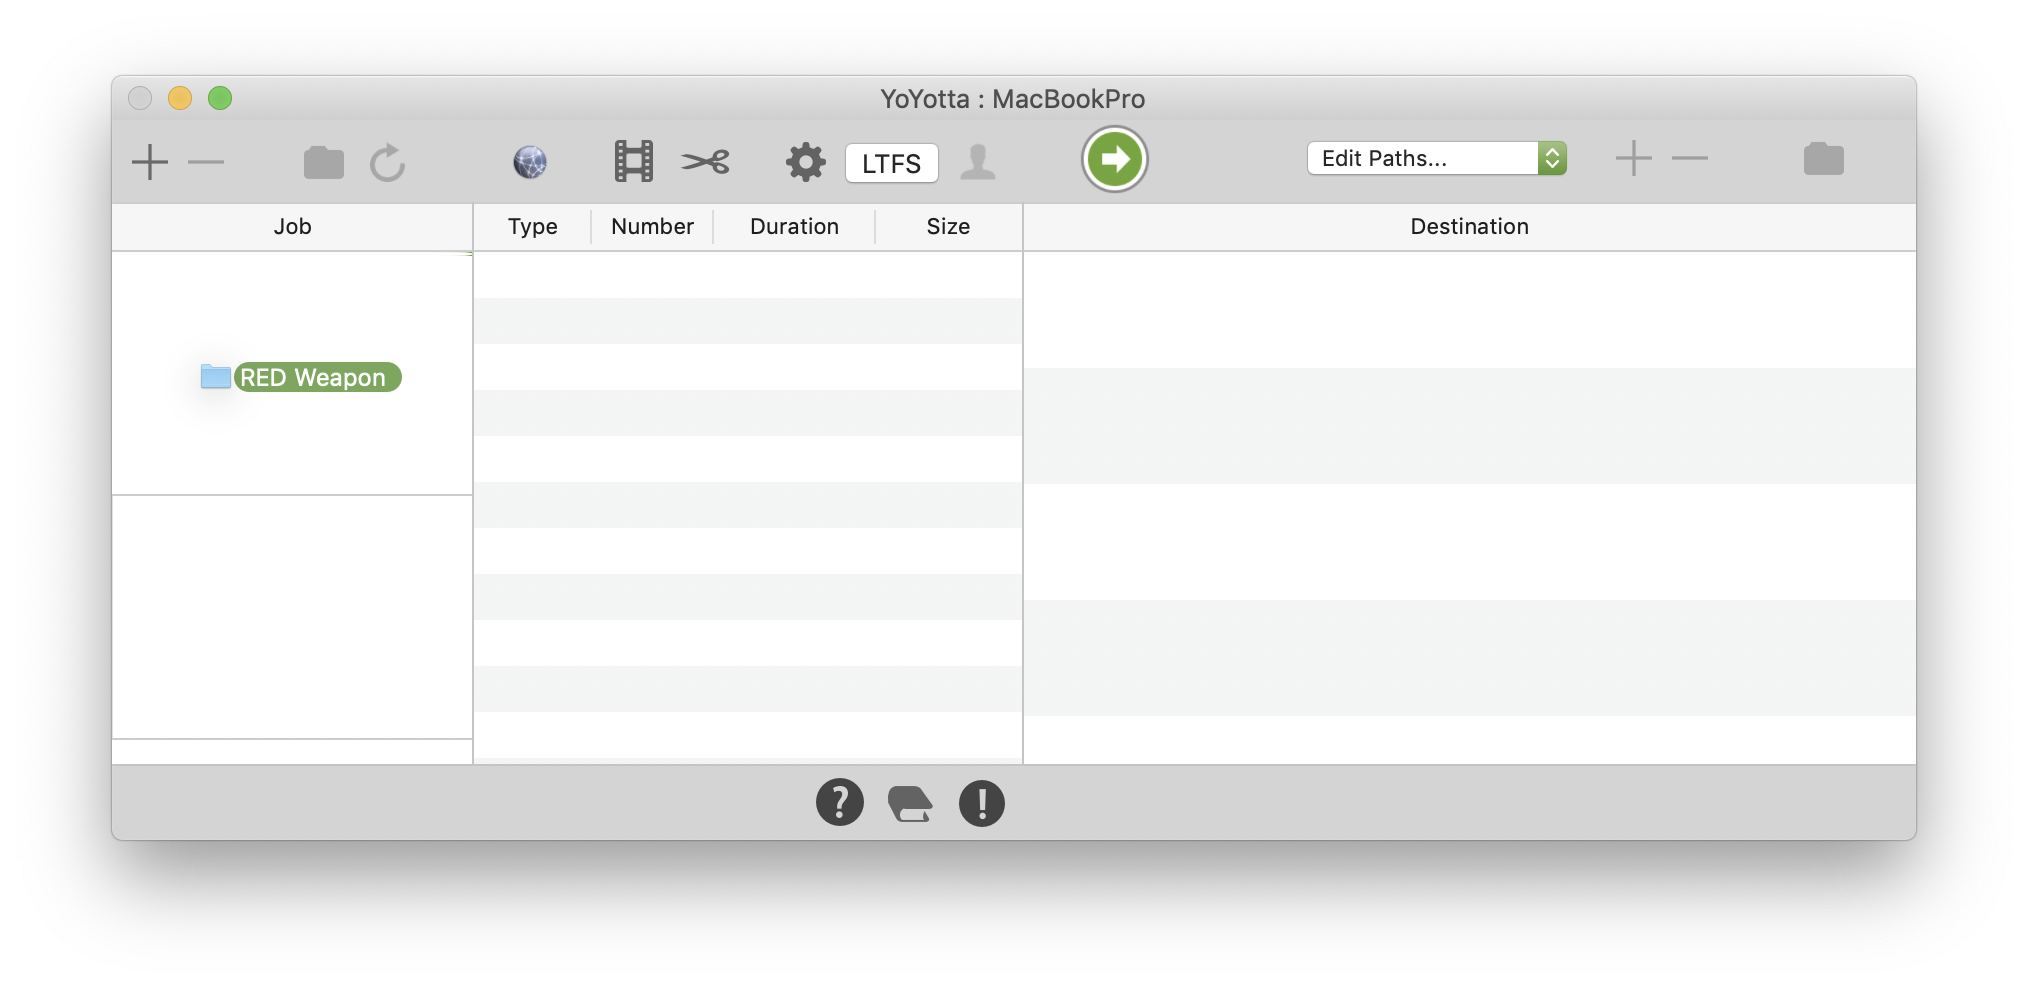
Drag and drop
Drag in one or more folders from the Finder.
It is not possible to drag files, however in the Source Browser it's easy to chose some files from the folder for transfer.
Adding another source folder as a separate job
When dragging another folder drop it above or below the existing source.
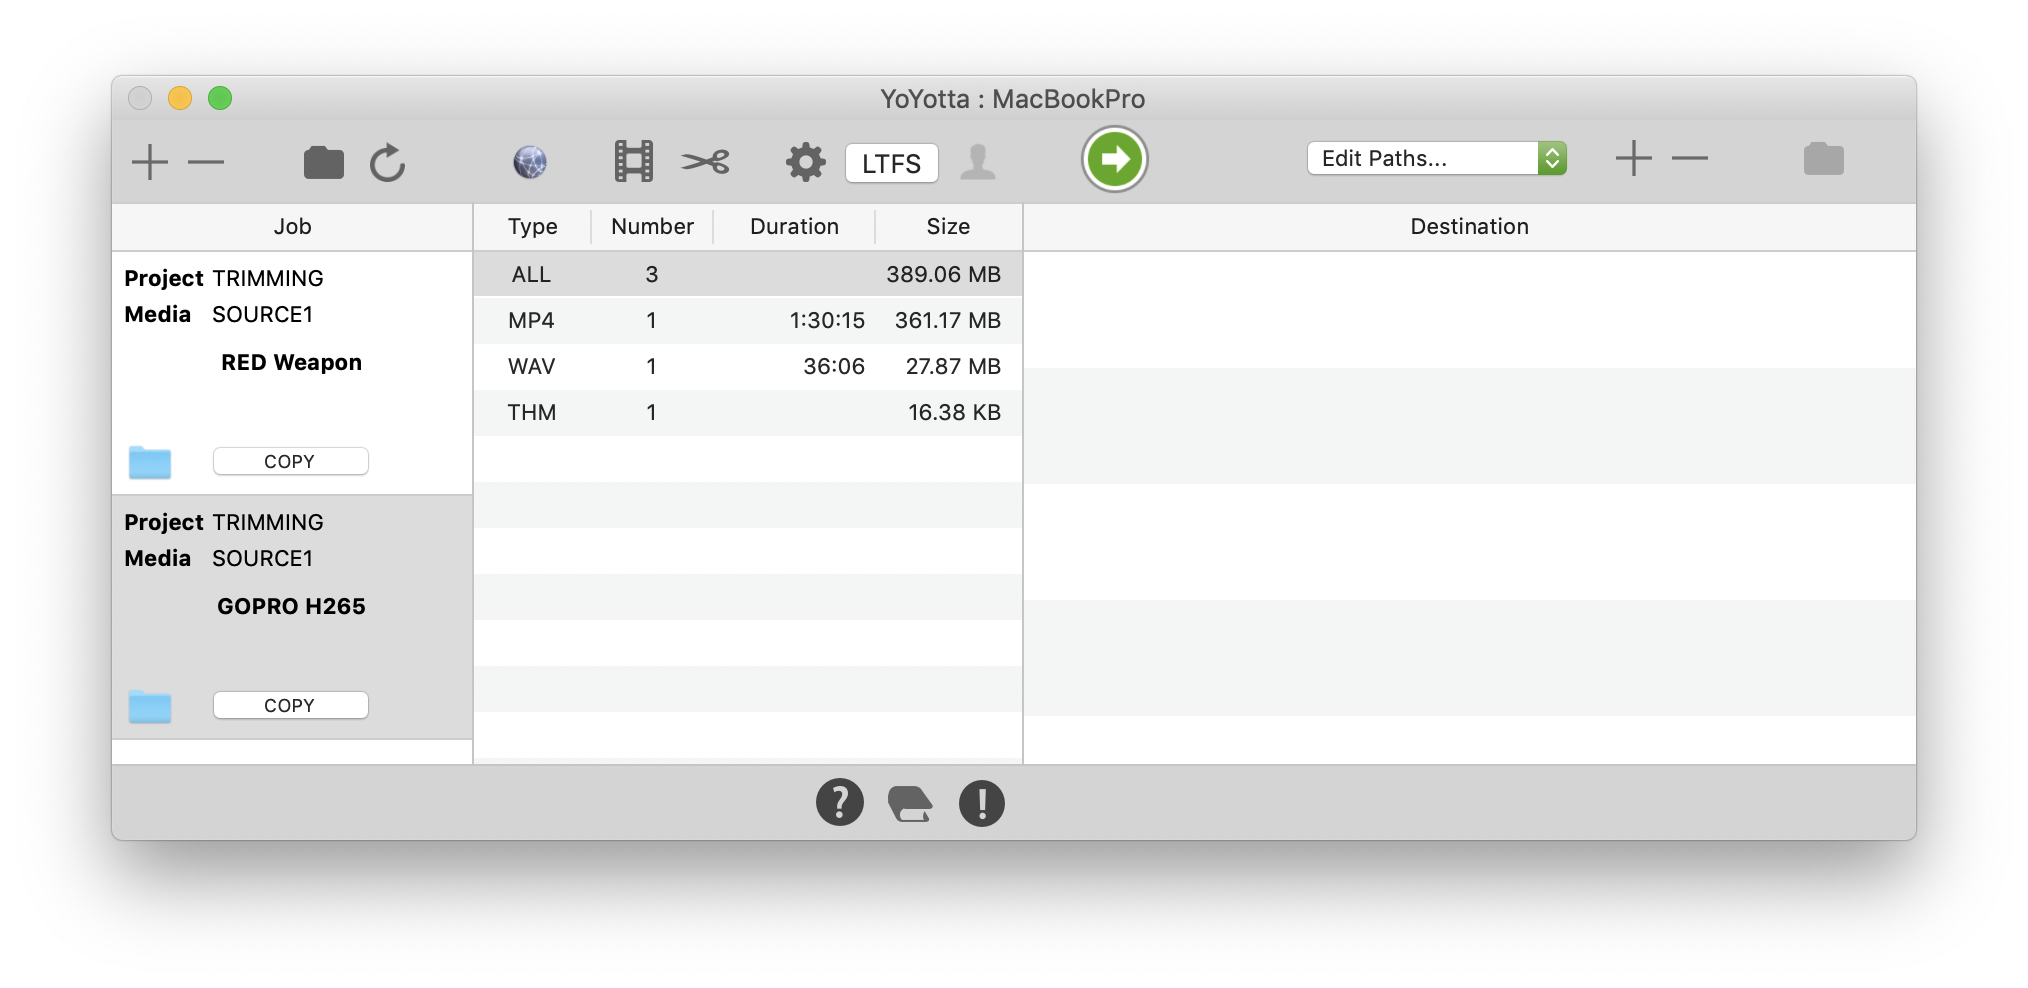
Two independent jobs
Here there are two jobs which can be archived to the same or different destinations. Each job can be assigned to a different project using the Source Browser. If going to the same destination then the second job will wait in a queue until the first completes.
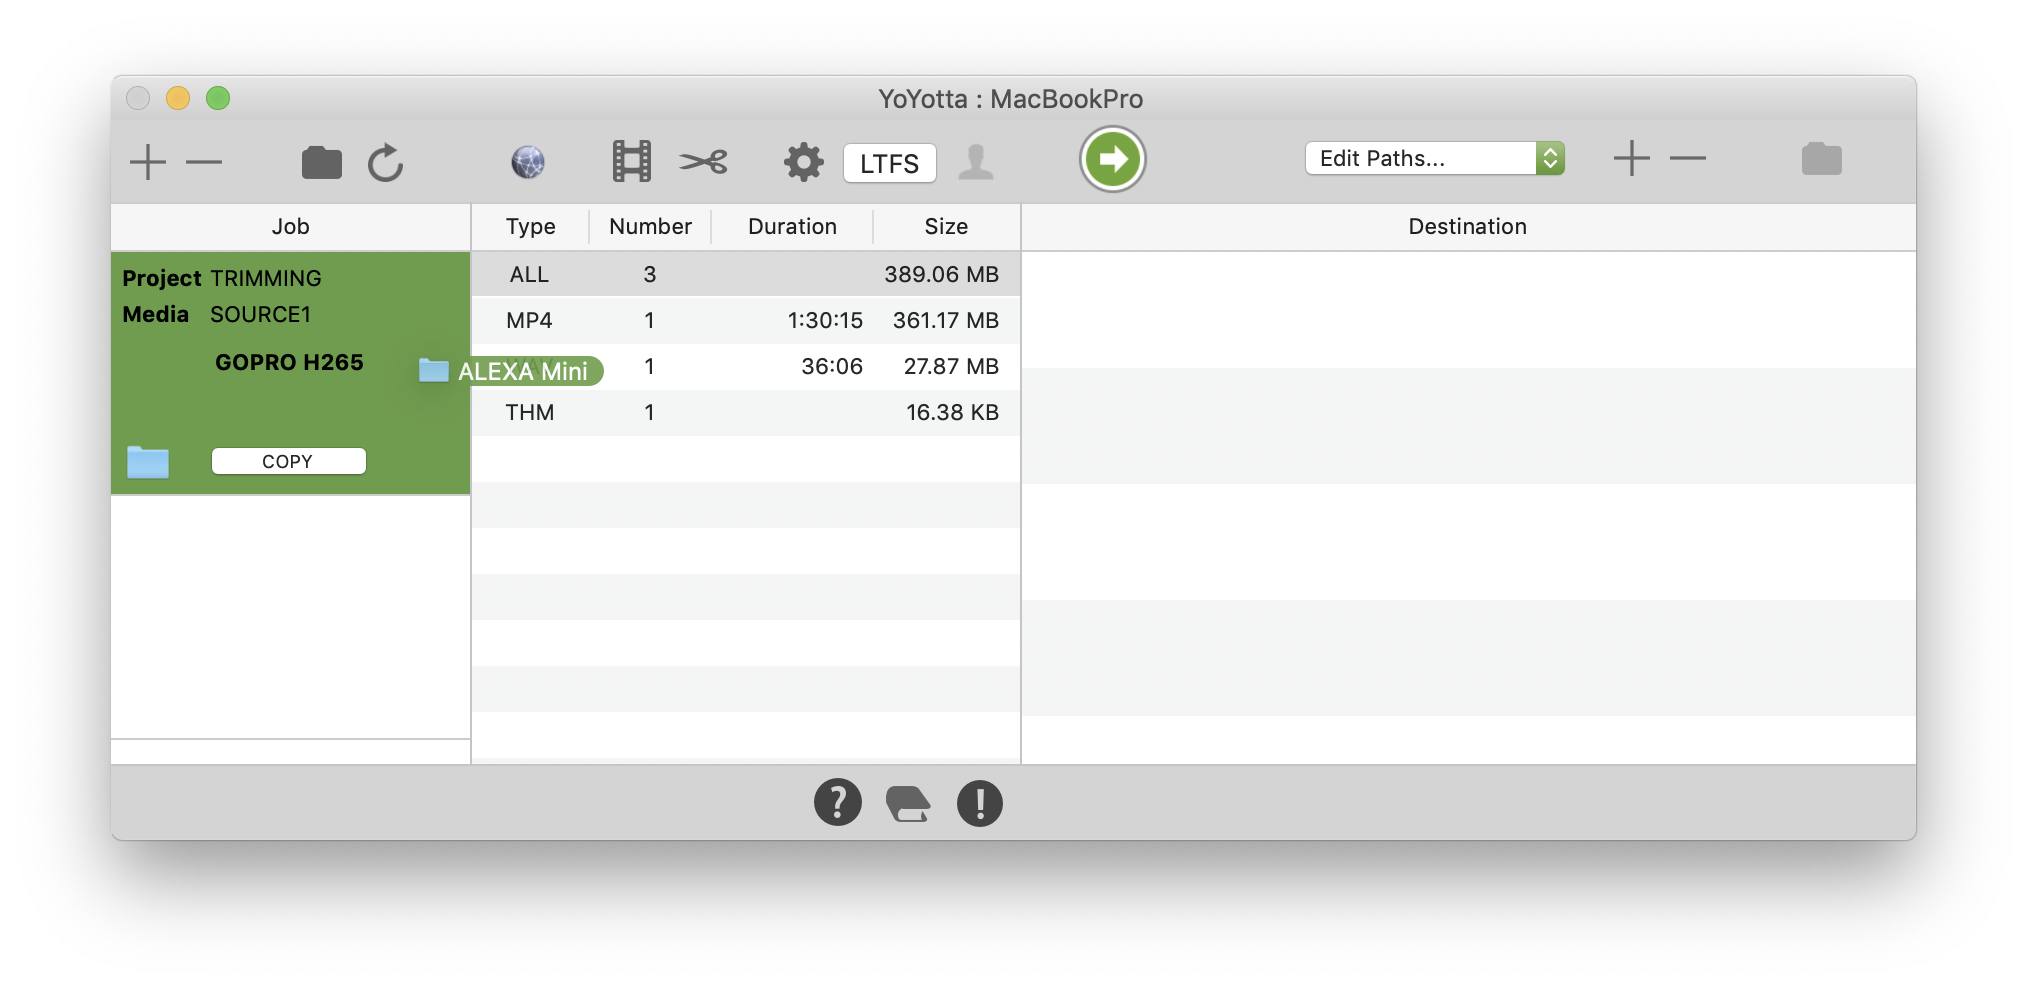
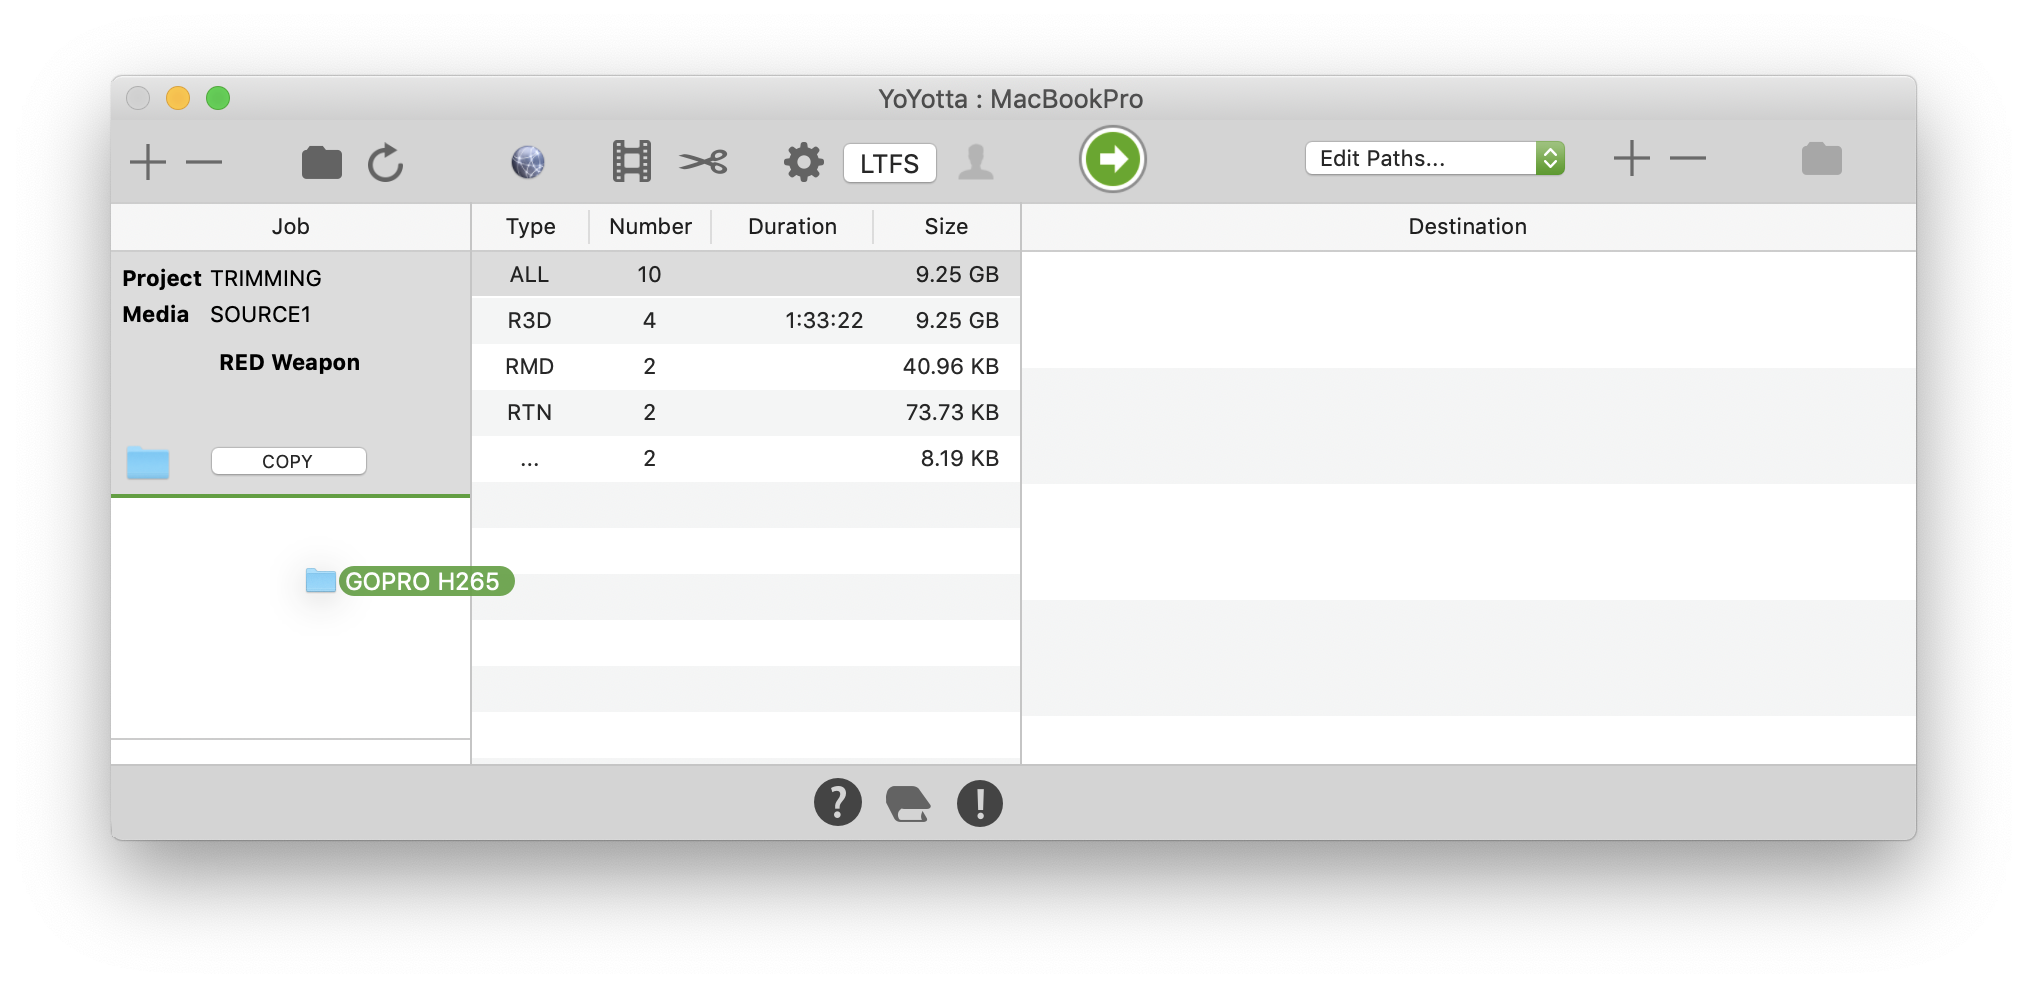
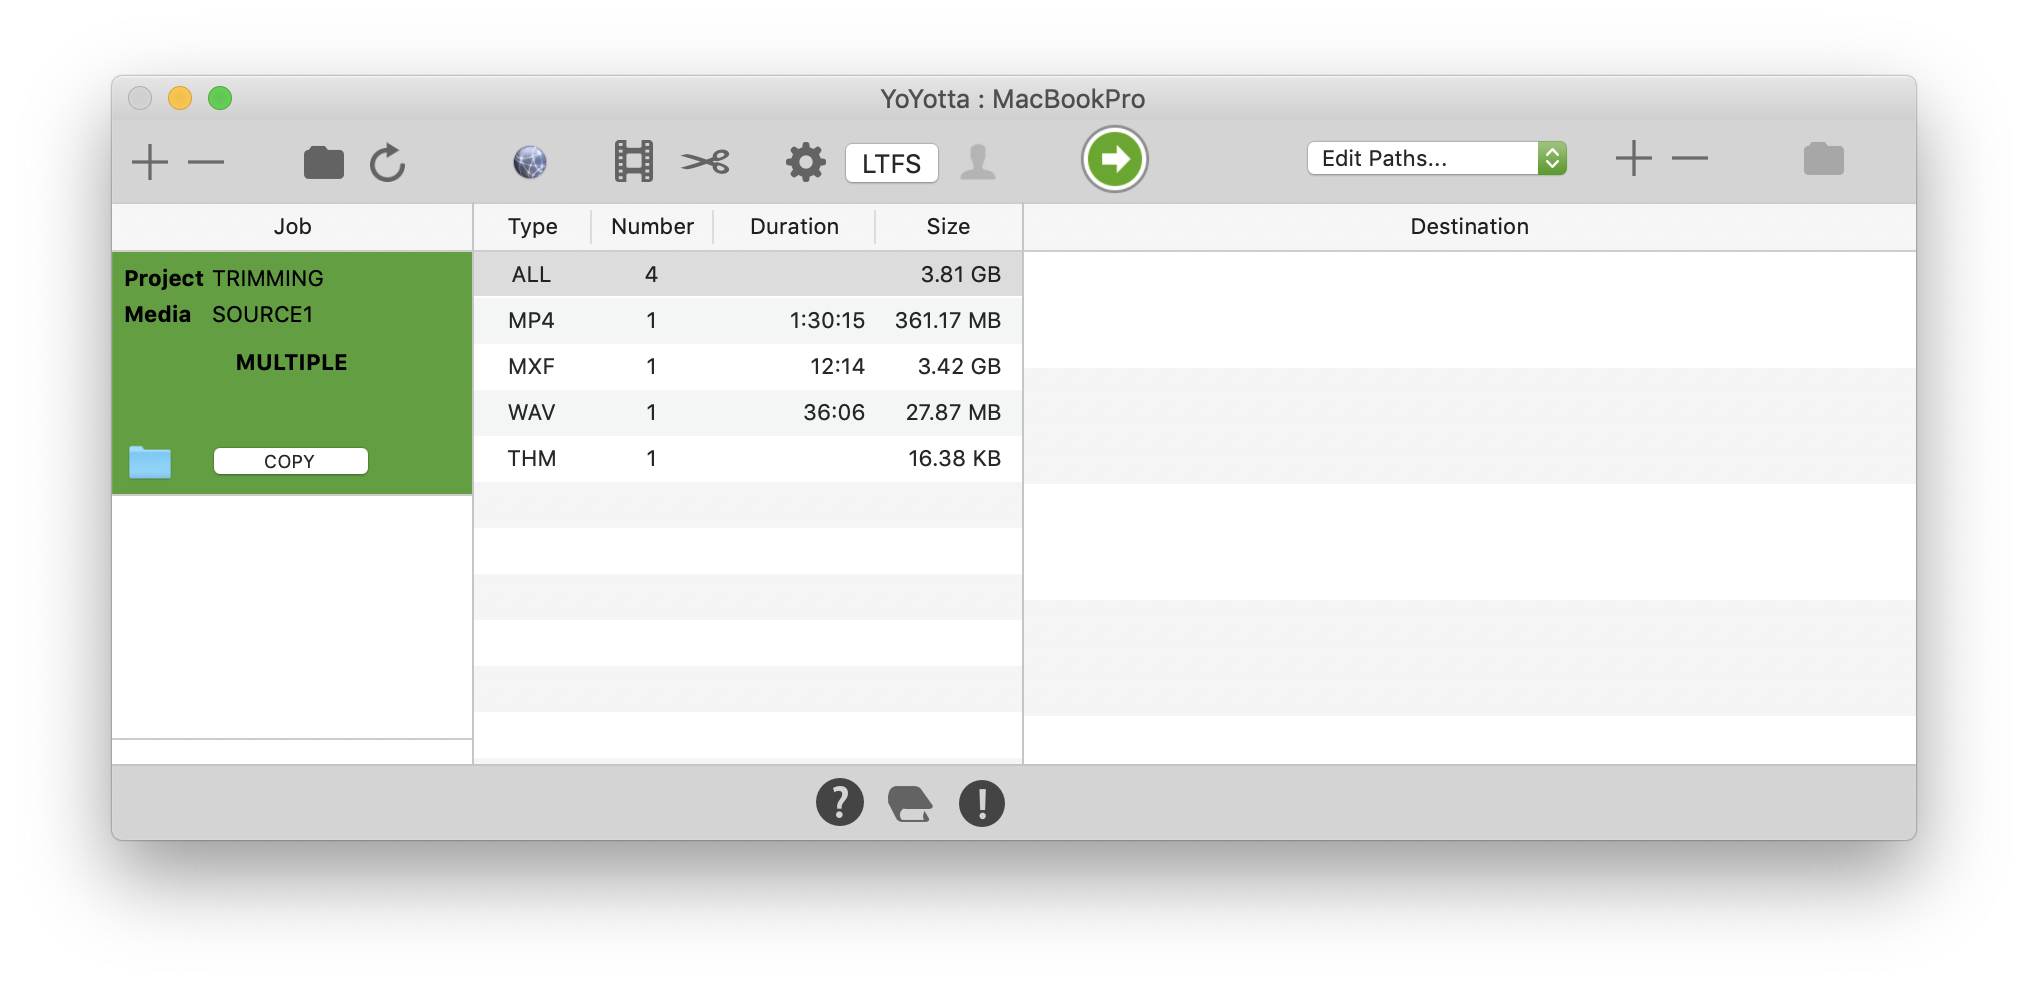
Single job with multiple sources
Drag folders into an existing source to create a single job from multiple sources. This is useful when there are related files from the same project to archive from different locations. Or you may want to just select some folders from a source. There will be one report showing all the source files.
There will be just one set of reports for each job. However in the Project Browser there will be snapshots for each SOURCE and COPY. So individual reports can easily be exported if required.
Also include base in the destination path in the Source Browser Destinations page.
This will ensure that the base folder name (in this example 'GOPRO H265' or 'ALEXA Mini' is part of the archive path. This will ensure the different sources are kept separate.
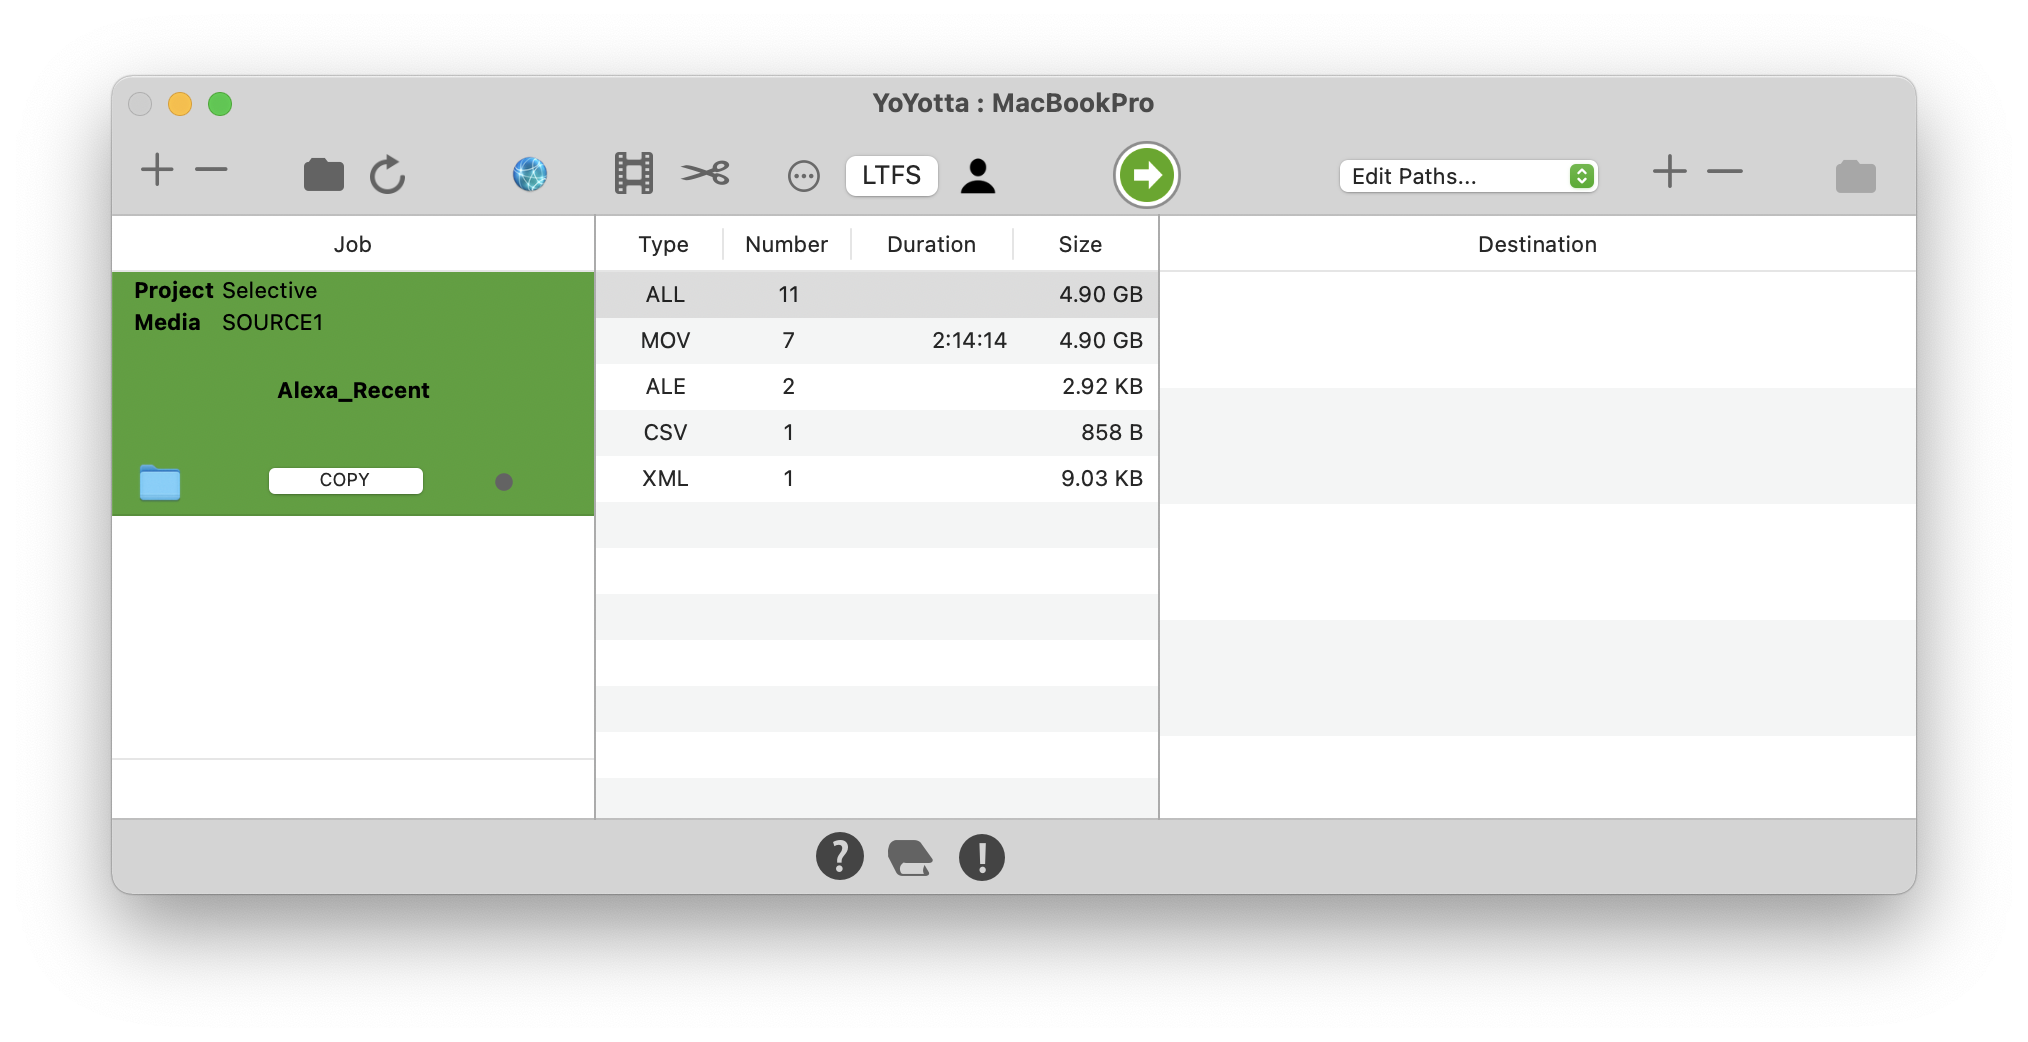
Setting up a selective copy using Source Browser
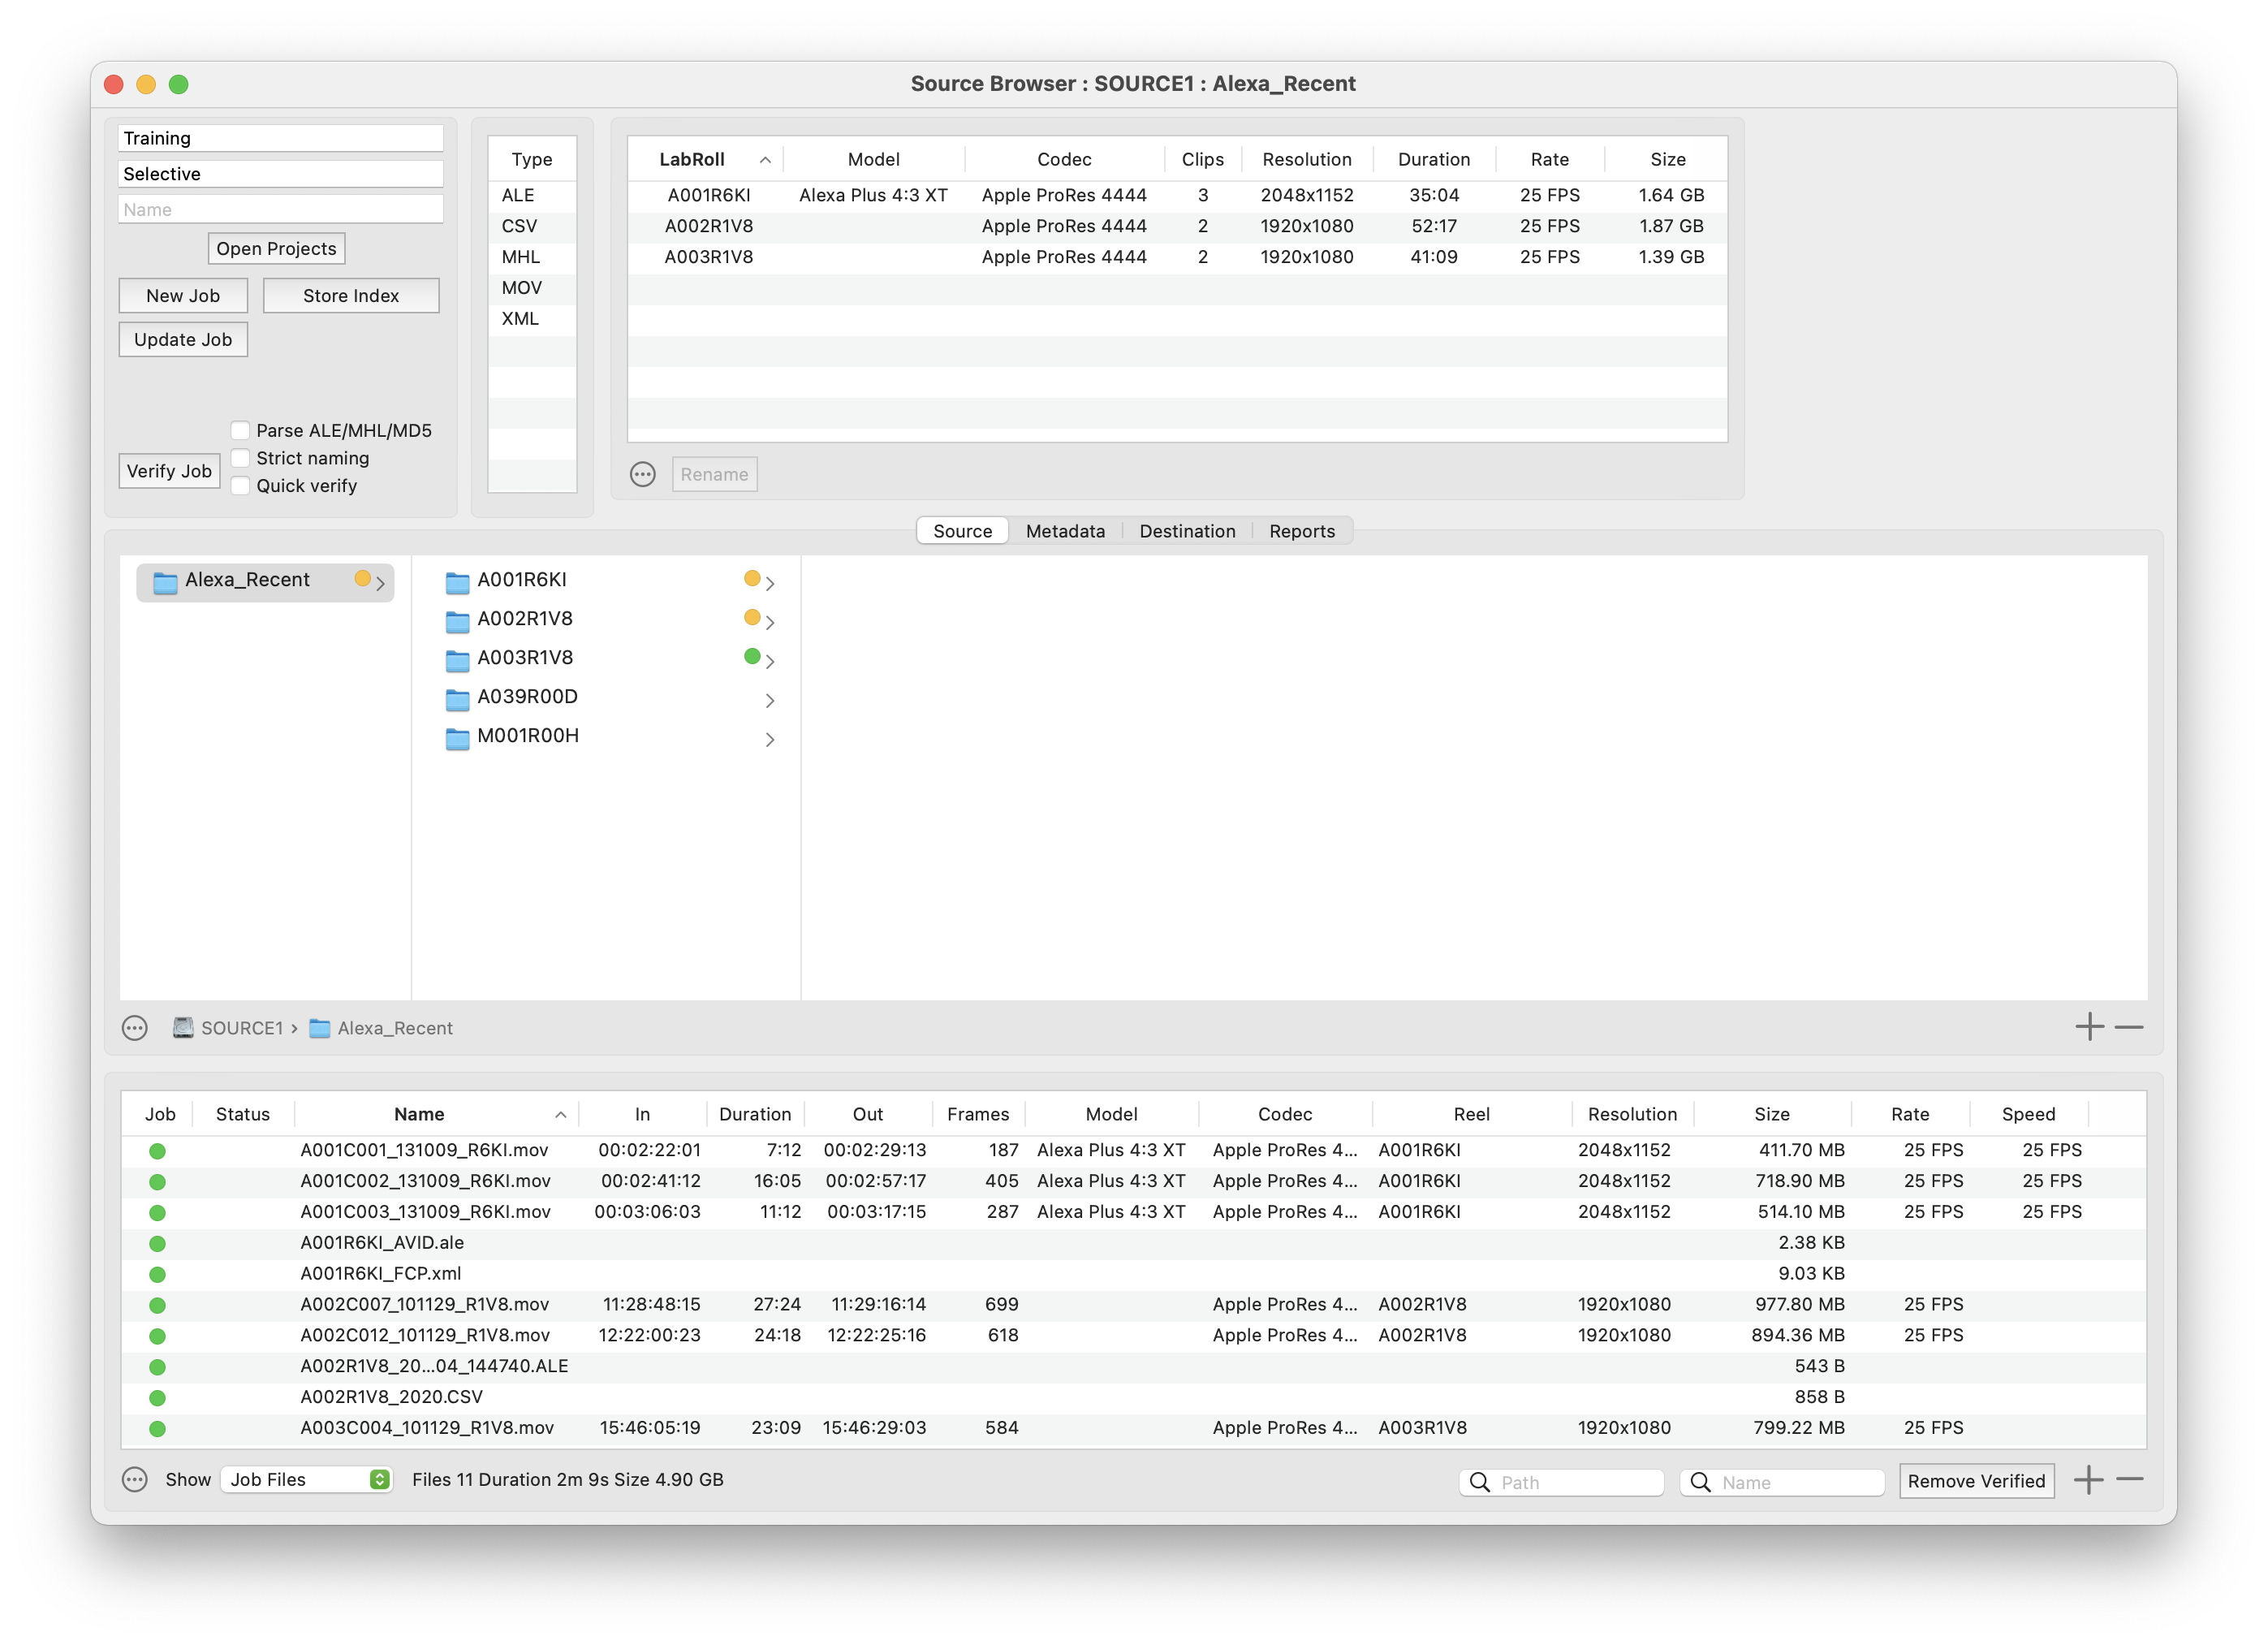
Open the Source Browser by clicking the folder icon above the Job table. By default every file will be included in the job. To setup a selective job open the Source browser by clicking on the folder icon above the job table.
Every file will have a green dot in the browser and also a green dot in the Job column in the file table. Files and folders can be removed or added to the job.
For example to remove every file from the job, ensure the base folder is selected in the browser and then click the - button at the right of the Media browser. The green dots will disappear next to every file and folder.
Alternatively select unwanted folders in the browser and click the - button.
If the alt/option key is held down whilst clicking the + or - then all files will be added or removed from the job regardless of the items selected in the browser.
Now select some files in the browser or the file table and click + to include them.
If folder has a green marker then all the contents are included. An orange marker indicates that some files inside will not be copied.
To just show the job files in the table select Job Files in the Show dropdown. The summary will now show what the job size will be.
If a job stops and warns that files cannot be read, then before resuming these files will need to be removed from the job. Open the Source Browser, select a file or folders and click the - button. After making changes click Update Job
During indexing any issues will be shown in the YoYotta log. Also a red dot will appear in the file table status. Hover over the red dot to show the issue for that file.
When all the correct files and folders have been included and/or unwanted files removed then add a new job as described in the next section
Add a New job
As an alternative to updating the original job it is possible to make a new job. For example you may want to split a large source into three seperate smaller jobs that are copied to different destinations.
Click New Job and a new smaller job will appear in the job table.
Then set the correct destinations and then start.
To speed up selection there are keyboard shortcuts.
YoYotta : Keyboard shortcuts for Source Browser
Switch tabs : Source ⌘1, Metadata ⌘2, Destination ⌘3, Reports ⌘4
Add ⌘+ or Remove ⌘- selected folders or files from the job
Open Projects ⌘O, New Job ⌘N, Store Index ⌘S, Update Job ⌘U
This is a good way to divide a large job into separate smaller jobs. In the Source Browser turn off all folders, turn some on and make a new job. Repeat until all subfolders are in a new job.
To persist these jobs so they can be run later, select each one, open it's Source Browser.
Then in the top left the job can be named for example PART1 and then click Store Index
© 2026 YoYotta Back to Top