Connecting an NS372TB3 Netstor Enclosure
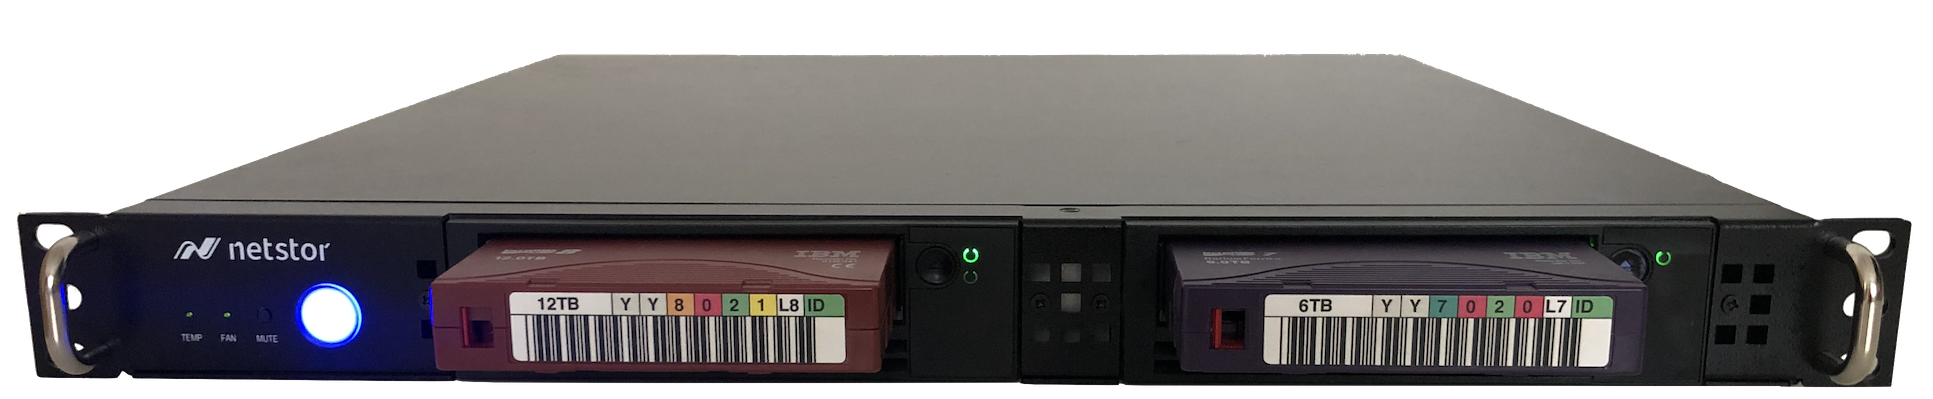
The Netstor has space for two LTO drives and built in Thunderbolt 3 ports allowing direct connection to a Mac
YoYotta can create two archive copies in parallel using both LTO drives.
Alternatively two independent LTO archive or restore jobs can be run simultaneously.
The Mac needs software drivers for the ATTO SAS card that is inside the Netstor unit, otherwise the LTO drives will not be seen.
Connect the unit
After connecting power plug in a Thunderbolt cable and the drives will power on. Wait a few minutes for the drives to boot up. Open the YoYotta app.
Wait until the message Update completed OK appears.
YoYotta with a tape drive option will now be able to control this drive.
Check the Support page to watch a video showing LTFS archiving along with links to all the help topics.
If the drives do not appear then follow the instructions below.
When the computer sleeps or is shutdown, or restarted or the Thunderbolt cable is disconnected, then LTO drives will power off, so make sure that tapes are ejected before doing this.
Checking hardware devices
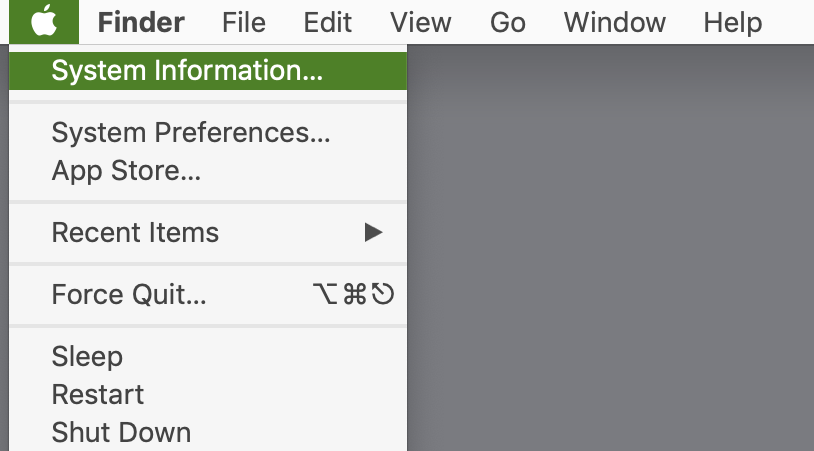
To check that the Mac can see the Netstor drive hold the alt key on the Mac keyboard, click the Apple Menu and select System Information...
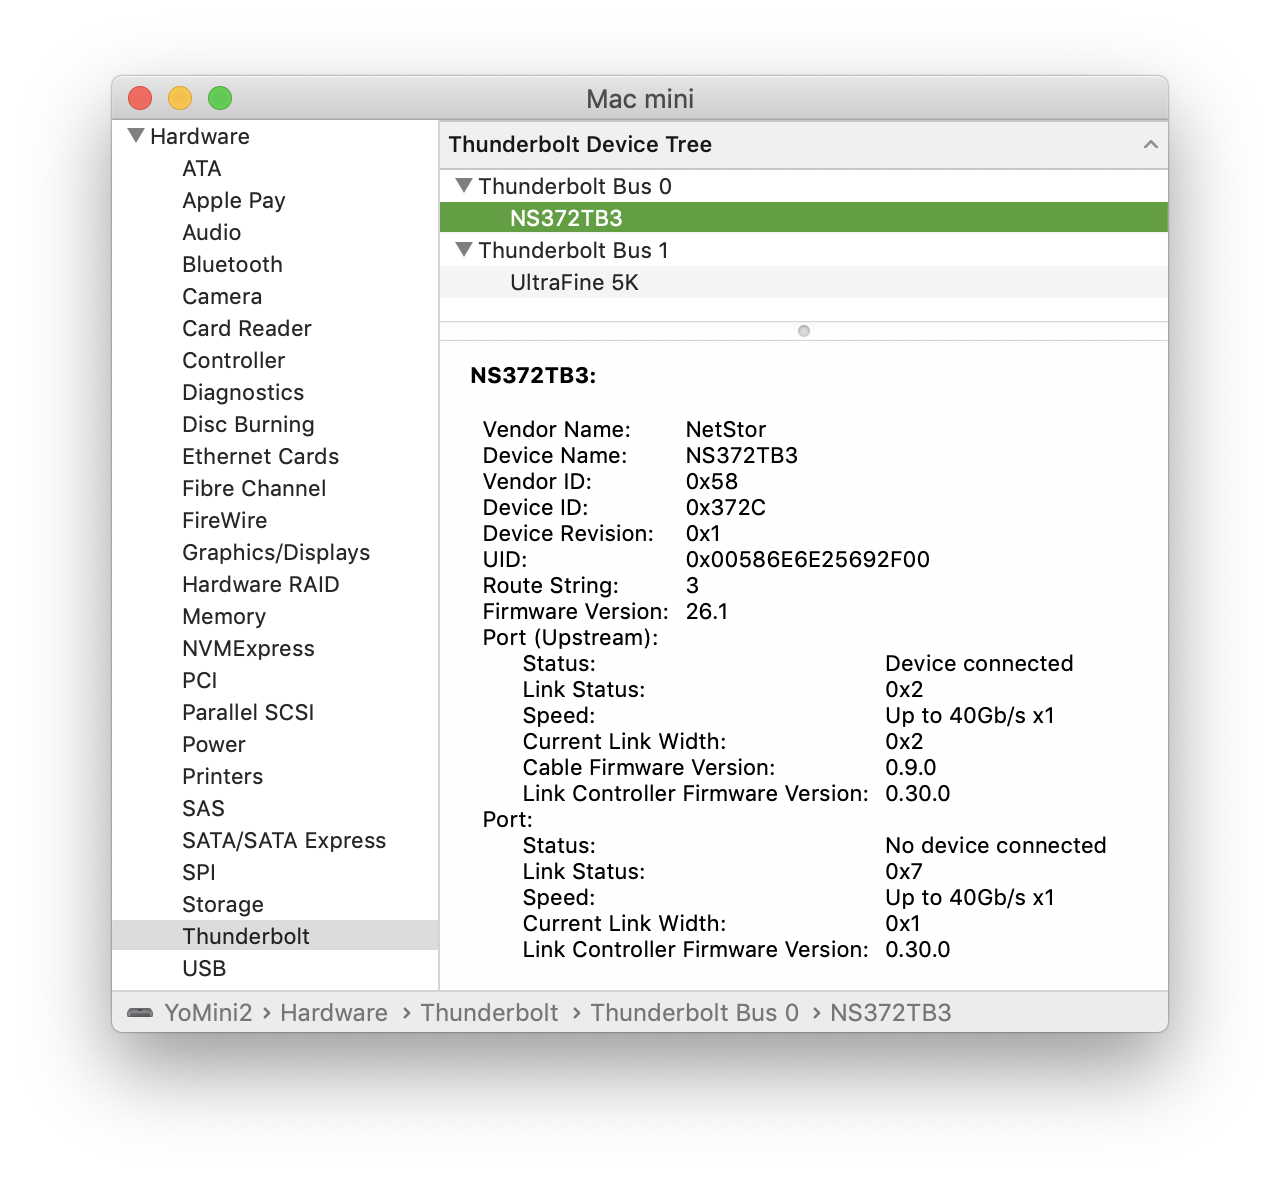
Check for Thunderbolt devices
If the Netstor NS372TB3 is not shown, then check the power and try reconnecting or using a different Thunderbolt cable.
If there is a Netstor Thunderbolt interface, then the next step is checking for the SAS tape drive.
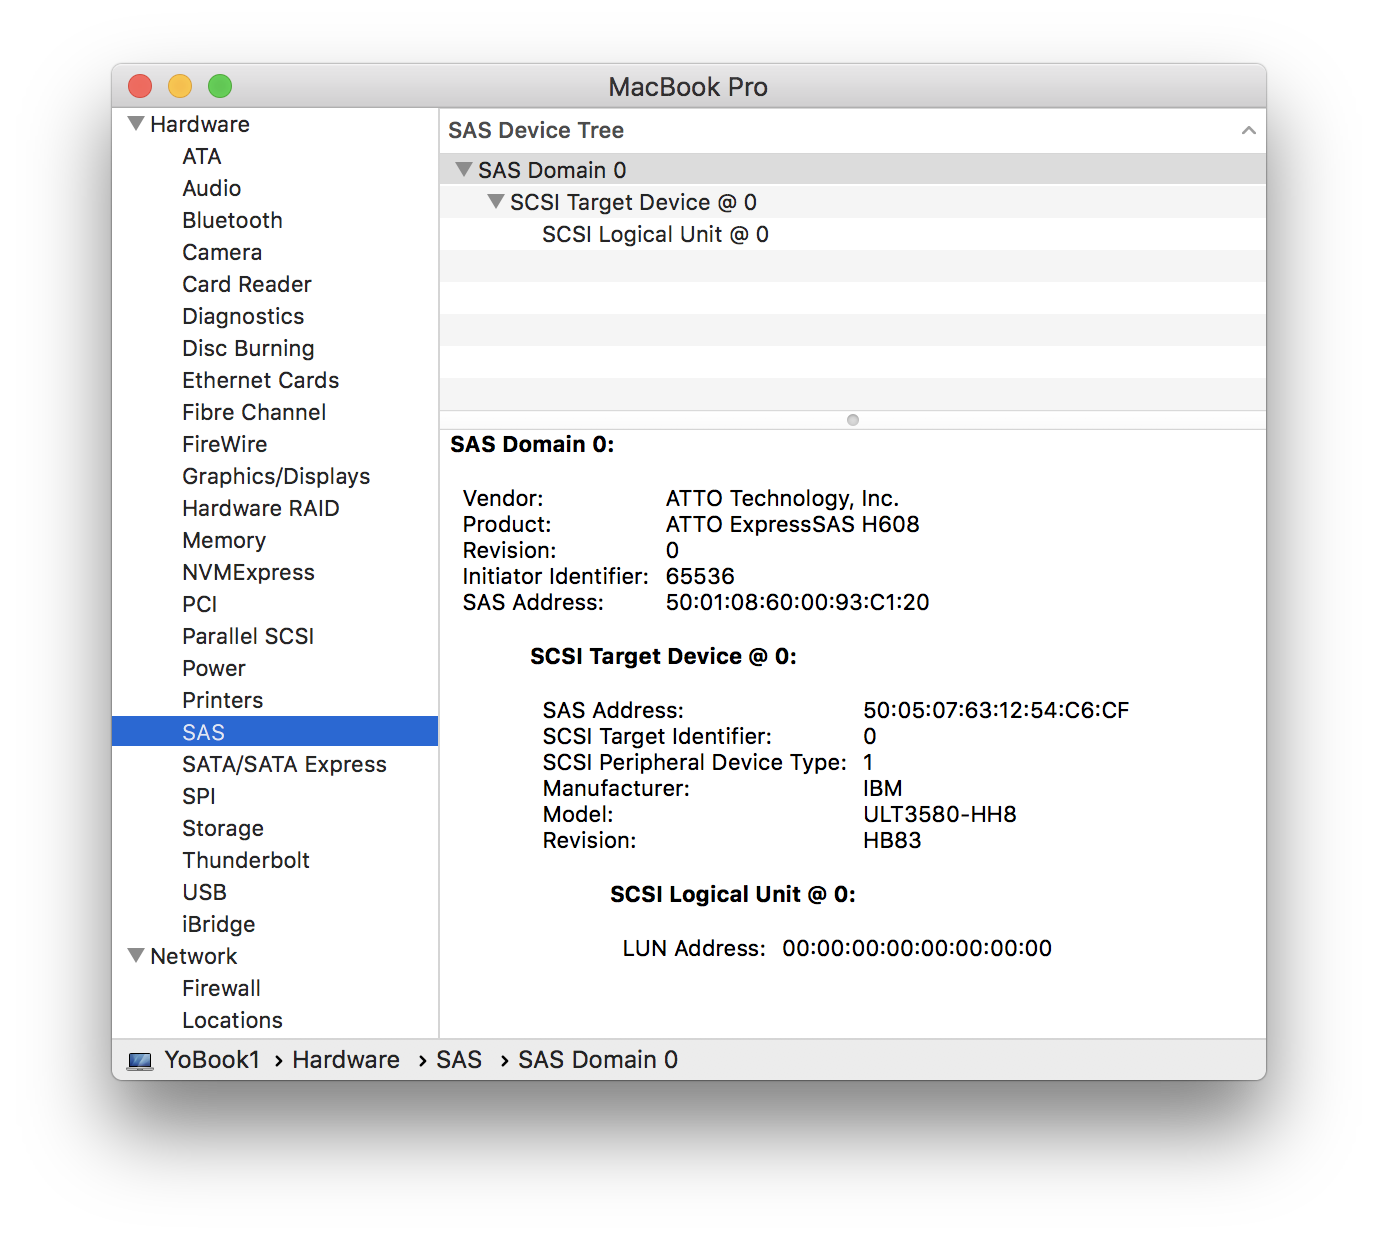
Check for SAS devices
Make sure the Netstor drive is connected and powered on, now one or two SCSI Target Devices will be visible. These are the SAS tape drives.
If there are no SAS devices, please install the ATTO H608 driver as described below. If the driver is installed then contact support at Netstor for assistance.
The System Information page does not refresh automatically. Click File,
Refresh Information or Command + R to refresh the hardware listing.
ATTO SAS install
Keep the SAS card inside the NetStor updated.- Download the ATTO360 Storage app, macOS driver and macOS Flash Bundle from the ATTO website SAS downloads
- Click for ATTO H6XX SAS downloads
- There is a ATTO video here showing the ATTO firmware update
- Install the ATTO360 Storage app and the macOS driver
- Allow the driver in Apple System Security as described below
- Run ATTO360 Storage
- Check the card Flash firmware date and update to 2022 or newer
- In Advanced Settings - Maximum I/O Transfer Size set to 1MB or 1048576 bytes
- Reboot the drive and Mac
Allow system software in System Security
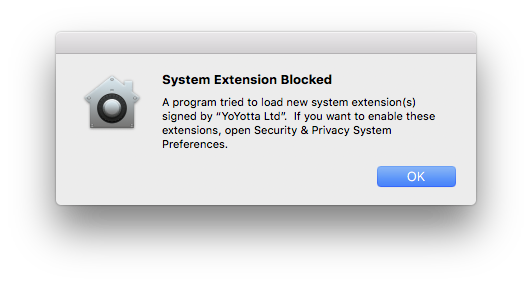
The first time after you install drivers on a new system, you will need to approve the new System Software. New installs of system software from YoYotta, ATTO, OSXFUSE (developer is Benjamin Fleischer) and other drivers may need approval.
You will see a message like this saying System Extension Blocked
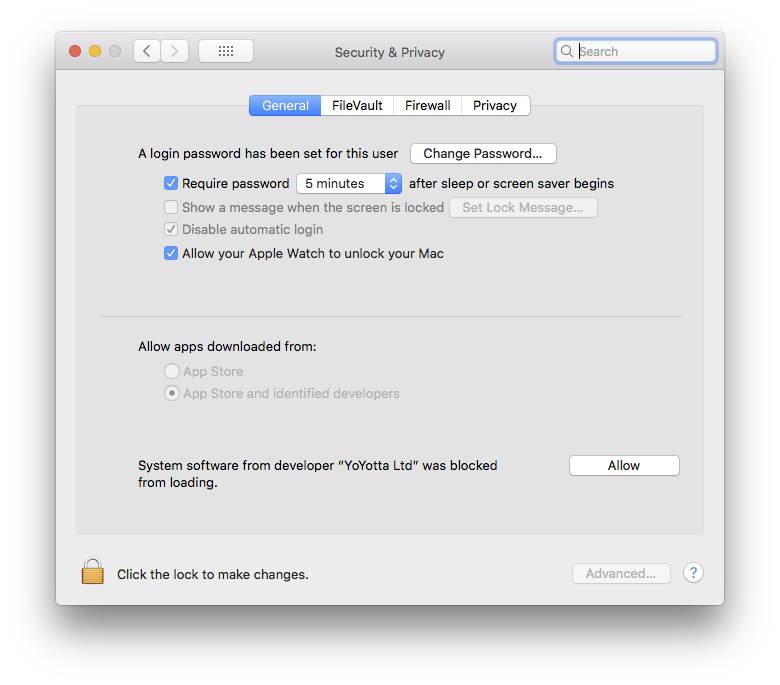
Open the Security & Privacy page in Apple System Preferences, unlock the padlock and click Allow to enable the System software to load.
You must click the Allow button locally on the Mac, clicking using remote screen sharing will not work.
If the Allow button is not shown then reboot your Mac, try again to use an LTFS or TAR tape (which will fail) and then check the Security & Privacy page again.
Also ensure that you have the latest updates to your version of macOS

Files and Folders access
When running YoYotta you may see macOS requests to allow access to Removable Volumes or Network Volumes. Note that LTO tapes mount as Network volumes. Please allow these requests.
If there are problems mounting tapes or drives then you can check and enable access in Files and Folders in the Security tab as shown in the screenshot.
YoYotta does not need Full Disk Access.
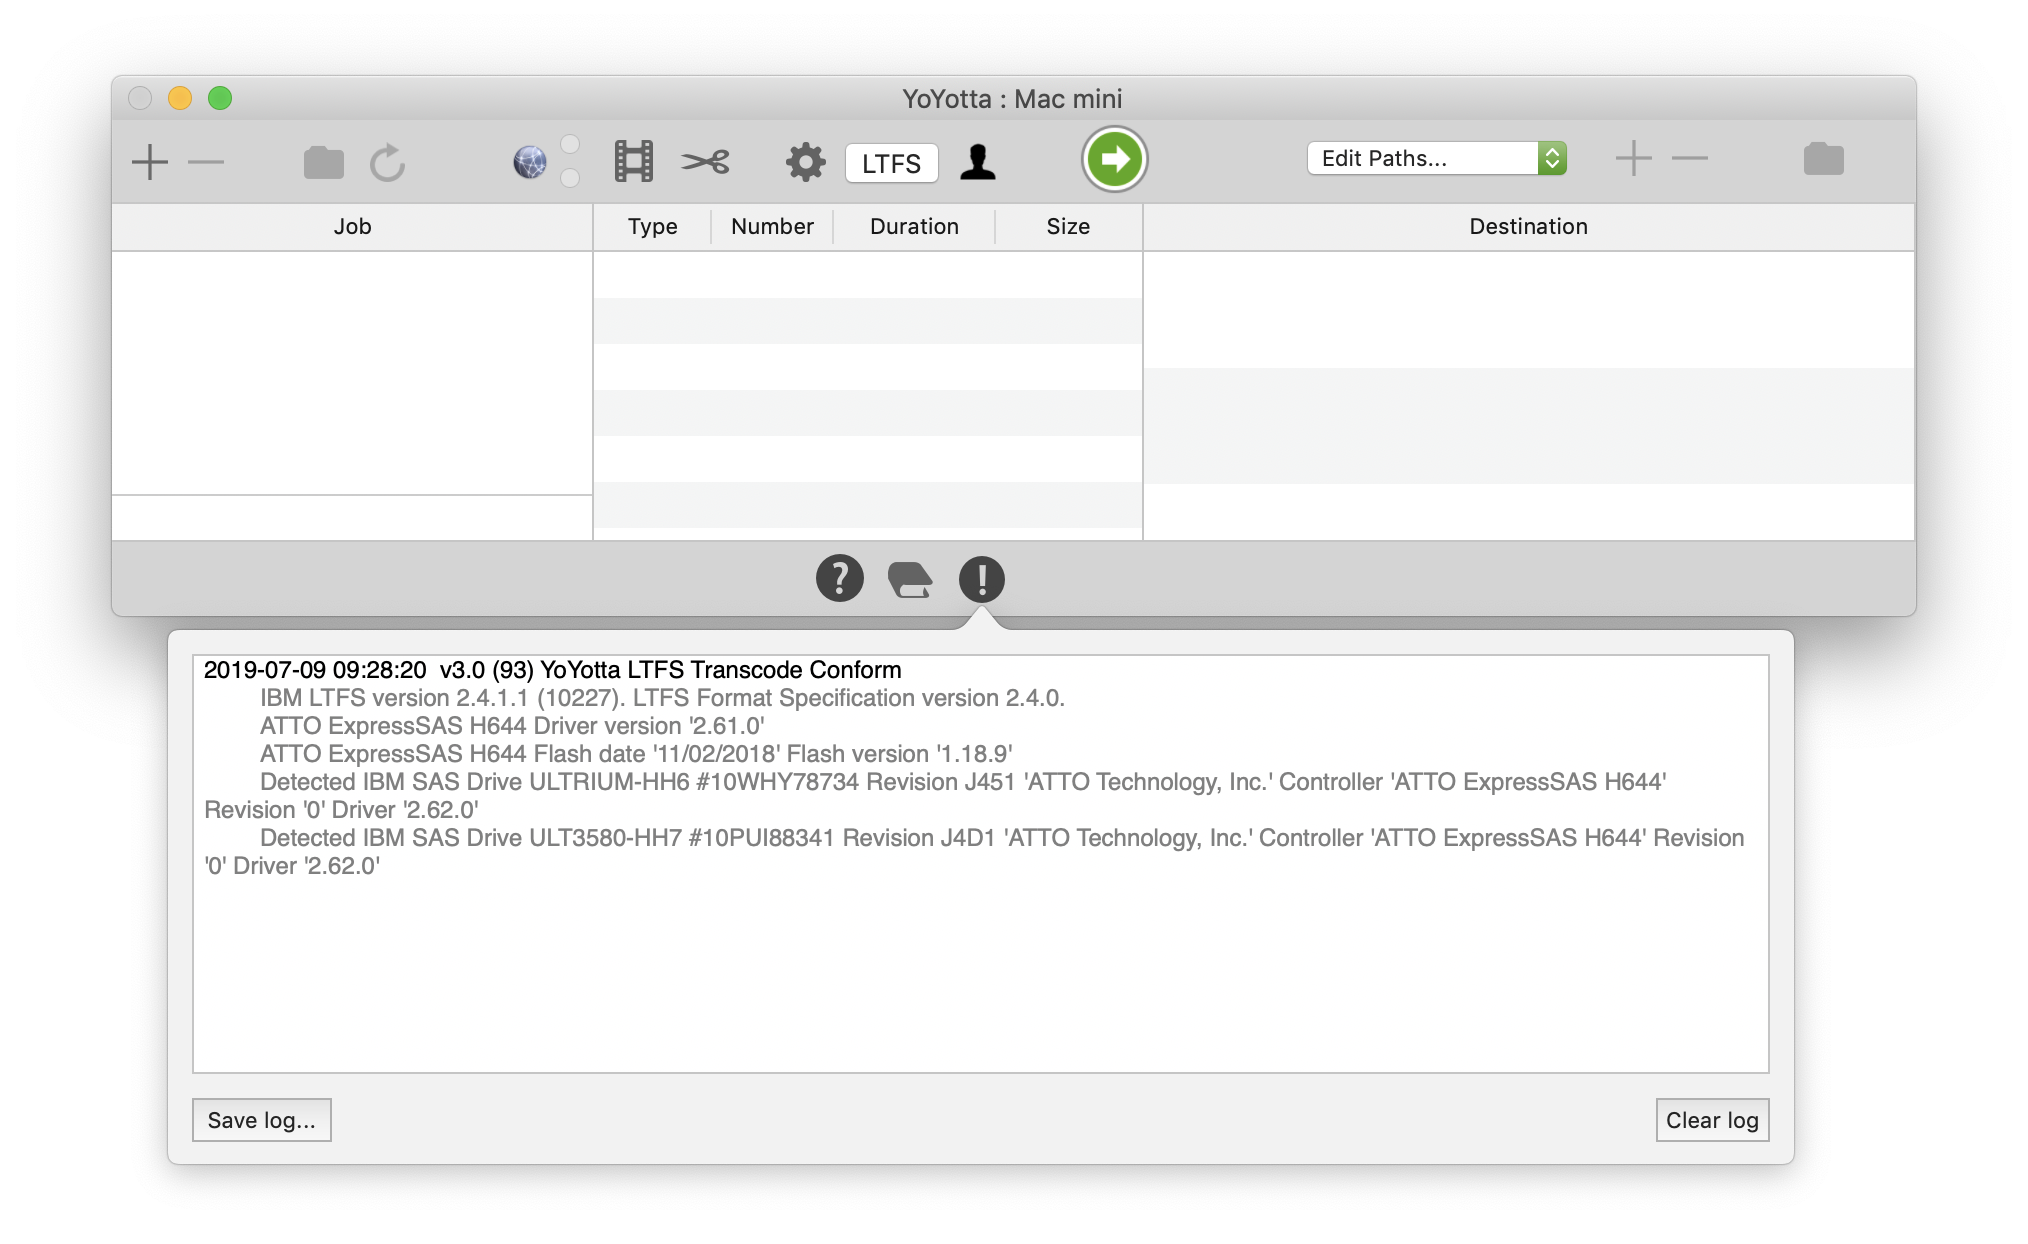
Open YoYotta
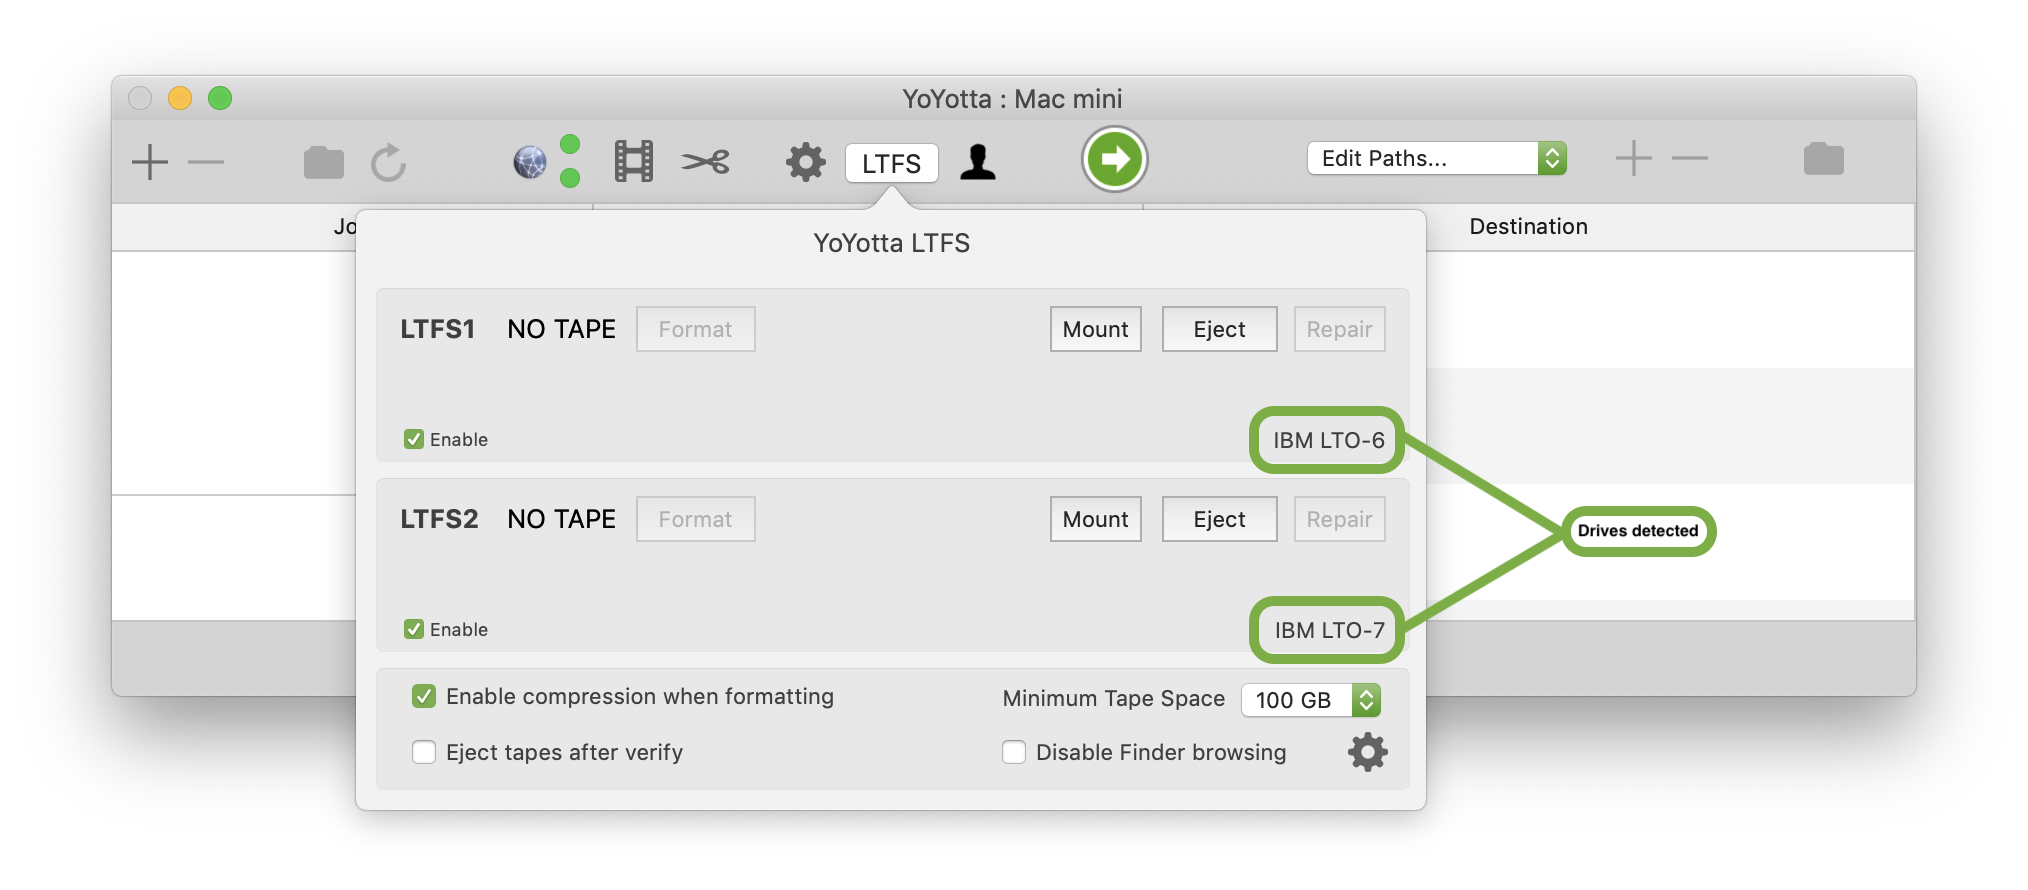
In the log there will a message showing that the drives have been detected.
Open LTFS panel
Now click the LTFS button on the toolbar of YoYotta. This will check and prompt to download the LTFS frameworks needed. Wait until this completes, then open the panel again.
YoYotta will now be able to control this drive.
© 2026 YoYotta Back to Top